I've been a homeowner and DIY decorator for a long time.
A very, very long time.
So you would think that by now, nearly 30 years in, I'd know that there's no such thing as making just one little change.
Inevitably, that single update triggers a flurry of others.

Most recently, I've been dealing with a decor avalanche in my ensuite bathroom.
Although, I hesitate to use such a lofty term to describe my tiny space.
It's literally the smallest room full bathroom on the planet, but in the land of 1920's beach cottages, where I live, a bedroom with a bathroom attached is not a standard feature.
I'm very lucky to have one.
And even though the square footage is barely large enough to accommodate two people brushing their teeth at the same time, I do try to decorate it in a big way.
In 2010 we gutted that room and replaced the mismatched yellow and green wall, floor and shower tiles, with white ones. Subway tiles on the walls and large squares on the floor.
My husband did all the work himself and I have to say, it's held up beautifully. It still looks brand new.
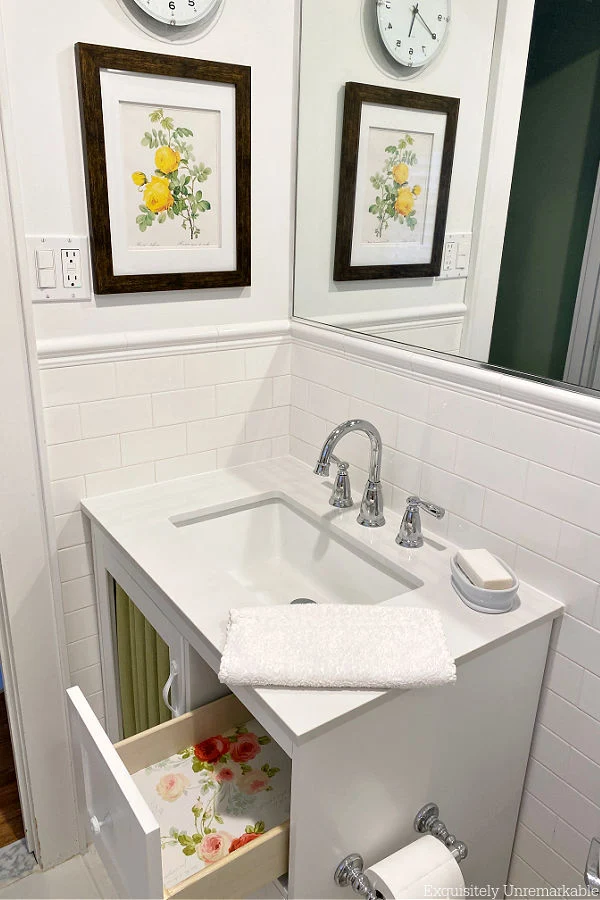
We did replace the brown vanity with a white one, last year, but other than that any updates have been purely superficial.
I used a grout pen to refresh the icky lines and fabric to makeover the old shutters and create new curtain valances:
- A blue box pleat valance
- A green fringed valance
- And my latest...and dare I say greatest...cottage style pom pom valance
Those flowers just demanded something with more style and drama than the plain green fabric I added to the vanity.
At first, I rifled through my fabric bins, but couldn't find anything that looked right. Then, I dug around the craft closet and found some old green wrapping paper.
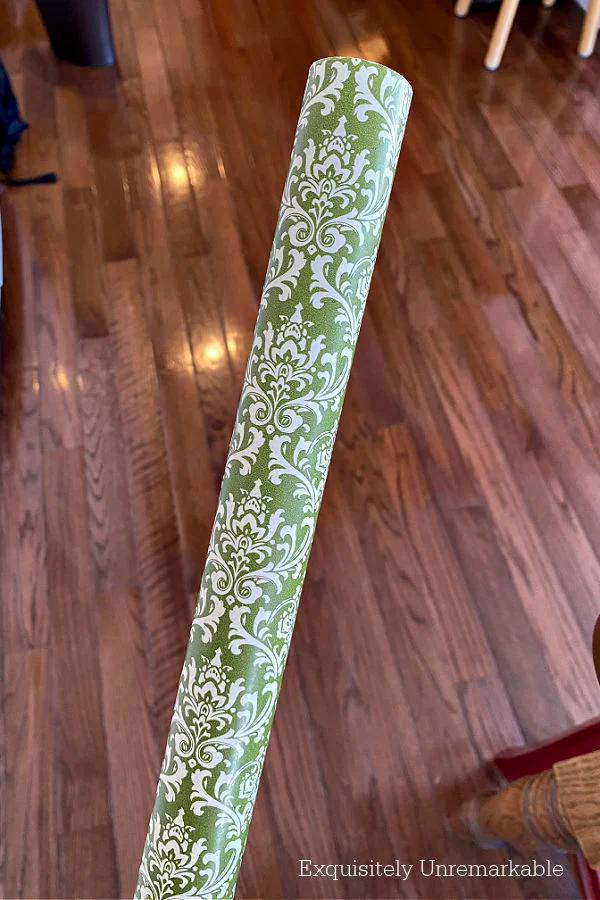
I wrapped the removable door panel, that had been hiding in the basement since I used my old velcro trick for fabric installation on a cabinet door, in it to see how it would look and fell in love.
Unfortunately, paper is not a suitable material to use in a bathroom. As soon as someone with wet hands touched it, it was going to disintegrate. Boo.
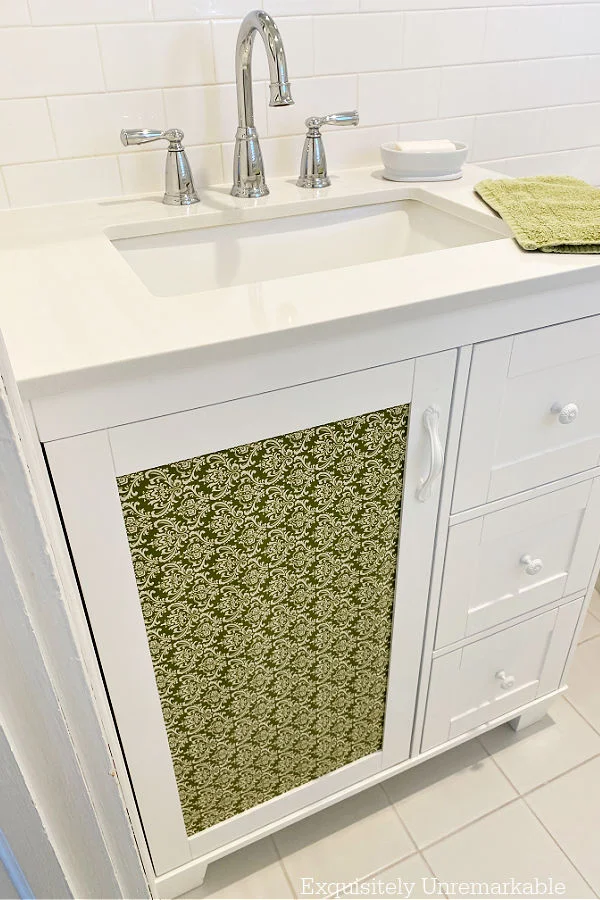
So I needed a Plan B. That of course, took weeks.
I went to the store, searched online and ordered a ton of samples, only to come up empty handed. I needed a very specific green tone to match the curtain and the bedroom walls.
And I kept coming up short. Until.
Until, I realized that one of the samples, a green gingham, that didn't have enough oomph for the vanity, looked fabulous on the shutters...and the old shutter fabric would looked fabulous on the vanity.
The color and pattern was almost identical to the wrapping paper.

Which, by the way I did.
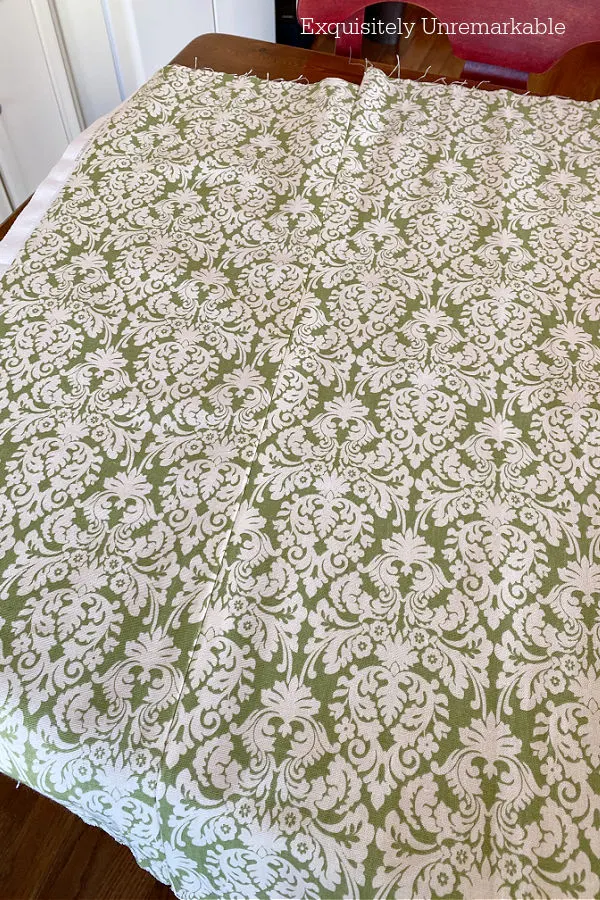
It took a little bit of work to turn those two smaller panels into a big one though.
Why is it that when I dream these things up, they're always a lot simpler in my head?
First, I had to try to match the patterns up as close as possible without sacrificing too much material. I needed every drop.

The process started with ironing. Lots of ironing, so I would sew on crisp seams. Then I stitched them together with my machine and ironed the front again.

Finally, I grabbed my board, placed the fabric on it and began pleating.
When I was happy with the look, and had hidden the seam under a fold, I pinned the pleats in place and ironed them.

The last step in my process was to wrap the board with the pleated fabric and place it in the vanity door.
There was a bit of overhang, but I just used my scissors to trim it away.

I also removed all the sticky velcro from the previous makeover since I had the board to hold the fabric in place this time around.
When I was done, I had a lovely new look for my not so old bathroom vanity.
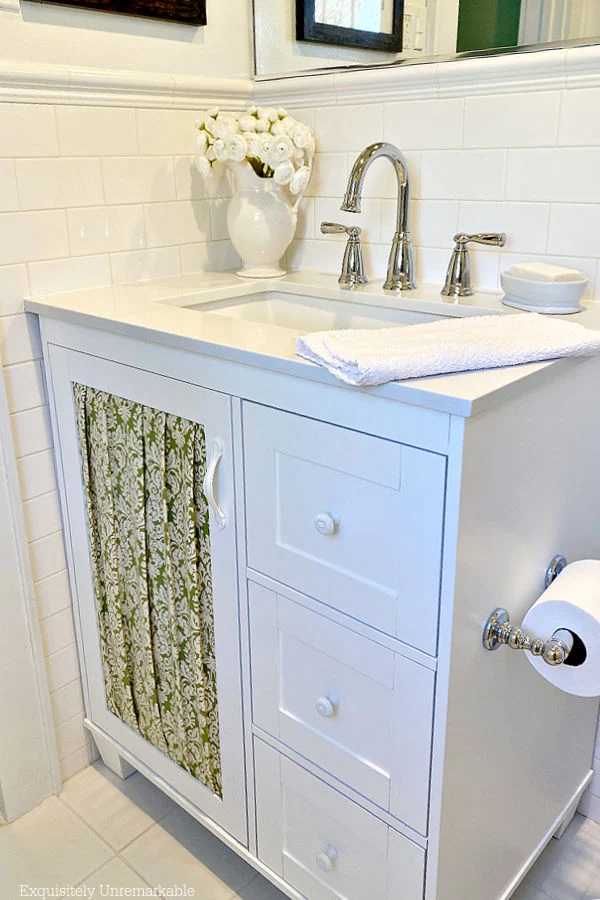
One that coordinated much better with the new valance.
And that fresh gingham fabric on the shutters (a show and tell for another day).
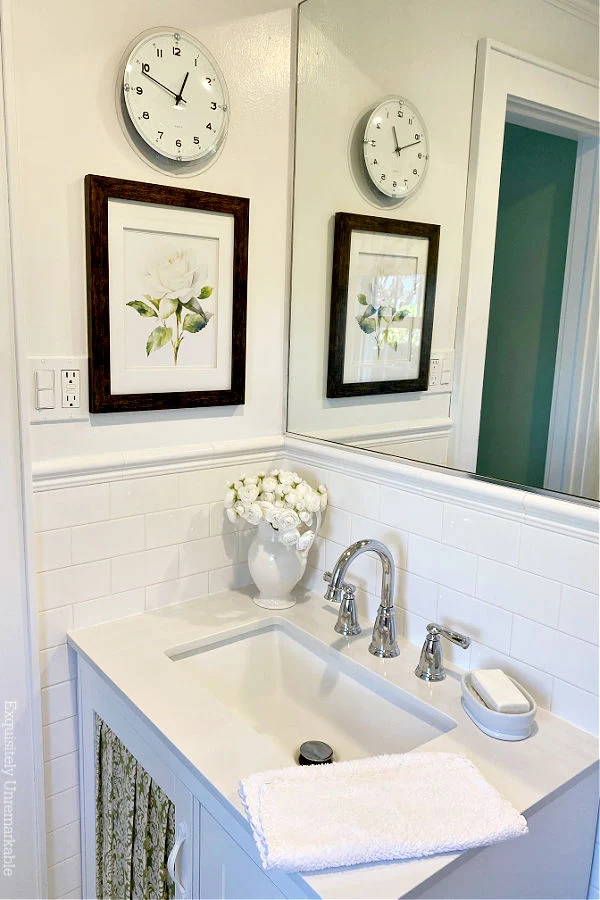
Oh, and the new artwork above the vanity (a freebie printable from Canva).
Also the door project that's currently in process.
Parts one and two...
See what I mean.
Avalanche.
😉
What never ending project are dealing with now?
Happy Decorating, Friends!


Beautiful!
ReplyDeleteThank you, Tracey! I'm kind of a fabric junkie...
DeleteKim, that looks beautiful and rich.. I love the pleats. Looks so expensive. xxoJudy
ReplyDeleteHi Judy! Thank you! Funny, I added the plain green fabric to the vanity last year, then last month, I saw a designer do it in a magazine and thought, hmmm, I guess I was ahead of my time!! 😉
DeleteWhat a lovely idea! It looks wonderful!! - Briana from Texas
ReplyDeleteThanks Briana! I like drama in my decorating, even in the bathroom!
DeleteYou did great! No one would ever know that fabric was re-purposed. The pleats look classy and hide the seam. Now I can't wait to see the shutters!
ReplyDeleteThanks so much, Mari! I have great determination when it's important...Haha! The shutter update is on its way. The weather isn't cooperating, it's too dark and rainy here to get a decent picture. Hopefully, the sun will come out soon and I can share!
DeleteI love that green fabric and that was a creative fix! And I'm all for reusing what you already have if you love it. Getting the outside of the house repainted and repaired that has taken me the longest lately. (but I am a touch impatient...) Today I hope to power wash the patio slab and put the furniture back out there!
ReplyDeleteThanks Gina! I do like to play with different decor looks around the house and if I can reuse something, even better! You are always working on your house. Tackling the exterior is a huge job. I'm always in awe of your skills!
DeleteThe fabric is so pretty and I love how you pleated it. The green and white together is so pretty. Have a great rest of the week. Hugs. Kris
ReplyDeleteThanks Kris! I do love playing with fabric!! Hugs to you!
DeleteI love it and the fabric is the perfect choice. That kind of thing always happens to me, too....one easy change and BANG-15 other things need to be done.
ReplyDeleteYou might consider spraying the fabric with Scotchguard to keep it pristine looking. LOL-Sorry-that's my solution for everything. I spray anything new I get -totebags, shoes, purses, pillows, etc., with a protective spray. I have things that are years old that still look brand new. Don't ya love it when people give you advice?! lol. xo xo xo Diana
Diana, I love it when people share! I've never tried Scotchguard. I have an issue with sprays and smells, but I may have to have the mister take this outside and give a once over, I would like it to stay fresh...since it's of course been discontinued. Waverly...ugh. Thanks for the tip! xo
DeleteI have serious problems with smells and sprays but in the past have successfully used scotch guard out doors. I spray my tablecloths before big holiday dinners, my people are messy.
DeleteI love using things I already have, so satisfying, but usually don’t figure it out until after I’ve shopped all the stores, spent hours searching on the internet, ordered a few things. 🫤 Also I don’t know if it’s so much one change creates more change, for me the one change sparks my creativity to start firing on all pistons. My latest is a fabric panel I want to make into a lunar pillow. Decided to make a box pleated ruffle out of some gorgeous sheet lace that I’ll have to fold in half, iron, then pleat, then attach to said pillow of course 😉 I’ve only had these items for around 15 yrs!
This is so adorable Kim! You face lots of decorating challenges, and always find a way to make it look professional and chic! Love the pleated fabric, just adds the perfect low-key touch to your bathroom!
ReplyDeleteThanks Marilyn! You're so sweet! All my decorating challenges are self inflicted, haha, but they're a fun distraction from real life. ☺️
DeleteYou clever gal! The green is beautiful and the pleating really completes the look...love it!
ReplyDeleteThanks Ann! I really like the way it looks now. Adds a little pizzazz!
DeleteKim, the fabric pattern and color is so bright and cheery. I love how you made the vanity look so pretty with that green fabric. I love how you make each room in your home look so nice with updates and DIYs.
ReplyDeleteHi Julie! Thanks so much. It was time for a change and I was glad I could use the fabric again since it's a favorite. ☺️
DeleteWhat a pretty bathroom update! We have lived in our home for almost 34 years and we have only done cosmetic updates on our bathrooms, too - painting, flooring, vanities, toilets. Time for both to be remodeled - including the tub and shower. I dread having it done, but it's overdue. Hopefully, we'll be starting on our master bathroom soon.
ReplyDeleteIt’s a big job, Melanie, with a lot of decisions and a lot of mess, but when it’s done you’ll be so happy. I can’t wait to see what you do!!
DeleteHi, love it. The pleating is well done, it gives me an idea for a project. Thank You!!
ReplyDeleteCarla
P.S. Pinning!!
ReplyDeleteI love seeing your projects, Kim! The fabric looks perfect inside the door. I can’t wait see part 2. I think green is always such a fresh color.
ReplyDeleteThanks Kitty! Part 2 is almost ready for its big reveal!!
DeleteI wish I could sew like you can Kim, you always have such lovely inspiration to share, but I seem to lack that talent! I would never tell that I have a few machines that will do the trick, I just do not know how to use them. Maybe one of these days when life slows down, I will get to learn how to sew, and I can join you on your adventures! I love the fabric, and I love the way it turned out in your bathroom!
ReplyDeleteThanks so much, Cara...I say go for it. I really don't know how to sew that well. I just sit down and wing it. I have no more sewing education than 8th grade Home Ec class, and a lot of trial and error! YouTube is a great place to start if you ever get the urge!
Delete