I turned a two dollar, unfinished wooden cutting board into a charming, cottage style kitchen decor accessory with rice paper.
No fancy techniques or cutting machines needed...just a simple upcycle anyone can do in minutes.
Several weeks ago, I shared my latest thrift store finds.
Among them was an unfinished paddle style, wooden cutting board, that I grabbed for two bucks.
To be honest, I don't think it was ever meant to be a working kitchen accessory.
It wasn't made of butcher block or bamboo.
It was a soft, white pine, that splintered a bit when I touched it.

Clearly, no one was going to be preparing food on that surface.
Least of all me.
But that was fine, since I was only interested in crafting with that cutting board anyway.
A blank slate to create a decorative accessory for my kitchen.
Fabulous.
Rice Paper Decoupage On Wood DIY
I love crafting with rice paper. It's sturdy, comes in all sorts of prints for different occasions, decor styles and holidays, and it's available in a multitude of different sizes. Best of all it's cheap.
And I'm not stuck with a package of 40 luncheon napkins or paper guest towels when I only needed one.
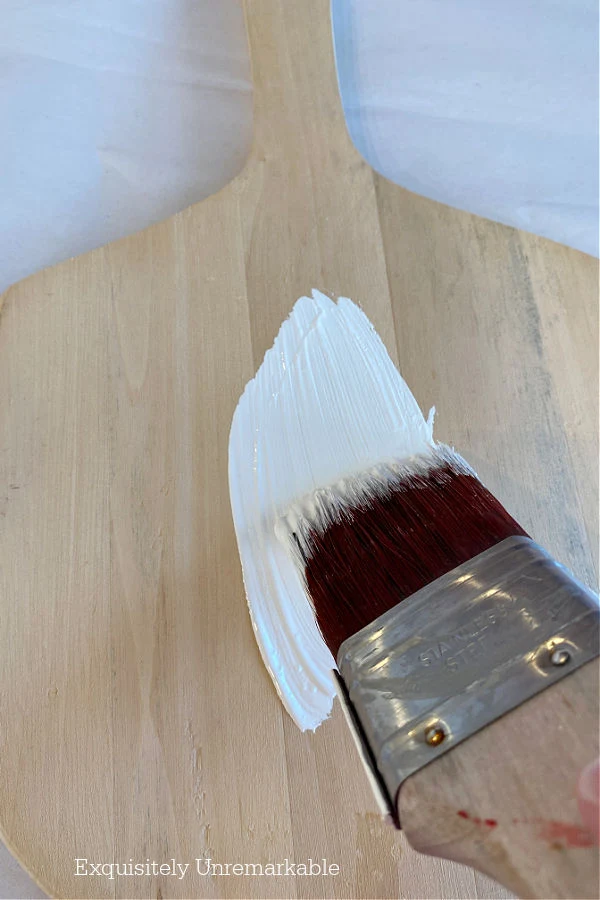
I started by painting that thrifted cutting board white.
I gave it one coat of chalk mineral paint with a brush. It covered all the imperfections, cracks and tape stains with ease.

Then I let it sit for a few days. It needed to cure.
And I needed time figure out what I was going to do next.
Eventually, I settled on decoupage. If you haven't noticed, lately, it's become my craft of choice.
- Darling Decoupage Christmas Spoon Ornaments
- Decorative Decoupage Crates
- Cute Decoupage Plates
- Decoupage Votive Lanterns
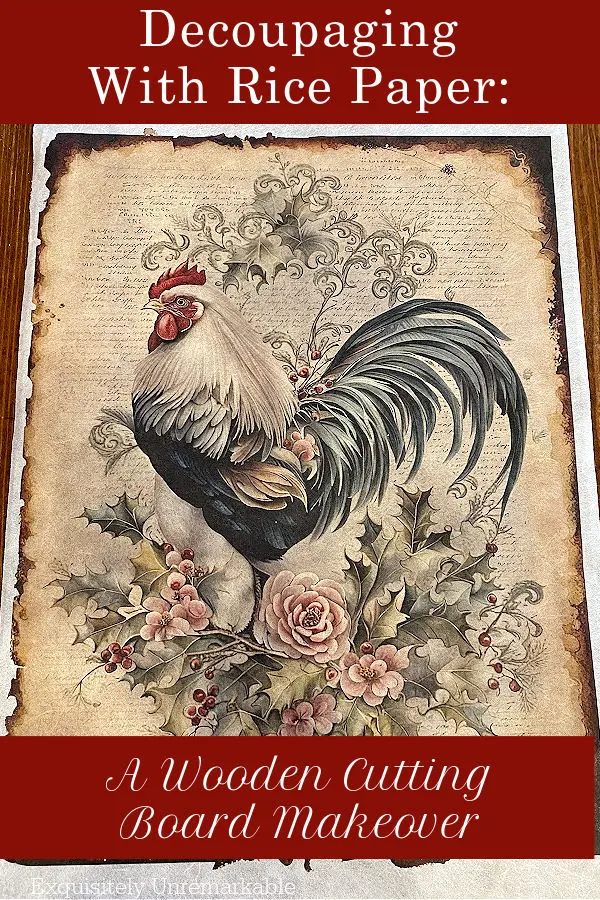
Well, once that was settled, I grabbed the rooster rice paper pattern I'd bought a few months ago from my thrifted craft closet.

This beautiful pattern was from the same shop I bought the lamb rice paper I used to makeover my old cookie sheet at Christmas.
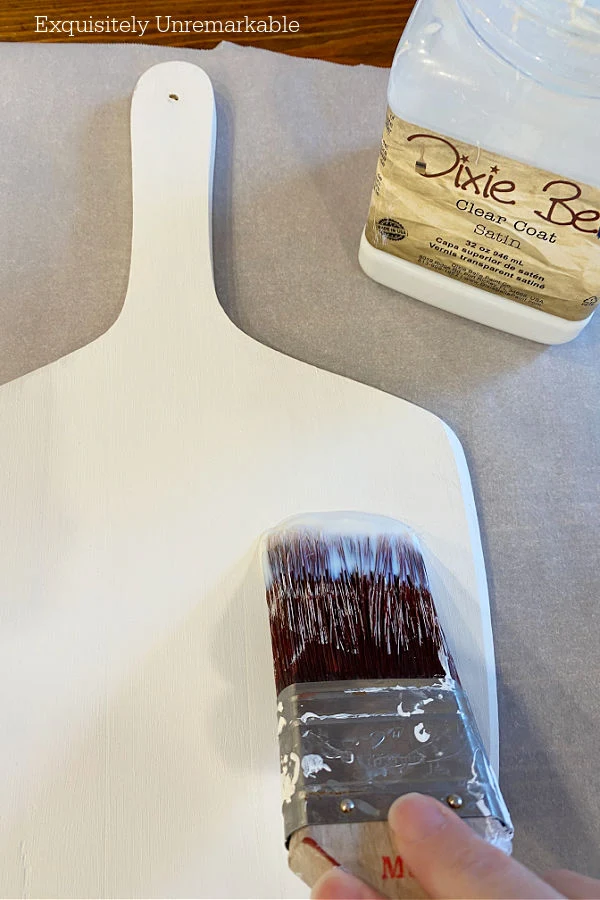
I prepped the board with Dixie Belle Clear Satin Sealer. It's my decoupage medium of choice.
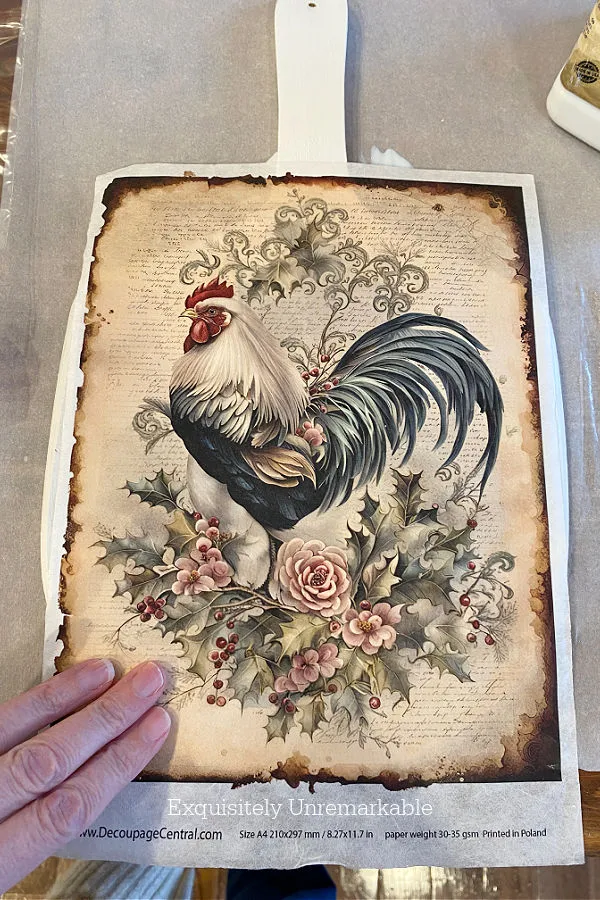
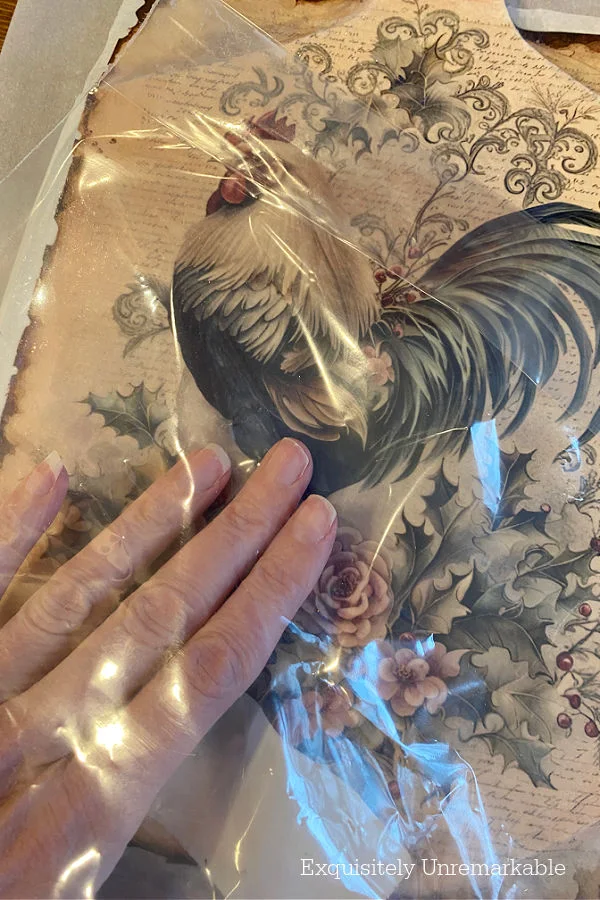
Then I placed the rooster rice paper on the cutting board and smoothed it down with my fingers.
Now, ordinarily I would put my hand, or my project, in plastic baggie or put on a vinyl glove to smooth out any wrinkles or bumps in the paper.
But rice paper is much stronger than napkins, so I didn't need to use either of them before I put on the top coat of decoupage.
In the past, I have tried the iron on decoupage method. It's actually a lot neater and it worked amazingly well.
I was just lazy this time and didn't feel like reaching for my iron.

With the second coat of Dixie Belle sealer on top, I did put my hand into the baggie to make sure the paper was flat and my sticky fingers didn't grab or rip it.
Some Of My favorite Decoupage Supplies:
- Dixie Belle Clear Satin Sealer
- Mod Podge - more affordable sealer
- Paint Brushes
- Rooster Rice Paper- and other patterns
- Craft Iron
- Vinyl Gloves
- Parchment Paper
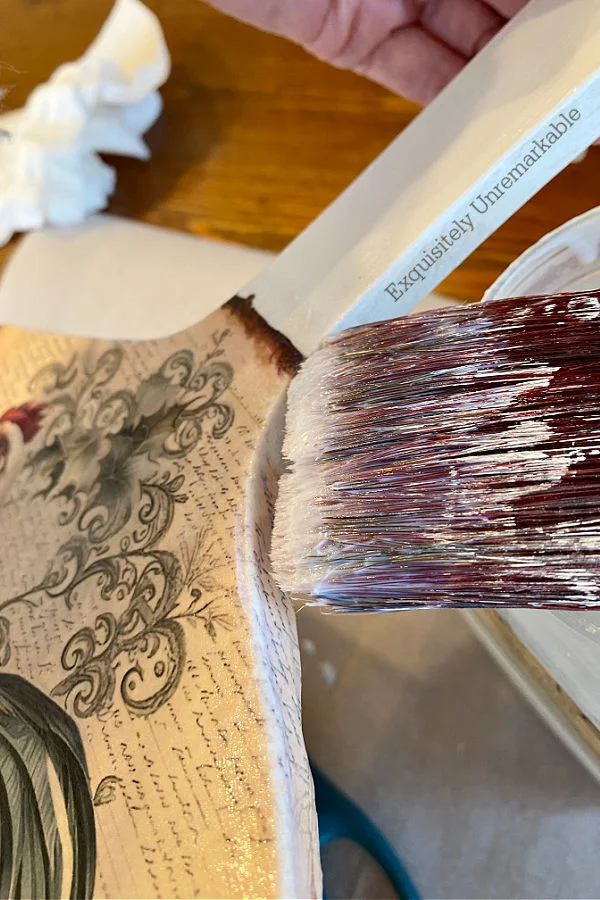
To finish the edges off nicely, I trimmed the rice paper with scissors, close to the board.

Then I added some more decoupage to the edges of the wood and the rice paper, and pressed the paper down.
When I was finished, I had a beautiful new addition to my cottage style kitchen.
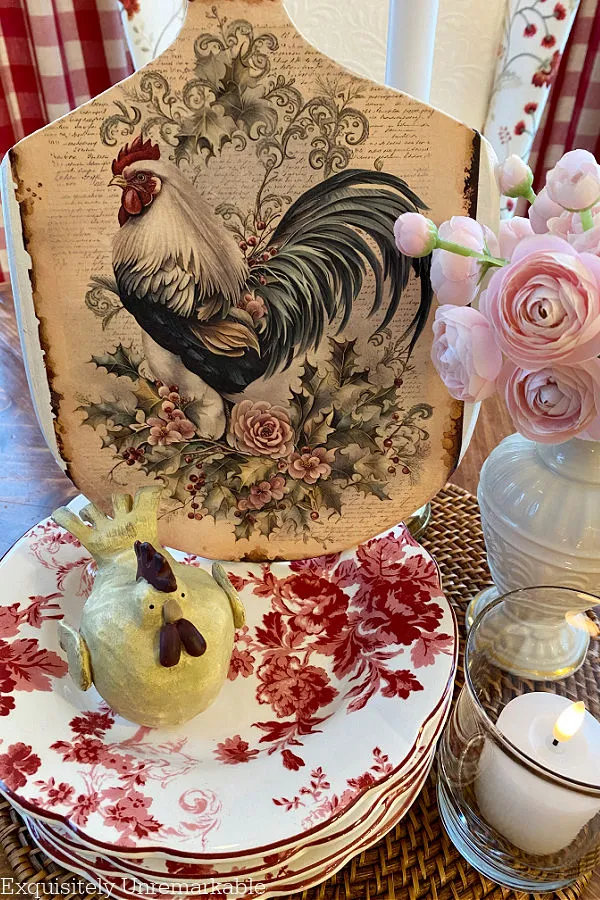
A handsome little guy to dress up my table.
Or hang on my wall.
Made from an old faux cutting board.
Because decorating is much more fun than cooking.
Isn't it?
🐓
Happy Crafting, Friends!


Oh my, a handsome rooster indeed. Another great project my friend, thank you for sharing.
ReplyDeleteCarla
Thanks Carla! Isn't he a fine fellow? I couldn't pass him up when I saw him in the shop. Thanks for your sweet comment and I hope you're having a great week!
DeleteJust FYI - tats not a cutting board. That's a pizza peel. It's meant for removing a pizza from the oven. You're not meant to cut on it.
DeleteYes, thank you! Others have also let me know. Clearly I’m a more of a crafter than a cook…but I’m learning! 😊
DeleteWow! That is beautiful!! - Briana from Texas
ReplyDeleteThanks Briana! The colors are even more stunning in real life.
DeleteKim, so pretty. Add it to your collection of beautiful crafts. That is a gorgeous depiction of a rooster and the flowers..xxoJudy
ReplyDeleteThanks Judy! I really do love that rooster print…and decoupage is super easy on a flat surface! I love those little pink flowers, too. Faux blooms are really catching my attention again.
DeleteThat's a good looking rooster and the print is so pretty. I really like the burnt edge look! It's perfect on your board!
ReplyDeleteThanks Mari! I loved all those burnt edges, too. The details were just right on this print.
DeleteYou've done it again! Absolutely gorgeous!! And it looks like you would pay a lot of money for that. I'm always so in awe of your projects!
ReplyDeleteMandy, you really are the sweetest. Thanks so much!!
DeleteThat handsome little guy is the perfect addition to your kitchen, Kim. This is a much better use for a cutting board - great project!
ReplyDeleteThank you, Ann! It was definitely meant to be a decorative piece, I'm just glad I found it...and Mr. Rooster!
DeleteHi Kim. Love this. The Rooster pattern is fabulous with your cottage kitchen. Hugs. Kris @ Junk Chic Cottage
ReplyDeleteThanks Kris! They have so many great rice paper patterns at that shop. I bought a lot, I just can't wait to use them all. Hugs!
DeleteThis is a pizza peel, not a cutting board, but its a cute idea!
ReplyDeleteAh, yes, that shape, makes sense. It'd made a very tiny pizza! And thanks!
DeleteThat Rooster is a handsome guy! That project turned out great, Kim!
ReplyDeleteDeanna Rabe
Thanks Deanna! I adore anything with roosters. I really think I was born in the wrong place. I'm definitely more of a farm mouse than a city one! 😉
DeleteThis turned out so cute Kim. I actually have two bamboo cutting boards I have set aside to do something with, so... I will have to be on the lookout for rice paper. I love working with rub on transfers, but rice paper may be a nice change of pace. The rooster is quite fitting for your style too. Have a wonderful weekend!
ReplyDeleteHi Cara! I love transfers, they are so easy to work with and much less messy than decoupage. This paper really makes easy work of it though and some of the papers are so very pretty, I can't pass them up!
DeleteKim,
ReplyDeleteBeautiful project! Thanks so much for your prayers for me and my family as we deal with Joe's health crisis...
Hugs,
Deb
Debbie-Dabble Blog
Thanks so much Debbie...you are all in my prayers, my friend. xo
DeleteKim, you made such a pretty rooster board. I wish I had the room on my kitchen counter to display a cutting board like that but it's too small. :( Thanks for sharing this project.
ReplyDeleteThanks Julie! I have to be honest, I love making things, but I’m running out of room for all my creations. I’ve been giving lots away lately, but I’ll hold on to Mr. Rooster for a while. He’s brand new and very cute!
Delete