So I learned how to whip up the easiest custom curtain valances in under an hour using a simple patterns.
Here's one of my favorites.

Homemaking and decorating have been my passion for as long as I can remember.
I think it's in my genes.
I remember getting so excited for the transformation as I watched my mom redecorate the house for each new season, changing out the bedding.
And replacing the living room drapes.

I was always mesmerized by how such a seemingly small change, like swapping out the curtains, could so dramatically affect the look of a room.
So when I became a homeowner, I was keenly aware of how important fabric was to interior design.
Yes, I painted the walls in rich, bold colors, but the real drama, and personality of each space, came from the fabric patterns I added.
Especially on the windows.
Of course, custom curtains weren't cheap and the stores rarely carried anything other than solids or checks.
That's when a friend of mine, and my mother in law, both pitched in an taught me how to sew my own.
Now I make curtains and valances whenever the impulse hits me.
My seams may not be super straight and I'm sure I'm not doing it all the right way, but no one's inspecting my stitching.
Plus, I get the look I want, for less.
Today's share, was a total whim. The last valance had been up in my bathroom for about 4 years.

I hadn't really thought about changing it until I spotted some lovely green fabric in the shop. Unfortunately, once I got it home, the tone was all wrong.
While I knew it wasn't going to work, I was now bent of replacing the valance.
I started looking for fabric again, but turns out a pattern I'd bought to update my daughter's room caught my eye and, even though it was blue (gasp!) it just felt right.
Battersea Bouquet in mist green, from P Kaufmann.
It looked and felt very cottagey. So I dove into production, with a very, very simple pattern that literally anyone can make.
Here's how I did it.
Pom Pom Fringe Valance Pattern
My valance was basically a lined rectangle, with no real rod pocket, just an opening at the top for a rod to slip the hardware inside. The fabric was more relaxed, with a casual, free flowing drape.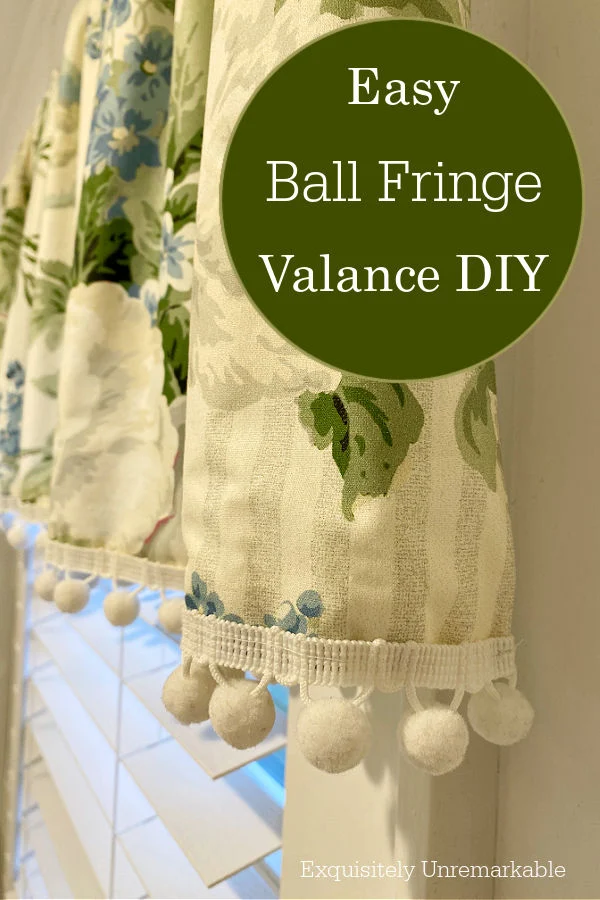
If you'd rather hang it on clips, then it's even easier to construct. Simply omit those openings.
Step 1: Measure and Cut The Fabric
I began by measuring the window and my fabric to determine how long and wide a piece of fabric I would need for my valance.

My window was 32" wide and my fabric was 54" wide. The usual rule of thumb for a gathered or pleated curtain, is cut your fabric to about 1.5X the width of your window.
At 54" wide, I had plenty. I didn't bother to cut.
Keep in mind that rule, is really just a guideline, I've made curtains with less that look great, and this time I used more.
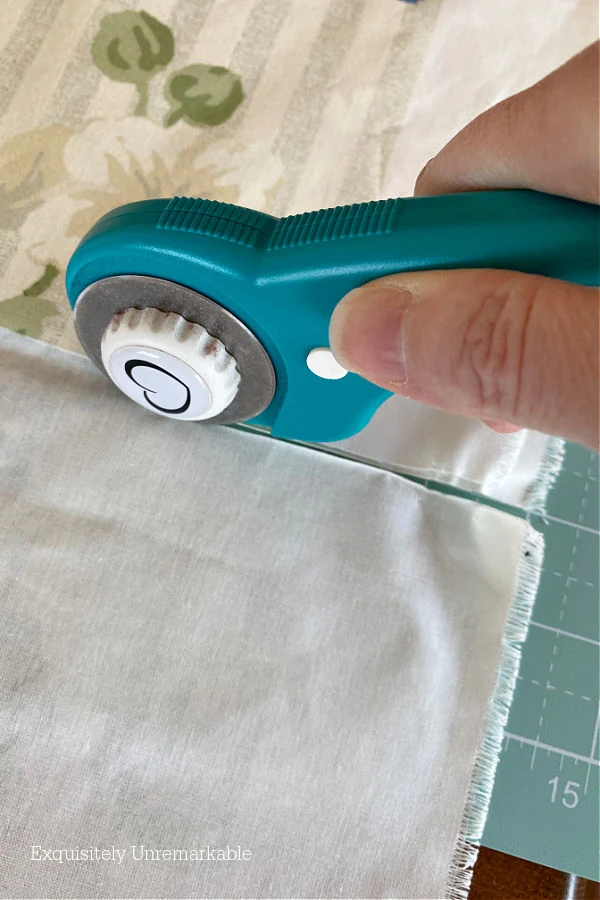
I also had to consider how long I wanted my valance to be. I generally like about a 14 -15" drop. So I cut my fabric to 16" with the rotary cutter, giving myself an extra inch for seam allowance.
Step 2: Iron The Fabric
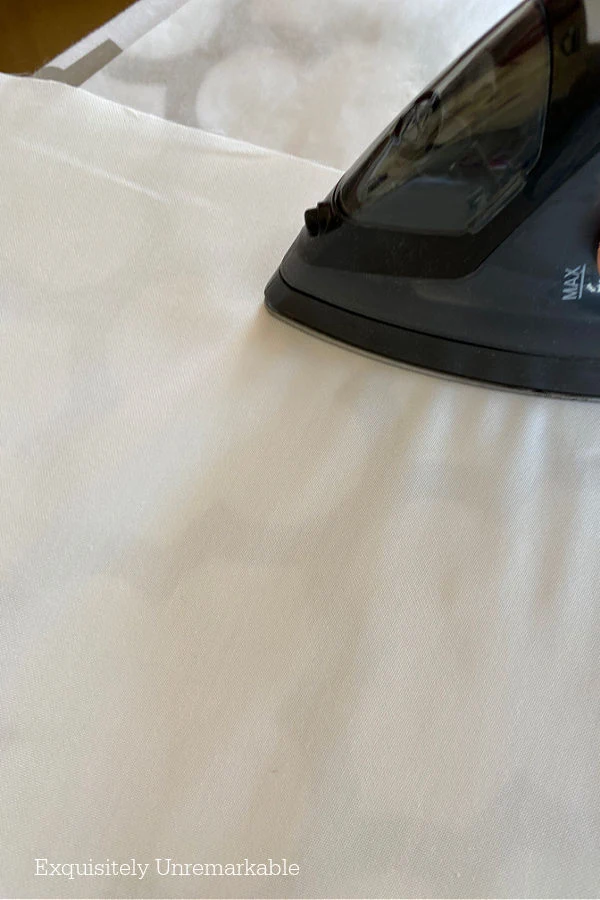
Next up, I ironed my cut piece so it was flat and wrinkle free when I sewed it.

That also ensured that it would be full size when I used it as a template to cut the liner fabric, which was my next step.
Step 3: Cut And Iron The Liner or Backing Fabric
Now, normally, I use the same fabric, or at least a contrasting decorative one, on the backside of my curtains. I like the way it looks on the windows from outside.
However, this cotton fabric was very thin. I knew that adding a patterned fabric behind it wouldn't be great, since the light from the window would shine through both layers and look messy.

So instead, I opted for a cheap, plain, white liner.
I rolled it out on my table, laid the blue floral fabric on top of it and cut it to the same size. I used scissors this time, since I had my curtain fabric underneath and didn't want to nick it with the rotary blade while cutting.
When I was done, I ironed the liner fabric.
Step 4: Set The Seams and Pin Fabric Together
With my valance fabric and liner cut, it was time to mark my seams and pin both pieces together. To start, I placed the colorful side of the fabric face down on the liner.
Then I grabbed my yardstick, placed it at the top of my fabric and marked a spot about one half inch down with a pencil.
I did that all across the top of the fabric and then connected the dots with the pencil to form a straight line.

Then I measured about 15" down from that line, across the bottom of the fabric and did the same.
I repeated the process on each side, as well.
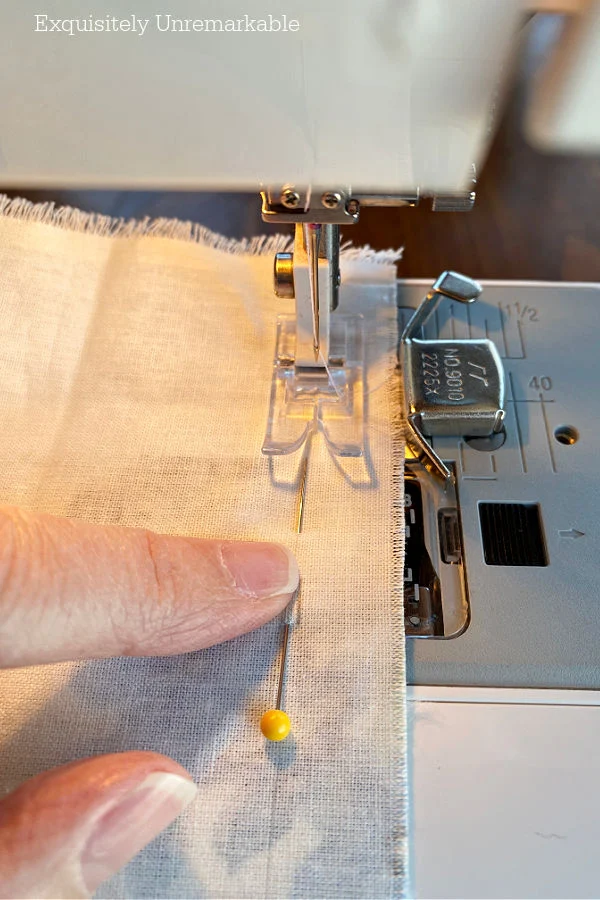
I placed pins every few inches along all the lines, top and bottom so the two pieces would stay together while I sewed them on the machine.
Along the sides, I only pinned about 3/4 of the way up on one side and on the other side I stopped pinning about an 1 1/2 inches from the top.
This would give me room to flip the fabric and space for the rod.
Step 5: Sew The Layers Together
I used a machine to stitch the floral fabric to the liner, but you could use an iron on tape. Just be warned that the tape doesn't really wash or wear as well.
I've used iron on tape to "upholster" a chair and it lasted for years, but I never had to launder it.
And sewing on a machine is not hard. It's as easy as driving a car. Line your fabric up, push on the peddle and drive on (or in my case, near) the line.
Simple.

Step 6: Create The Rod Opening
I created an opening for the rod by stopping my stitches on the top of each side of the fabric.

Step 7: Flip The Valance To The Right Side
With the sewing mostly complete, I used the larger hole to pull the front facing fabric through it.
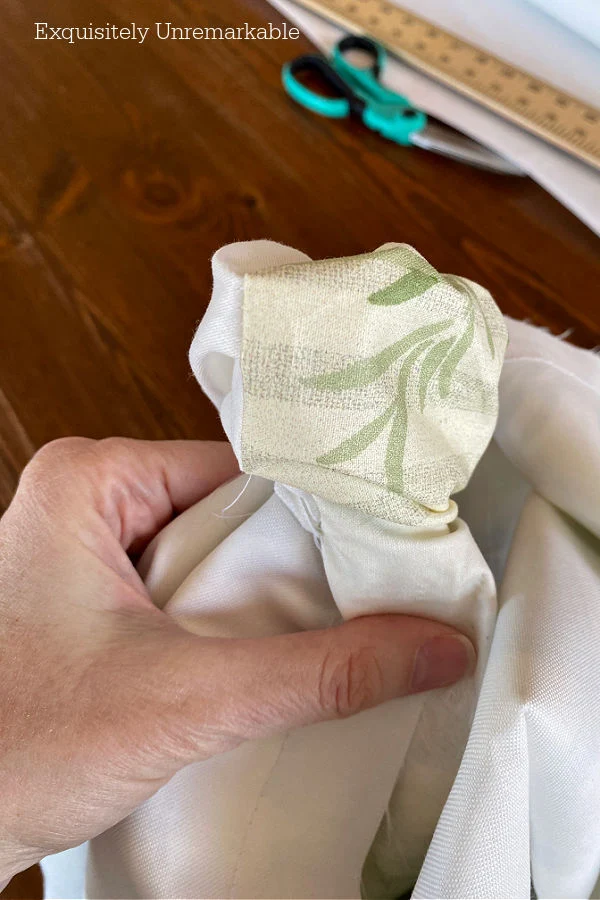
I pulled it all the way through, smoothed it out with my hands and then used the back end of a seam ripper to pop out the corners.

Step 8: Sew Up The Opening And Iron
Then I revisited that large hole and stitched it up, so that it matched the opening for the rod on the other side.
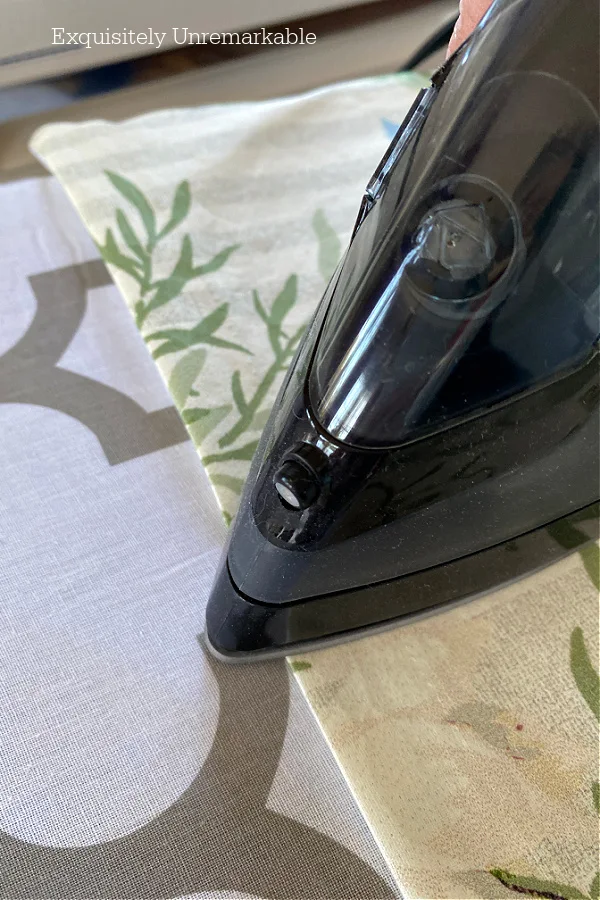
And I ironed my valance once more to make sure it was wrinkle free and my seams would sit flat.
Step 9: Sew On The Ball Fringe
Adding the ball fringe was a quick task and the icing on the cake.
It took just one long running stitch to secure it onto the edge of the fabric.

If you'd like a full tutorial on how to add ball fringe to curtains, you can check out that link.
Again, I've used fusible web, iron on tape to add pom pom fringe.
I even put ball fringe on my new sofa with it, but I do find sewing to be a more permanent solution.
Step 10: Hang It Up
Lastly, I grabbed my rod, fed it through the hole and hung it on the brackets.

I played around with the fabric a bit, gave a little more structure to the gathers, until I liked the way and looked and I was done.
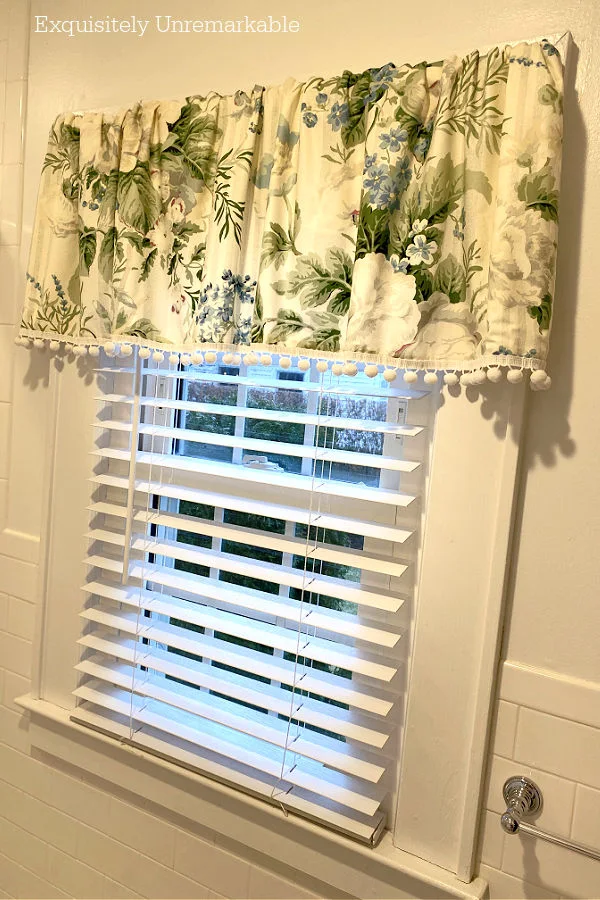
The lighting in this room is terrible and the sun was not cooperating, but trust me when I say, the result was stunning.
I was thrilled with the style and the colors.
The pleats hung gently without the extra seams of a true rod pocket constricting them, very similar to the technique I used to make my box pleat valance for the same window years ago.

The new floral valance filled the whole area with a fresh, light cottage style vibe.
A transformation that took less than an hour for me to complete.
Of course, that quick change has prompted a few more in that room.
But that's a fabric story for another day.
😉
Are you a curtain maker?
Happy Sewing, Friends!


Your new valance looks great and I love the fabric you selected! With the exception of my full length drapes in the living room--purchased for less than the cost of fabric!--my window coverings are a combination of homemade valances and repurposed vintage linens. You just can't beat the custom look by designing your own, right?!
ReplyDeleteThanks so much, Cecilia! I agree, you just can’t beat a custom look…especially when it’s made from vintage linens. I’d love to try that next. I just need to find the right linens!! Happy weekend!!
DeleteLove the curtain! Yes, I have made all the curtains in my home. I even made the pleats with hooks attached. In my area we have a discount store with drapery fabrics for less. It is a blessing!
ReplyDeleteWow, I'm impressed!! My grandmother used to make pinch pleat drapes, that's some serious sewing! I would love to learn how to make those, especially since they're coming back in style. ☺️
DeleteI make almost all of my curtains and they ARE quick and easy. I’ll have to try the fringe next time. I love the
ReplyDeleteLook! Cheers!
I'm so glad to hear that I'm not alone! I think sewing is a lost art, they don't teach it in school anymore and they really should. If you try the fringe, let me know!! I'd love to hear how it turns out.
DeleteActually, I am a curtain maker. Since I 'm no seamstress, the straight seams make it a project I can handle. The valance looks beautiful and I knew I'd get you over to Team Blue! Wink-Wink!
ReplyDeleteTrust me, Ann, I’m no seamstress either. My grandmother would not be happy with my technique, but it gets the job done. 😉 About that blue…I guess your lovely style is rubbing off on me!!
DeleteThe fabric is so lovely and the valance came out beautiful! - Briana from Texas
ReplyDeleteThanks Briana! I just couldn't resist the fabric and all its cottage style charm.
DeleteI am not a curtain maker! That would require pulling out my sewing machine which I haven't used in several years! :)
ReplyDeleteI love the way yours looks though - and that fabric is gorgeous!
Haha. I totally get it, Mari! I always pull my machine out with trepidation. Sometimes we get along well, other times we do not and I wonder why I thought sewing would be a good idea!! 🤣
DeleteLove your sweet valance. What is it about pom pom trim that makes everything even cuter! I wish I had the talent that you girls that can sew have. Happy Sunday have a great new week ahead. Hugs. Kris
ReplyDeleteHi, Kris! Thanks so much for sweet comment. Trust me, I’m not great seamstress, I just give it my best shot and like I said, don’t look too close. Plus, you’re right, if you put enough pom poms on things it makes them so cute that no one cares about the messy seams. Haha!!
DeleteI love it!
ReplyDeleteDeanna Rabe
Thanks so much, Deanna! It was an easy one to make. ☺️
DeleteOH I just love the fabric you chose! I have definitely sewn many curtains through the years - and you're right, the transformation at the window with fabric can really transform the room! Excellent tutorial!! Love that pom-pom trim, really adds a stunning touch to it all!
ReplyDeleteThank you, Marilyn! I do love that pom pom trim. ☺️
DeleteLove the new curtain, Kim. I've made many cafe curtains, drapery, and valences over the years, and you did a great job of explaining the process. Makes me want to find a new sewing project.
ReplyDeleteThanks so much, Carol! I have to say I love this new fabric pattern. It inspired me to make this valance...and wrestle that sewing machine!
DeleteHello, well done.
ReplyDeleteI am just about done with Sam's T-shirt quilt. It has been a huge challenge for me... I am not a natural born sewer... or quilter.
I will take a small break and then on to Atticus'.
I'm so impressed, Carla! That doesn't sound like an easy project, but I can't wait to see it. I'm sure it's beautiful and I bet that Atticus' quilt will go so much quicker and be less of a challenge since you're an experienced quilter!!
DeleteVery pretty Kim, love the look! You make it seems so easy. I am pleased to feature your DIY valance at Love Your Creativity. Happy St. Patrick's Day.
ReplyDeleteThanks so much, Linda! You just made my Sunday! ❤️
DeleteFor some reason, I've never had much success with sewing my own curtains. They always come out looking wonking and the ones with a liner are even worse. After reading your tutorial, I suspect it might have something to do with my haphazard ironing skills :D
ReplyDeleteKim,
ReplyDeleteThe new valance sis lovely!!! I have used tablecloths to make valances and cafe curtains for my Kitchen in the past!! Thanks for sharing!!
Hugs,
Deb