I used it in place of a traditional tree skirt and it only cost me a few bucks.

It was darling and super fun to make.
However.
That was not the original plan. If you recall, I bought that teeny village with another project in mind.
I had seen some lovely wooden houses, primitive in style and shape, but very expensive. And sold out.
They had window openings that let dainty pops of light peek through and I wanted to make my own.
Unfortunately, the row houses I found were too thick to cut.
I was a little sad, and about to abandon my crafty idea, when I walked into Dollar Tree and saw these.
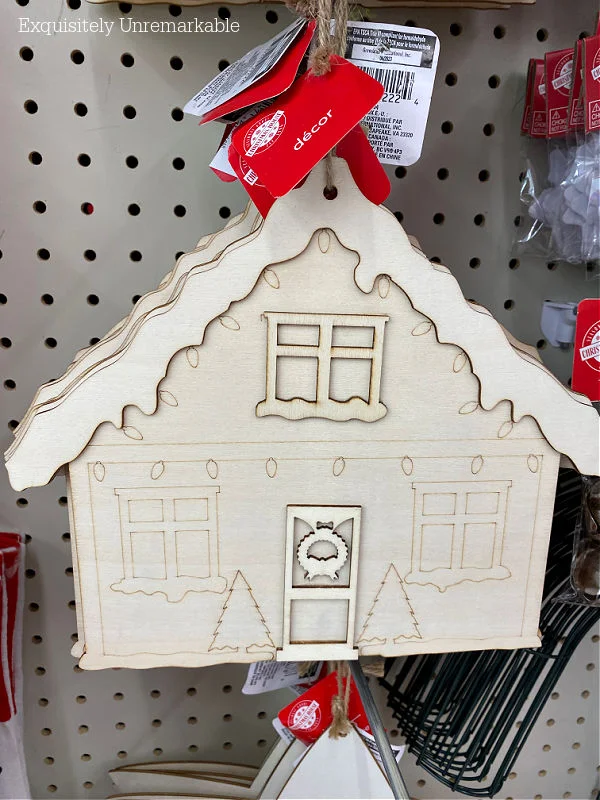
Unpainted wooden craft houses that were large enough to stretch across my mantel, basic, but dressed in Christmas style and, most importantly, thin enough to cut through.
Bingo. I bought 6.
Now, since I'm not great with the tools, I did ask my husband for a little help with the cutting. This happens a lot around here. I dream up the ideas and then ask him to do the heavy lifting.
Honestly, though, I think I could've left the windows intact, painted them bright yellow and called it a day. Truly, if I had to do it again, I might go that route.
Especially since cutting the windows was not easy.
First, he used a drill to make some holes in the wood we wanted to remove. He drilled slowly and carefully. He didn't want to crack the wood.
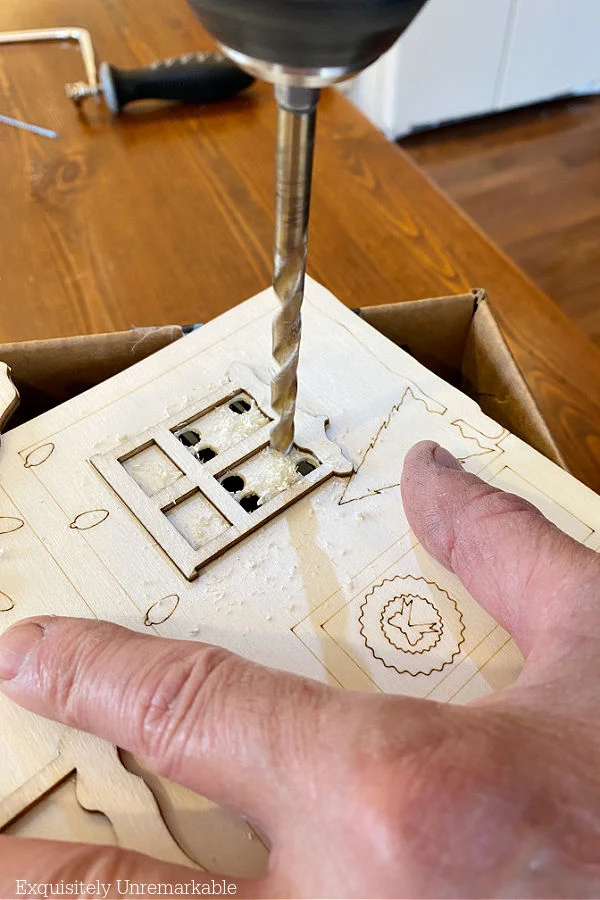
Then he used a coping saw to remove the rest of the wood. It's a saw that allows you to remove the blade from the handle, to slip it inside the area you need to cut.
Then you reattach the handle and saw away.
Additional Resources For This DIY:
If you can't get to Dollar Tree, don't want to cut out window or don't want to make your own, here are some DIY supplies or options for already done.- Wooden houses with window already cut out
- These wooden house are also perfect
- Wooden hinged village set
- Small wooden houses for crafts

It worked perfectly for the task at hand, although, again, it was tricky and the cuts weren't perfect.
But the job was done and a little sandpaper fixed the jagged edges.

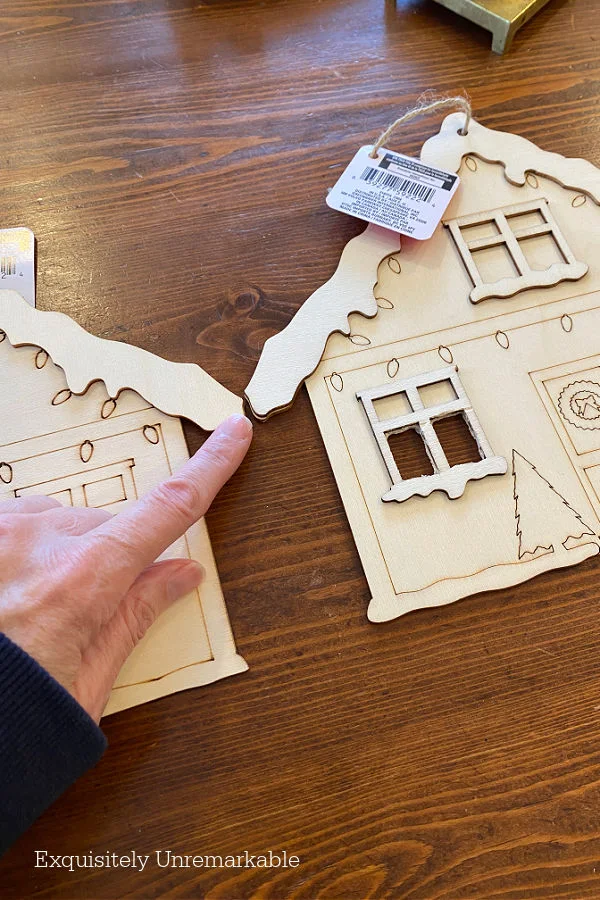
Next up, we needed to remove the extended roofline on one side of each house so we could join them together.
You see I wanted them to stand up and the only way to do that was to either add a block of wood behind each house, which is a great alternative if you don't want to use a saw.
Or, the path we chose, which was to join pairs with hinges so they'd stand when positioned properly.
More Easy Christmas Crafts:
- Santa Claus Metal Burner Cover Wreath
- Christmas Tree Sticker Sign
- Taper Candle Rings For Christmas
- Christmas Village Makeover
This part of the job required a square and another saw.

Once all the cutting was done, the girl with the plan got back in the game with some light brown stain.
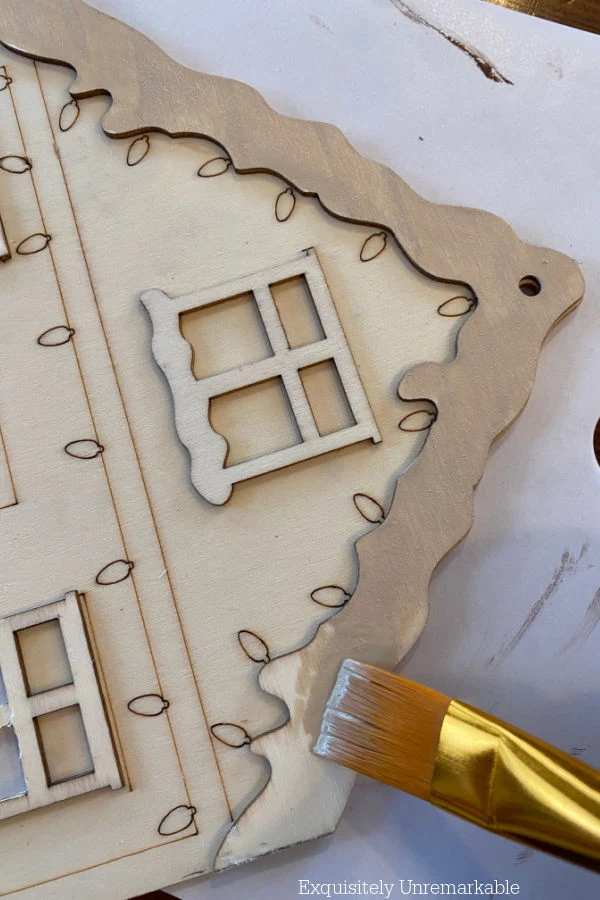
I used a brush to slightly darken the roofline and any of the wood details that were raised.
I used very small ones and put them on with glue since the wood was so thin.
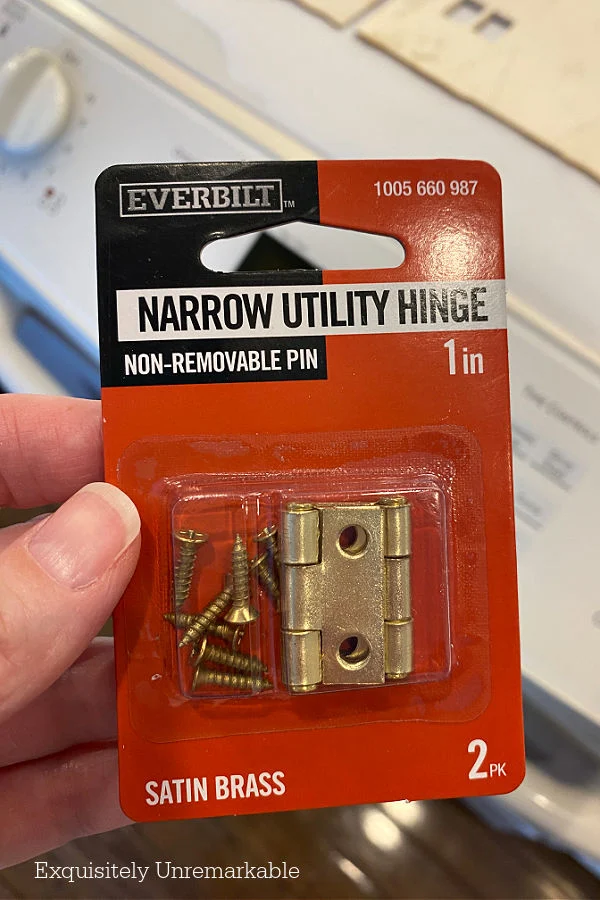
That part of the process was super simple.
I lined my houses up on a straight edge so they'd stand up evenly when joined.
Then I placed the hinge between two houses, making sure it was facing the proper way so that when I closed the houses they'd lay flat.
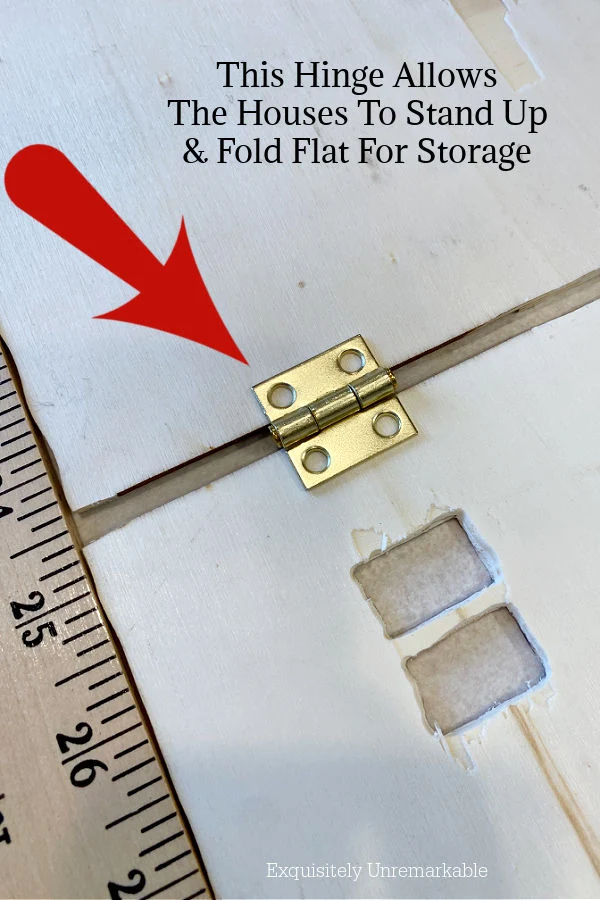
Then I glued them in place with a bit of this epoxy.
At first I tried some awful bubbly glue that looked like Invasion of the Body Snatchers and then I tried using a hot glue gun, but after a few attempts, I realized neither was going to work.
So for everyone out there who thinks that my DIYs and crafts are always smooth sailing...um, no. This was kind of a mess.

The only problem was that since then I'd decorated my mantle with my Christmas sheep tray and he looked so good there, I didn't want to move him.
I needed a new place to display my houses.
That's when I thought about wrapping that village around my tree. In place of a skirt.
I'd always wanted to place a decorative collar or one of my galvanized tubs around the base, but my tree is large there's not a lot of room under it for with of those.
The houses were small enough to fit and were so sweet, I literally ran to set them up.
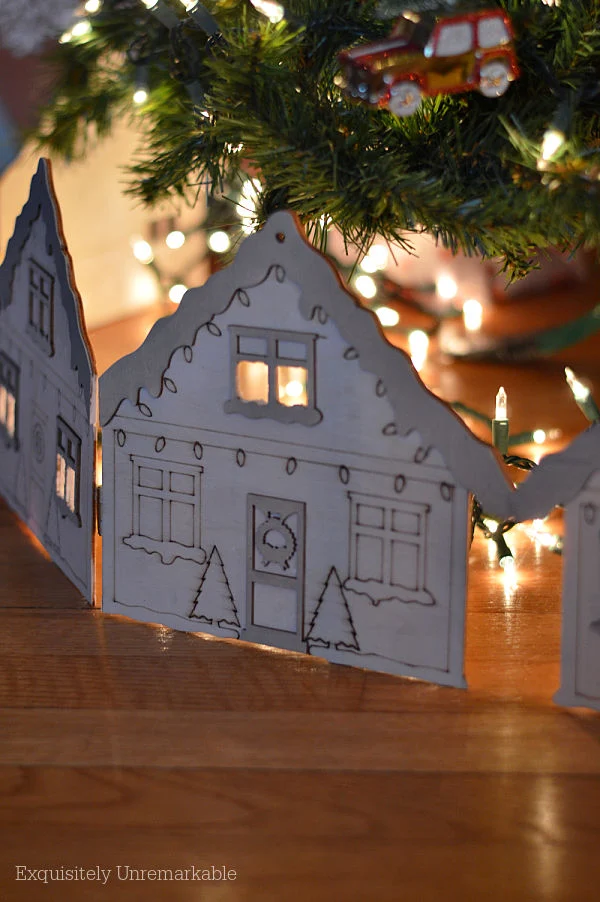
They looked perfect.
Way better than I ever expected.

A dollar store creation.
A crafty dream come true.
Just in time for Christmas.
🎄
What's around your tree?


That was a LOT of work! But, as you say, the holes can be faked with yellow paint - or buy them with the windows already cut out! The little village turned out great! I may have to go to DT and get some, just in case I ever put up a tree again.
ReplyDeleteIn the meantime, I use my crocheted tree skirt for a cape!
Yes, this was an idea that definitely involved more than I originally anticipated. If I did it again, I would buy the houses with the windows already cut out. Ps- Love the tree skirt cape!!
DeleteGreat job! So clever... They turned out so cute!! Happy Holidays :)
ReplyDeleteThanks Dotte!! Gotta love that Dollar Tree! I appreciate you taking the time to stop by and let me know you enjoyed this one. Happy Holidays!!
DeleteLove this. Looks great around your tree. Having my condo party tonight for all the gals in the building and friends. Have a good evening. Hugs. Kris
ReplyDeleteThanks Kris!! It really is sweet, I'm glad I could make it work. Enjoy your party!! Sounds like fun!!
DeleteI love it!!! It really is perfect around your tree. I have a farmhouse ruffly skirt, but it's covered with wrapped gifts.
ReplyDeleteThanks Mari! You are way ahead of me, I really need to start wrapping!!
DeleteThat was quite a bit of work but SO worth it, Kim. I absolutely love this idea!
ReplyDeleteDefinitely not my normal super easy DIY, but every now and then a little stretch is worth it…especially since it’s my husband who’s doing the stretching. Haha!!
DeleteHow do you think of these things?!? This is so cite!!!
ReplyDeleteThank you so much!! Hahaha...I don' t know. I always joke that it's my {somewhat useless} super power! 😉
DeleteThis project turned out great!!!! What glue did you find worked on the hinges?
ReplyDeleteHi there, I went back and put a link to it in the post, but it J-B Weld clear epoxy. It worked!!
DeleteKim, this is just darling and I love the unconventional tree skirt idea!
ReplyDeleteThanks so much!! It makes me smile whenever I walk in the room.
DeleteKim this is adorable and different than anything any of us have around or Christmas trees. More work than you wanted but worth the work!
ReplyDeleteDefinitely more work than I wanted...or anticipated...but yes, for me, totally worth it! You can ask my husband if he thought it was worth it! Haha!
DeleteKim, you hit the jackpot on this one. I've seen those expensive ones and your's is running neck and neck. Absolutely darling. You are an expert with a mind very talented. Merry Christmas..xxoJudy. P. s. Notice that I can get on your site with this new computer. ???
ReplyDeleteThanks so much, Judy!! That's a lovely compliment...and yes!! You're back!! I love it!! Merry Christmas!
DeleteThat is gorgeous! What a grand idea.
ReplyDeleteWhy, thank you for those lovely words!!
DeleteI've got a tree collar around my tree, but I love the idea of something different and crafty and this is sure sweet!
ReplyDeleteThanks Gina! I always wanted a collar, but my tree is so full at the bottom, and the branches go almost to the ground, it never worked for me. That surely would've been the easier fix. This one is cute, too, thought. So glad you like it!
DeleteKim this is such an original idea. Very clever to turn these houses into a skirt. I have never seen this before.
ReplyDeleteThanks Mary! I just love the way that little village looks (still looks since I haven't taken it down yet) under my tree!!
DeleteI really like this Kim. I will have to find some houses like this because I want to copy!! Pinning!!
ReplyDeleteCarla
Thanks Carla! I found them in the Christmas aisle at Dollar Tree, but I linked to similar houses on Amazon if you can't find them there. Happy crafting!!
DeleteKim,
ReplyDeleteAnother great idea!! I definitely have to take a better look at Dollar Tree crafts...
Hugs,
Deb
They have some great stuff in those holiday aisles, Deb!!
Delete