Old bathroom and kitchen tiles make the best DIY drink coasters.
You can whip up a few for Christmas in no time with this quick craft idea.

The colors and styles were a mix of classic vintage, which I loved, and dated 80s updates.
Which I did not.
So for our first renovation we gutted the hall bathroom and covered it in 4x4 inch white square wall tiles that better suited our 1920s beach cottage.

We also removed the bathtub...that had apparently been used by a former renter to bathe their monkey...yes, you heard me right, a monkey...in the same tub I was going to bathe my toddlers.
No. It had to go.
In its place, we installed a jetted tub, thinking it would be a luxury addition, but unfortunately, all we ended up with was a tub that was nightmare to clean. So we ended up ripping that tub out a few years ago, as well.
Of course, after two rounds of renovation, I'd amassed quite a few of those white tiles.
For a long time I left them in the box, buried in the basement, but this year I decided to pull them out and get all decoupage Christmas crafty and make some upcycled drink coasters.

They were so bright and cheerful, plus they were the right shape and size. Of course, you could make these at any of time of year with napkins of your choice.
Here's how I did it.
How To Make Custom Tile Drink Coasters
I want to preface the step by step, by saying that I did use two different decoupage methods here. I've always wanted to try the iron technique and compare.
Since the tiles were flat, I figured this would be the perfect DIY for my experiment.
Supplies:

- Ceramic tiles
- These Tree Napkins
- Mod Podge or Decoupage Medium
- Scissors
- Foam Brush
- Iron or Craft Iron- on my list for Santa
- Parchment Paper
- Small Sanding Block
- DecoArt Gloss Varnish
- Plastic Wrap or Bag or Surgical Glove
- Paint Brush
- Felt
- Glue Gun
Step 1: Separate Napkin Layers
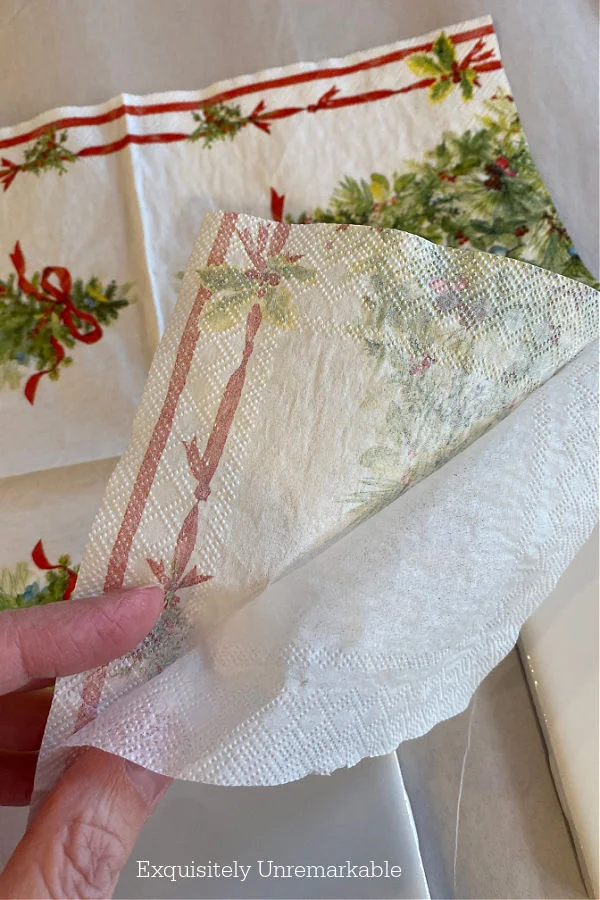
For both methods, I started by carefully separating all the layers of the napkin. Remember, sometimes there's a third layer that's almost invisible.
Step 2: Cut Pattern
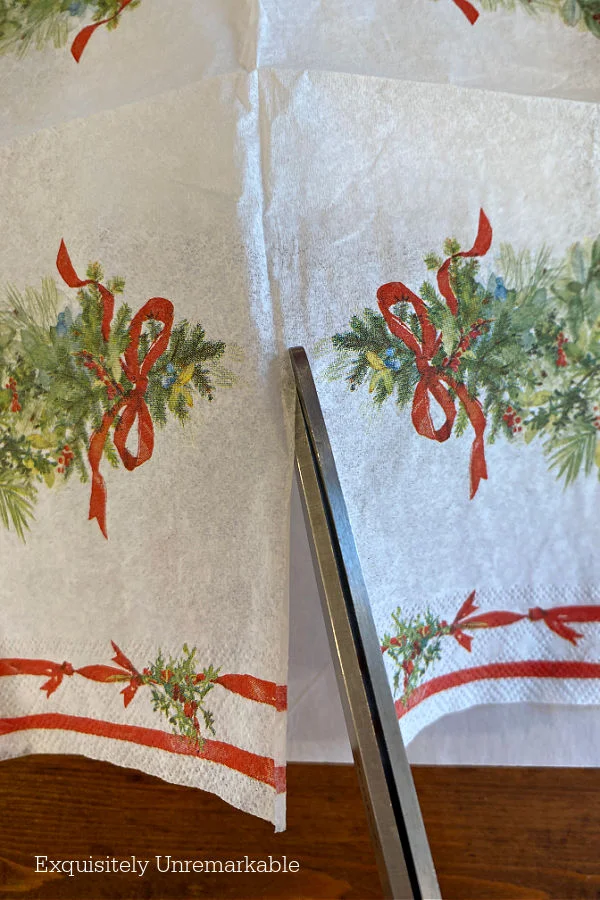
Next up, I cut the napkin into sections, so I had 4 patterned squares.
Step 3: Add Decoupage
Then I grabbed a tile and I coated the entire surface with decoupage.
You can use Mod Podge or make your own. There are tons of brands to use.
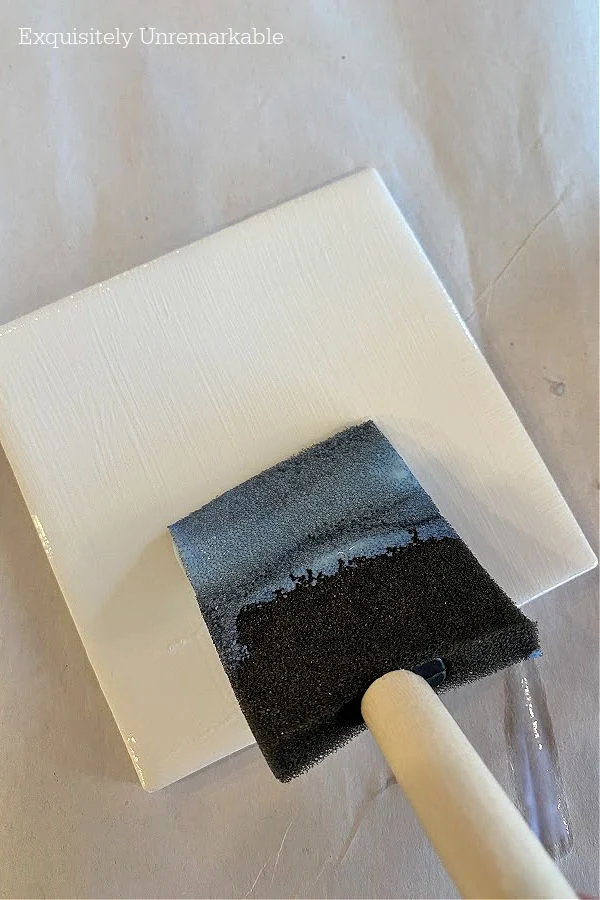
I like Dixie Belle Satin Sealer. Just make sure whatever brand you use, you coat the tile well.
Step 4: Add Napkin To Tile
Traditional Decoupage Method:
Now, this is the way I've always decoupaged...and how I made all of these other projects.
While the decoupage gel is still wet, I placed my napkin on top of it.
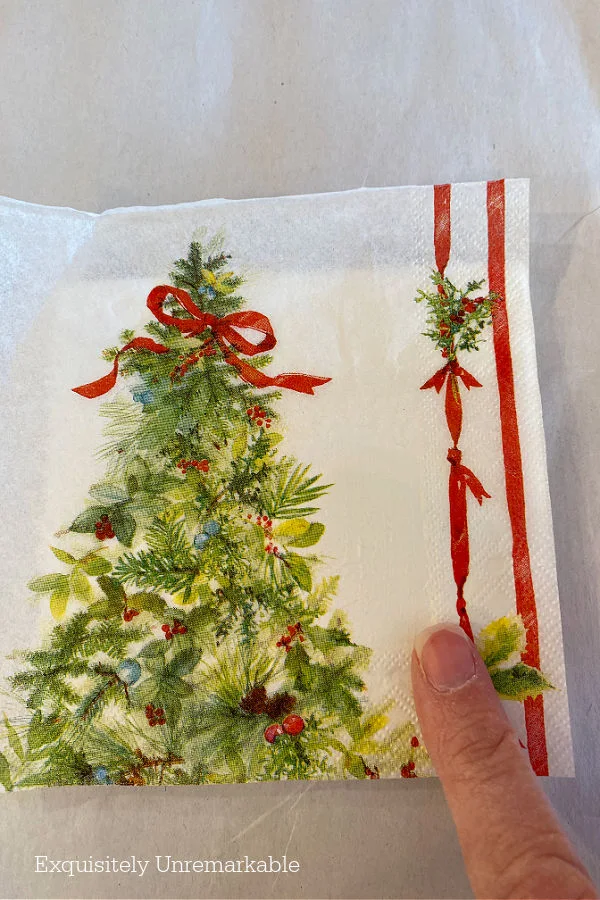
I centered the design and pressed it into place with my finger. Then I grabbed a plastic baggie, clear plastic wrap or a surgical glove and smoothed out any of the wrinkles.

Then, I added another coat of decoupage gel over the top of the napkin to lock it in place and smoothed it out with my plastic clad hand one more time.
And let it dry.
Iron On Decoupage Method:
For the iron method, after I added the decoupage to the tile, I let it dry completely. I put it aside for about an hour, while I worked on my other coasters.
When it was ready, I placed the napkin on the tile and laid a piece of parchment paper over it. I performed this part of the craft on my ironing board to protect my countertop surface.
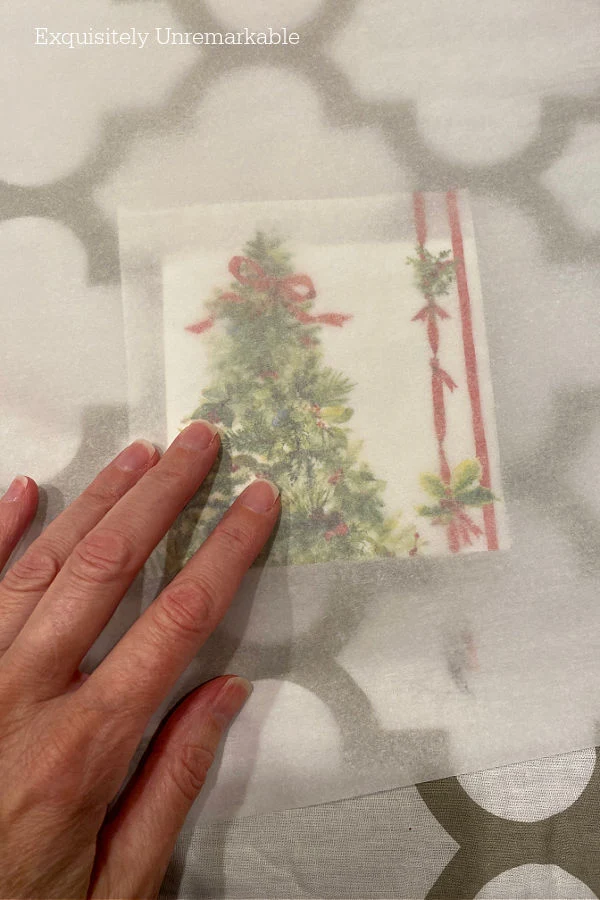
With a hot iron, on a no steam setting, I ironed my napkin onto the tile.
I kept my iron moving at all times, in small circles, until the napkin was secure.
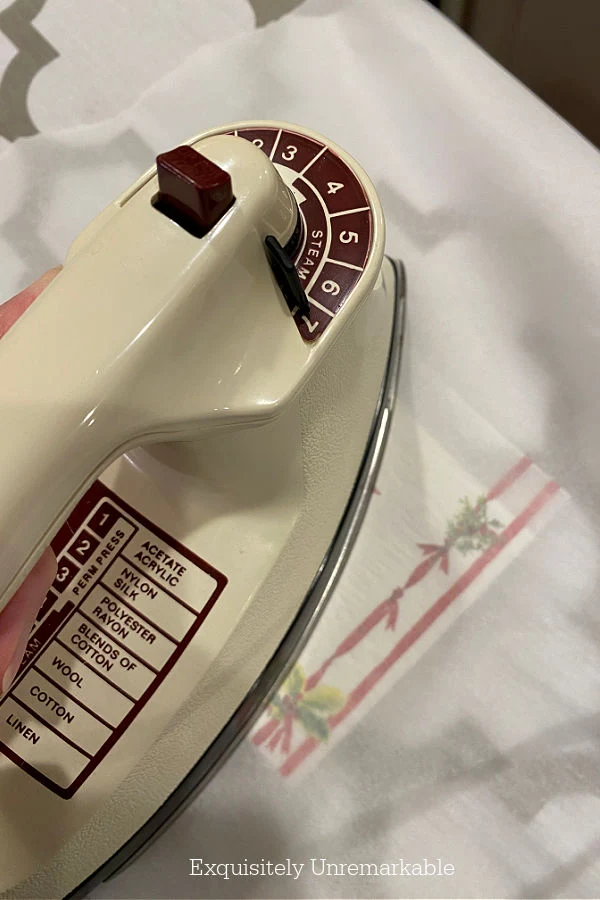
I did peel back the parchment to double check my progress before continuing. If I didn't feel as if the napkin was sticking, I just applied more heat.
*I will say, be warned...my tile got very, very hot. I recommend using a glove or pot holder of some kind while doing this part of the project and while handling the tile after until it's completely cooled.
Once the tile was cool, I peeled the parchment paper away to reveal a perfect, wrinkle free design.
I have to say, this was definitely a less messy way to use decoupage. There was also no worries about ripping or tearing the napkin while trying to smooth out any bubbles or wrinkles.
Overall, I was impressed and might start doing any flat decoupage crafts with this technique moving forward.
Step 5: Sand
At this point in my crafty process, I returned to the normal steps I'd take in any decoupage project. Cleaning up the edges.
For that I used a small sanding block.
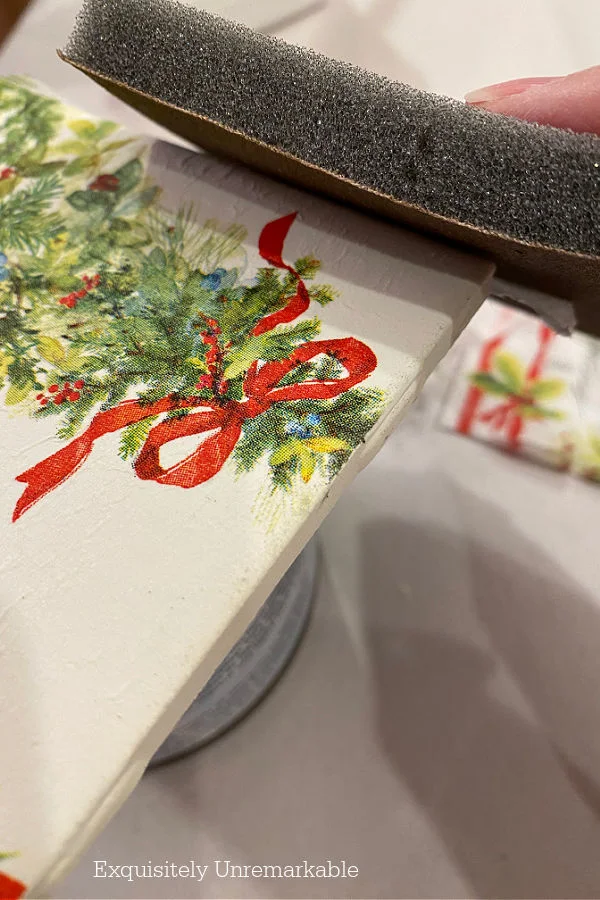
I slowly rubbed it along the edges of my tiles to remove any of the napkin that extended over the sides.
Step 6: Seal
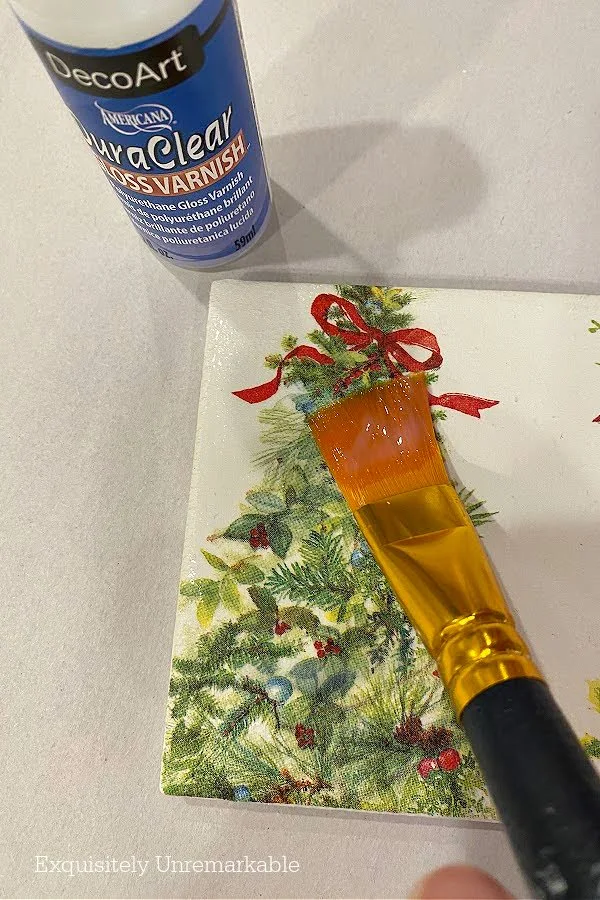
Lastly, I sealed them all with a high gloss polyurethane varnish, so they would be protected from the drinks that I was planning to place on top of them.
Step 7: Add Felt
And while I was excited to know that I wouldn't have to repair any water rings on my wooden tables, I needed to make sure I wasn't going to have to repair scratches in the finish from the rough underside of my new tile coaster.
A couple of felt squares hot glued to the bottom of each one took care of that issue.

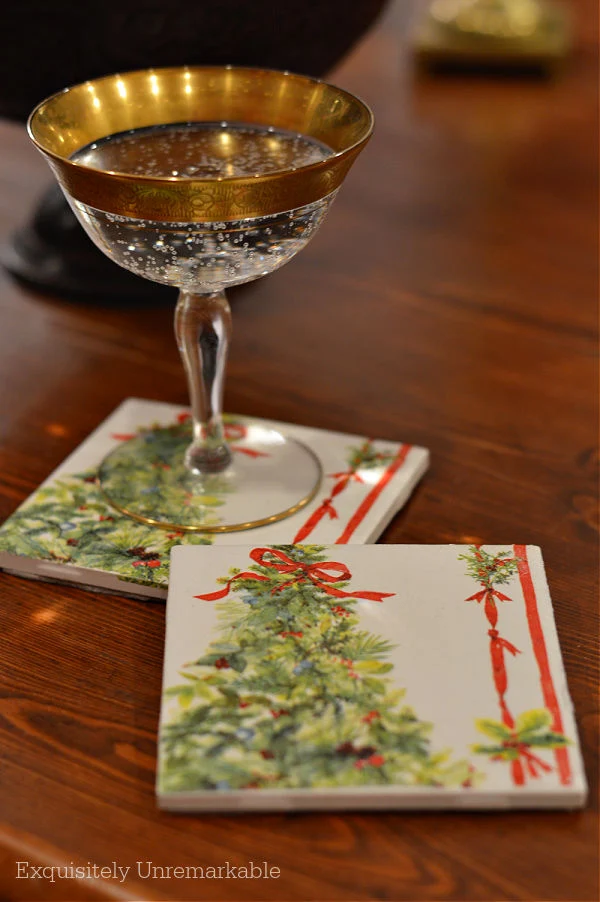
When I was finished, I had several sets of fabulously festive Christmas coasters.
Hand made in custom colors to match my decor.
Protecting and decorating my holiday home.
Or to give away as gifts this season to friends and loved ones.
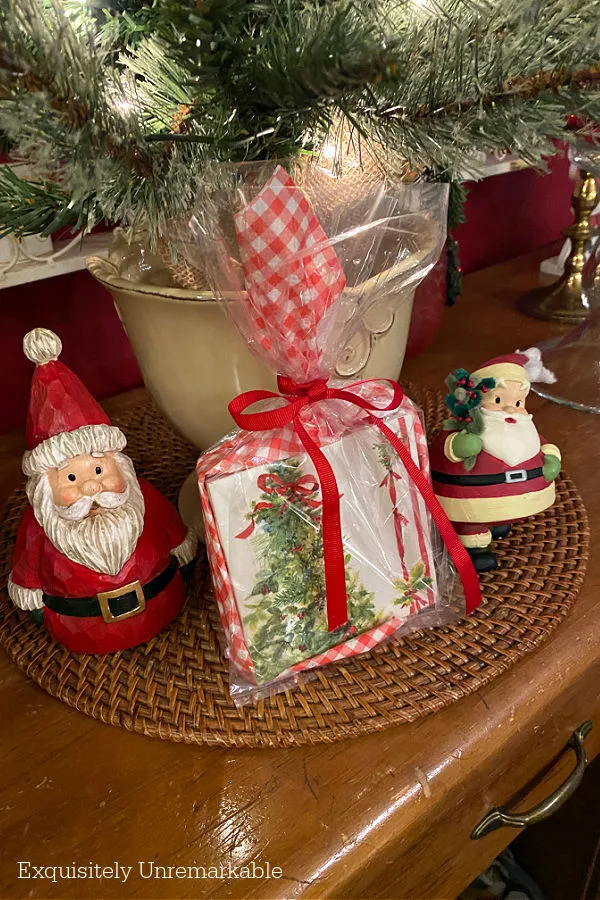
Helping Santa spread a little cheer.
One tile at a time.
All thanks to my monkey-less bathtub.
And those never ending renovations.
😉
Merry Christmas, Friends!



This may be my favoritev DIY of yours ever! I added that iron to my list. How cool is that iron? I'm going try this after the holidays. The ideas are swirling. Have a great weekend!
ReplyDeleteI just love this iron method and I add that iron to my list, too!! If you try it you'll have to let me know!!
DeleteOh, wow! These are so cute!!! I love the napkins! I'm saving this idea!!
ReplyDeleteThanks Mandy!! There are so many pretty napkins out there, the possibilities are endless.
DeleteThese turned out great, I adore that napkin on the tiles. I love using my iron on decoupage projects.....it's so fun not dealing with wrinkles! 🎄
ReplyDeleteThanks so much! This iron on method is new to me and I'm so excited to try new projects.
DeleteThese came out great, Kim. I made similar coasters a few years ago but didn't know about the iron method for decoupage then. It really is a game-changer!
ReplyDeleteThe iron method is really cool, Ann! I can see it becoming my go to decoupage technique moving forward. Happy Christmas crafting!!
DeleteWhat a darling idea! The coasters turned out so lovely!! - Briana from Texas
ReplyDeleteThanks so much, Briana!! I just love the napkins!
DeleteThese are too adorable and I love the print on the napkins. These are going to make great gifts. You my dear are so crafty. I am loving all your re loves. Hugs and Happy Weekend. Kris
ReplyDeleteThanks Kris, I love those napkins, too. I used them on several crafts this season. Happy Holidays!!
DeleteI love it. And yes, we saved tiles from our kitchen project, you are so right, they make great crafts.
ReplyDeleteLove, Carla
They really do, Carla..and thank you my friend!
DeleteOh Kim, these came out fantastic! I love them. I had never heard of the iron method before but will definitely try it.
ReplyDeleteThanks Carol!! It was new to me, too, but now I'm a huge fan!!
DeleteThat's so cool, I'm going to have to try the iron decoupage method. These would be nice to add to a gift basket!
ReplyDeleteI highly recommend the iron on method!! I can't wait to try it on more things!
Delete