Here's the easiest way to make Christmas ornaments with seashells.
It's a quick DIY, simple to customize to match your decor and get foolproof results every time.

And it's a great moment.
I get such a charge.
I mean, don't get me wrong, I enjoy browsing and finding things I never knew existed, but there's really nothing like the thrill of the spotting a treasure I've been itching to locate.
Sometimes for years.
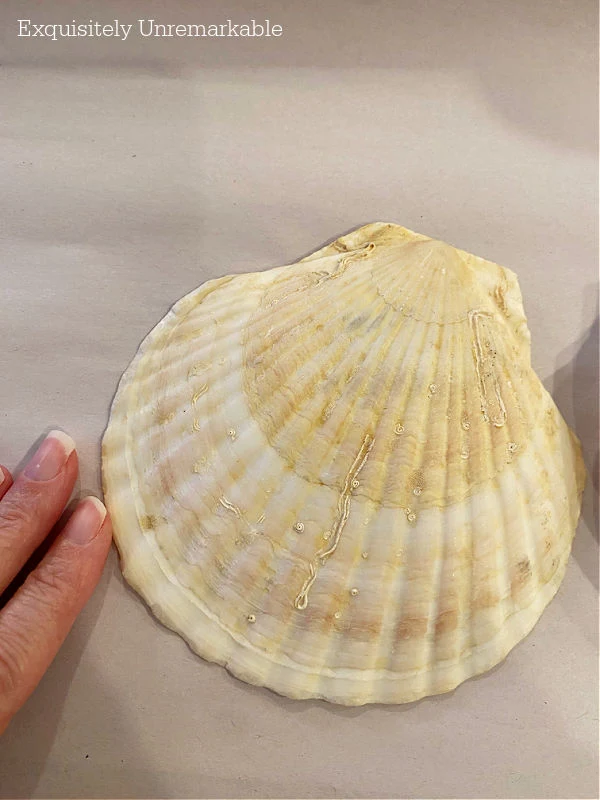
For example, over the summer, I was in my church thrift shop and saw a box containing 6 large scallop shells for five dollars.

And they were huge.
As large as my hand.
Now, I live at the beach, so shells are not a novelty around here. They're literally everywhere.
I collect them and place them in my garden, craft with them and display them on their own.
However, they're not these shells. These shells are tropical.
Ideal for crafting, perfect for making ornaments.

So that's what I did.
Yes, yes, it's another decoupage project, but for some reason, it's the medium that's caught my attention this season.
Especially after I started decoupaging spoons.
It's so easy to get perfect results and you don't need to know how to paint or draw when there are so many gorgeous napkins out there.
It's been hard to stop.
How To Make Shell Ornaments For Christmas
Lots of people decoupage shells. Many use oyster shells. They make great Santa faces, the shape is just right for the beard and hat.
Fan scallop shells, like mine, give you more room for larger artwork. They're available, on the beach and in shops, in a variety of sizes.
Of course the bigger the better in my book.
Supplies:


- Fan Scallop Shells...although any shell would work for the process
- Fun Seasonal Napkins - like mine
- Decoupage Medium - Mod Podge
- Scissors
- Brushes
- Plastic Bag or Surgical Glove
- Glue Gun and sticks
- Ribbon
Step 1: Clean The Shells
I started by wiping out each shell to make sure it was dust, debris and sand free.If your shells are from the beach, you'll also want to wash them soap and water, to get rid of any salt water or stinky low tide smell.
You might not notice that on day one, but trust me, it'll make itself known in time.
Step 2: Prepare Your Napkin
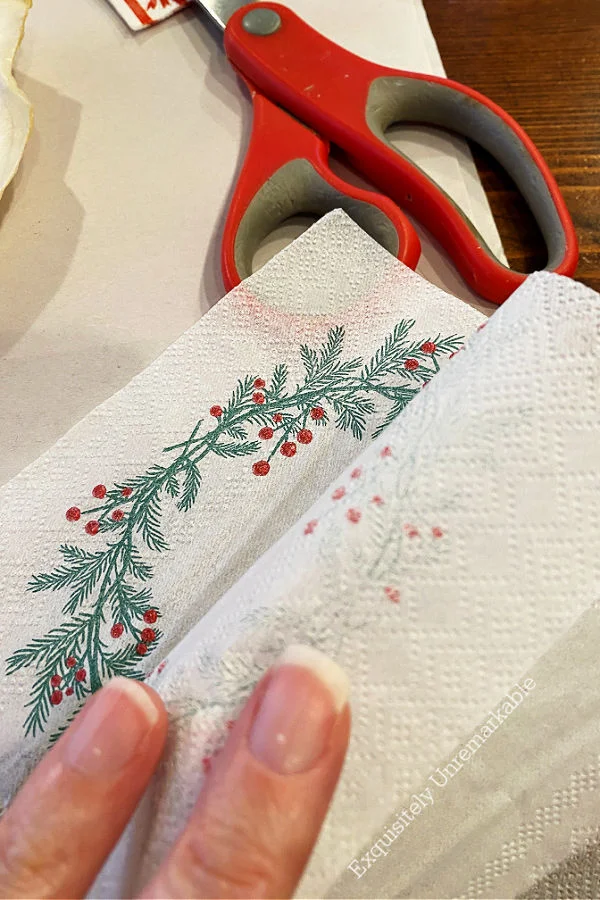
Once you choose your napkin, you need to decide on the part of the pattern you'll be using and cut that area out.
Then you need to separate the layers of the napkin, keeping in mind that some are two ply and some are three.
Make sure to get them all, otherwise your top, patterned layer will not stick when you add the Mod Podge.
Step 3: Mod Podge
Ok, so disclaimer, I don't use Mod Podge anymore. I just don't love it. I use Dixie Belle Satin Sealer, but it works the same.
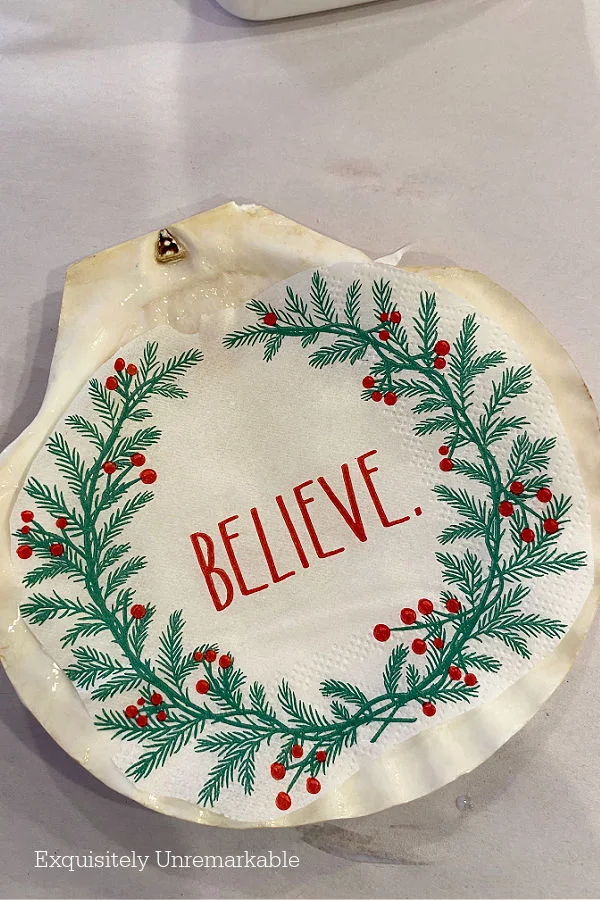
Brush it on the shell.
Place the napkin on the wet Mod Podge.

Smooth it down with a gloved or baggie covered hand, so your fingers don't stick to the tacky napkin, while carefully removing all the bumps and wrinkles.

Then let it dry for a bit.
Step 4: Seal

Add another coat of Mod Podge or sealer over the napkin and again, use your plastic covered fingers to smooth out any bumps or lumps that may have reappeared.
Step 5: Add A Hanger
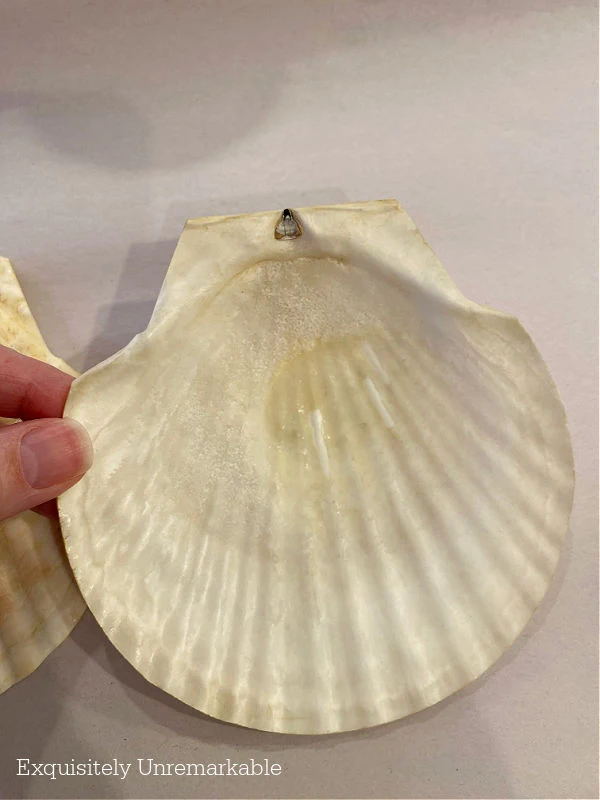
Lastly, you can add a hanger by hot gluing a small piece of ribbon to the back of the shell. You can also use a small rotary tool or drill to make a hole in the shell.However, I've found that glue works well and there's no chance of damaging the shell which is always a possibility when trying to make a hole in the delicate

Some people add glitter or gold leafing or paint to the edges of the shells for a bit of extra sparkle, however, I think less is more.
So I left my shells relatively unadorned.
When I was done I had three giant, and very festive, new seashell Christmas tree ornaments.
A holiday ode to my small beach community.

And Christmas at the shore.
Thanks to a fabulous little local shop.

🎄
What have you found lately?
Ho-Ho-Ho, Friends!!


I love this! I am making a mental note to look for beautiful Christmas napkins on sale after the holidays! I may get brave enough to try one of your découpage crafts! I love how you can envision something super creative when you see everyday objects. I wish my brain worked like that!
ReplyDeleteMandy, I have faith in your abilities, decoupage is so easy, you can do it!! There are so many things you can do with it and any of the crafts I made for Christmas can be made for other seasons and occasions. You'll have to let me know if you try!!
DeleteHi Kim. Merry Christmas to you and yours! Just wanted to let you know how much I enjoy your blog. You are an inspiration. Happy New Year! Judy Clark
ReplyDeleteMerry Christmas, Judy! THank you so much for your very kind words and your lovely Christmas wishes. What a beautiful gift! ❤️ I hope you are having a fabulous Christmas and Happy New Year, too!! ~ Kim
DeleteWith how beautiful some of the napkins are repurposing them is fabulous. These are so pretty. Hugs and Merry Christmas. Kris
ReplyDeleteThanks so much, Kris! Yes, love those napkins. I actually used some of them for our celebrations the past two day…including the hand towel sized ones for the bathroom. I mean I could only decoupage with so many of them! Haha!!
DeleteYou come up with the most clever ideas! Your seashell ornaments are gorgeous!! - Briana from Texas
ReplyDeleteThanks Briana!! I'd been looking for shells like these for a long time.
DeleteWhat a cute idea. Maybe next year for me as I have a lot of shells! Merry Christmas night, my friend. xo Diana
ReplyDeleteI know you would make beautiful ornaments, Diana!!
DeleteKim,
ReplyDeleteJust wondering if you will be doing a Christmas Home Tour of your lovely home????
Hugs,
Deb
Hi Debbie, I had hoped to get to it, but the season was a busy one and I didn't get to it. Thanks for asking though, I have to put it on my list for next year!!
DeleteMerry Christmas and I am a sucker for shells. This is right up my crafting alley. I am pinning.
ReplyDeleteCarla
This was a fun one, Carla! I could see you decoupaging pictures of your ducks and hens on shells for the holidays! They would be so cute hanging from your tree!!
DeleteA fun idea! Wishing you and yours all the best for this new year, dear Kim, hope it's a good one!
ReplyDeleteAmalia
xo
Happy New Year, Amalia! Wishing you nothing but blessings in 2024. Xo
Delete