Grab a dollar store metal burner cover to make a retro Christmas wreath.
If you're a vintage style decorator, it's a quick, inexpensive and crafty way to add some fun your home this holiday season.
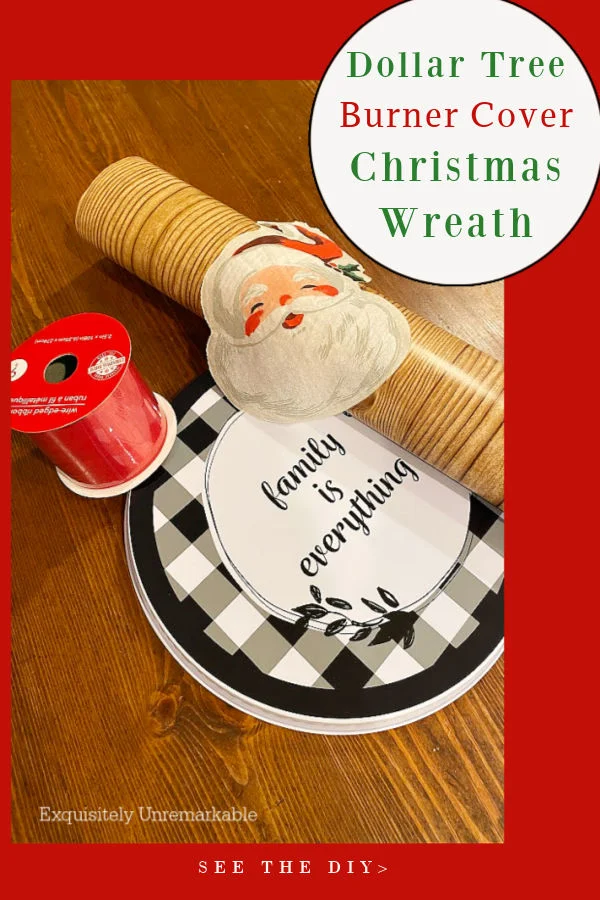
For some reason, this year, I seem to be all about vintage Santas.
I don't know why, they've never really been my thing before.
Maybe it's because I'm feeling a little nostalgic and old enough to remember a time when these sweet faces weren't considered vintage.
Which I guess makes me vintage.
How fabulous.
Anyway.
This week, the temperature dropped dramatically, so while my husband and I were on our nightly walk, I skipped the dock and, instead, I ducked into every shop on the block.
Just to warm up.
Well, in one charming place, I spotted these napkins.

I couldn't resist and bought the one and only pack in the store.
And while I was sure I wouldn't be wiping my mouth with Santa's face, I had no idea what I was going to do with them.
Until a few days ago, when two of my very talented friends challenged me to come up with a Dollar Store Christmas Wreath. That sparked an idea.
A perfectly vintage style idea. A little bit kitschy, to fit my throwback Santa napkin, and in keeping with my retro, wood paneled, shag carpet covered Christmas memories.
Plus, I already had a huge stash of dollar store supplies hiding in my craft closet. So I jumped in and started my DIY.
Before we get to it though, I encourage you to pop over to visit Julie at Redhead Can Decorate who made a Dollar Store Christmas Ice Wreath and Michelle at Our Crafty Mom who made a Dollar Tree Red Cardinal Christmas Wreath.
Ok, now let's talk about Santa.
How To Make A Dollar Tree Metal Burner Cover Santa Wreath
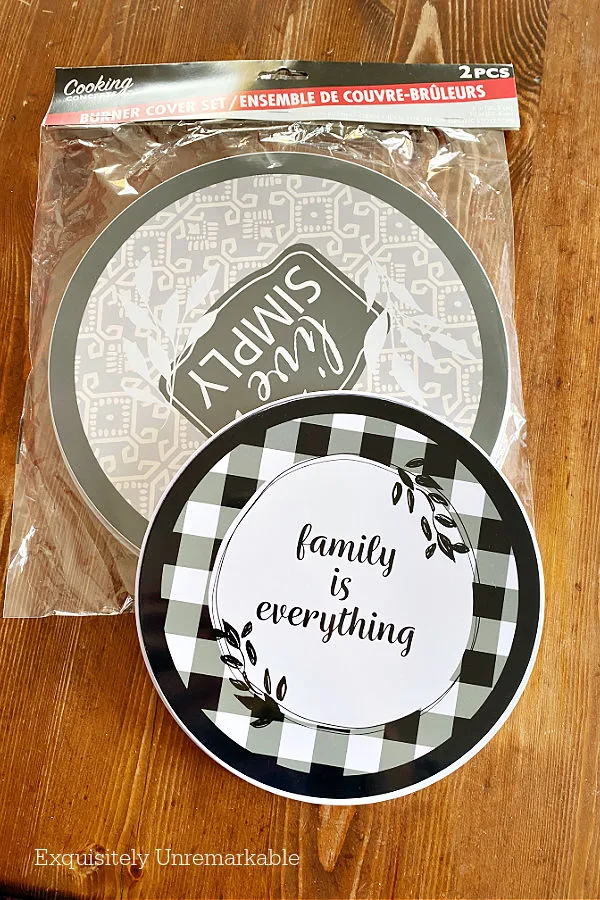
As I said, luckily, I already had all the supplies on hand for this decoupage Christmas project.
What Supplies Did I Use?
I couldn't find my napkins online. However, these Santa face napkins are similar and even better you can buy just a few.
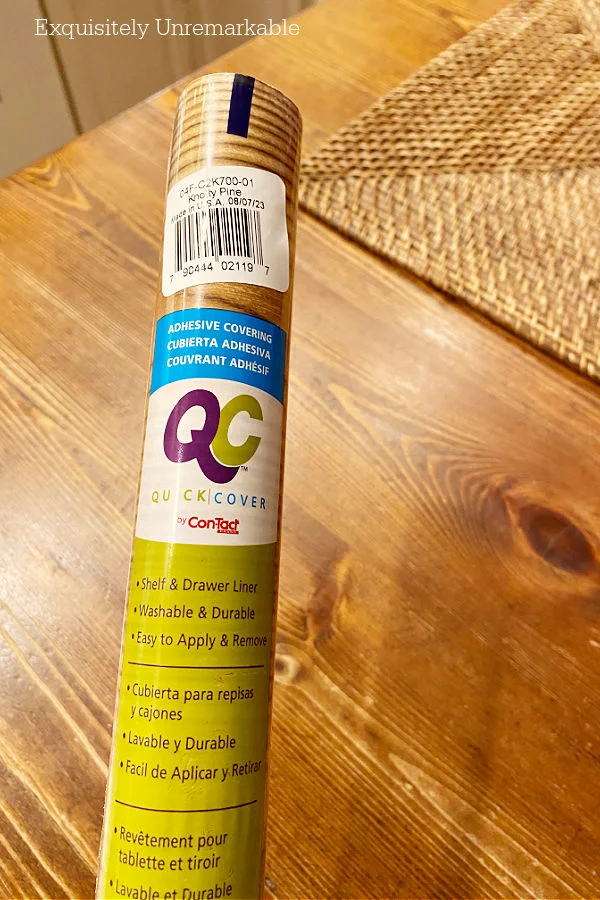
In addition, I picked up this wood paneled contact paper. It's actually called, knotty pine. The ribbon jumped in my cart, because it was red. Big surprise.
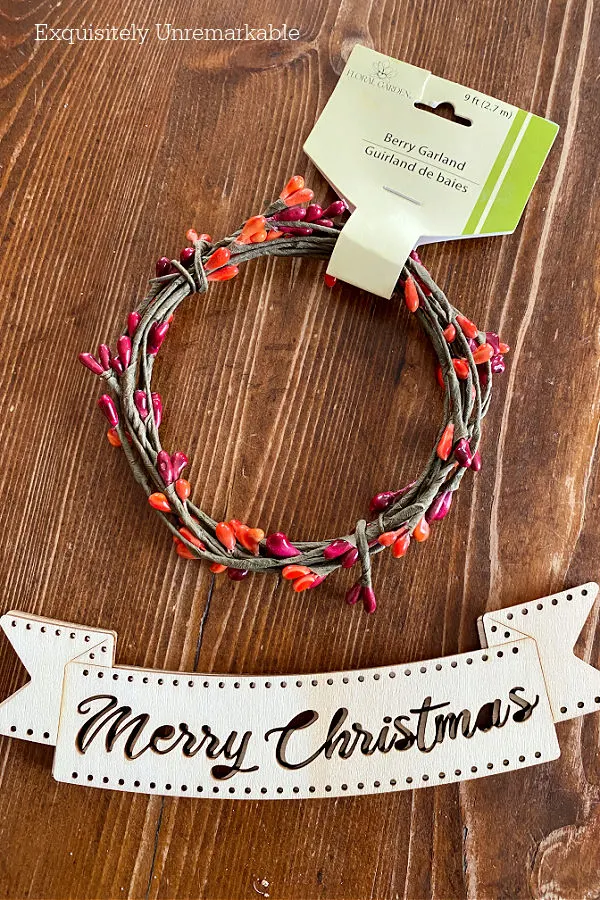
I also found a few pip berry garland - like the ones I used to make my candle rings - and a package of wooden Merry Christmas signs. They all had the right vibe, but you can add whatever makes you smile.
The Directions:
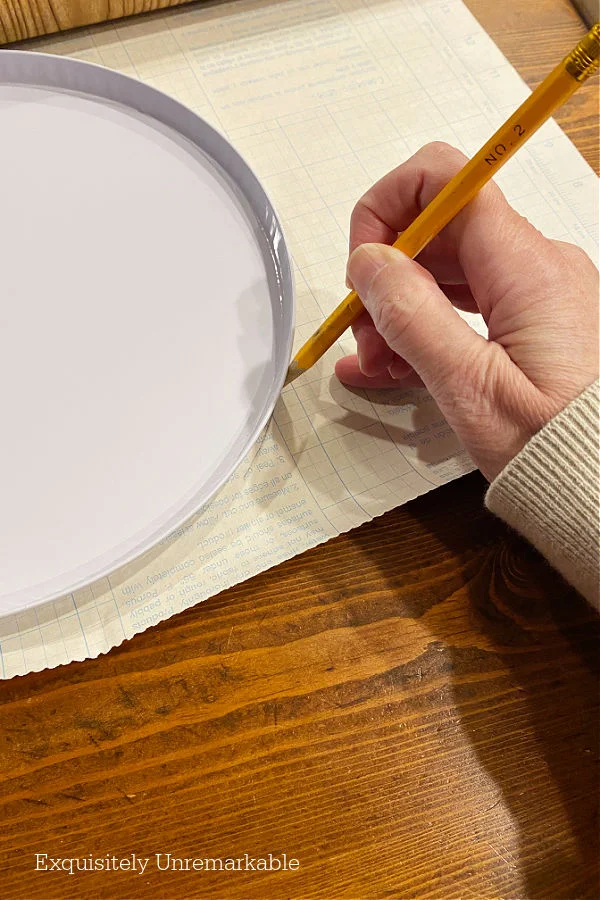
To start, I turned the metal burner cover over and traced it onto the back of the contact paper and cut it out.
Next, I peeled the backing away from the contact paper.
And I stuck it onto the front of the burner cover.

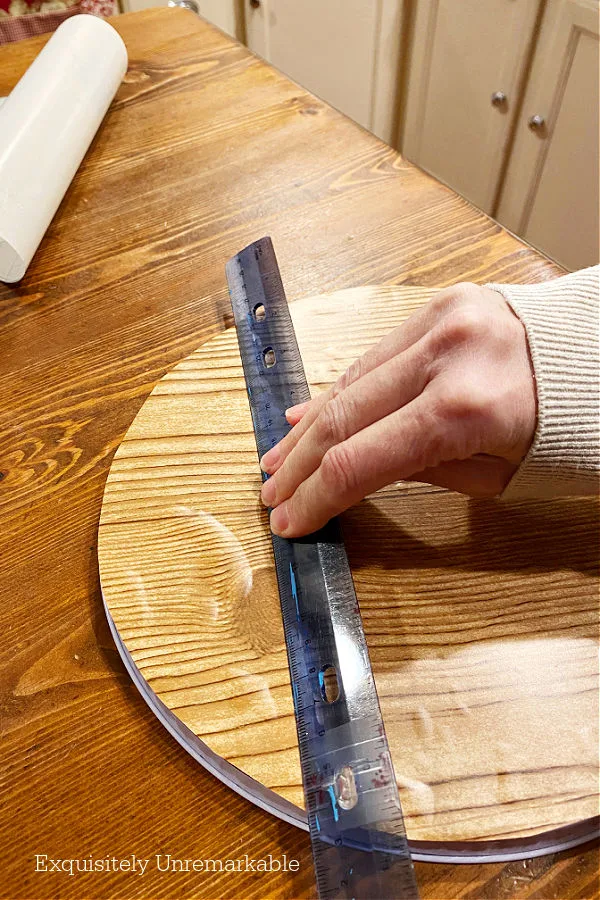
Now, if you are familiar with it, then you know it can bubble up.
To remove those pockets of air from the contact paper, I ran a ruler over the top of the paper until the air was gone.
Once the base of my wreath was complete, it was time to move on to the napkins. I started by separating the top printed layer from all the others underneath.
Most napkins are two ply, but sometimes there's a sneaky third layer that gets overlooked. Santa was a three layer kind of guy, so I very gently pried it away without damaging his patterned face.
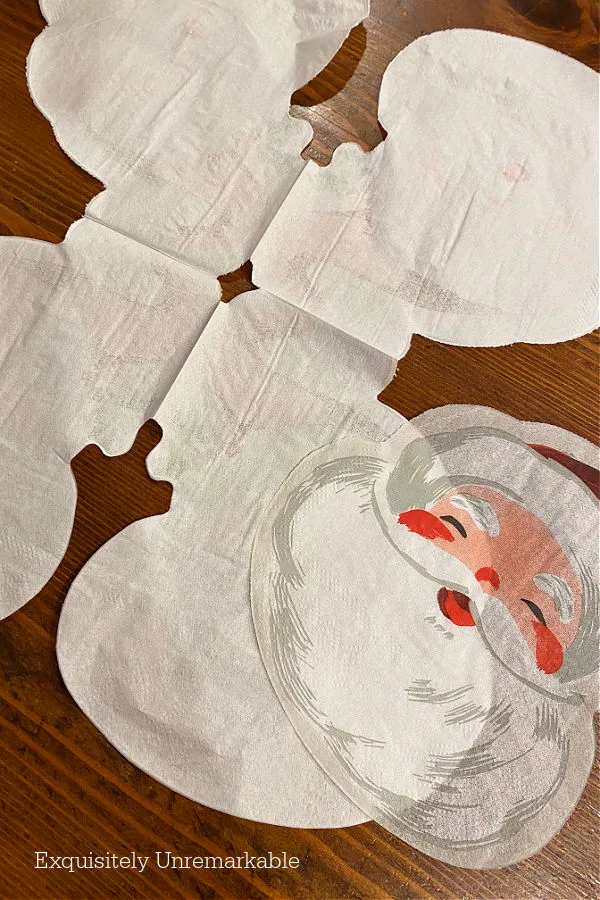
The extra white layer would mitigate that, but keep in mind I had to decoupage them as separate layers, otherwise the top sheet would slip right off.
So that's what I did. I added my decoupage medium with a foam brush to the top of the contact paper.

I use Dixie Belle's Satin Sealer. I just like it best.
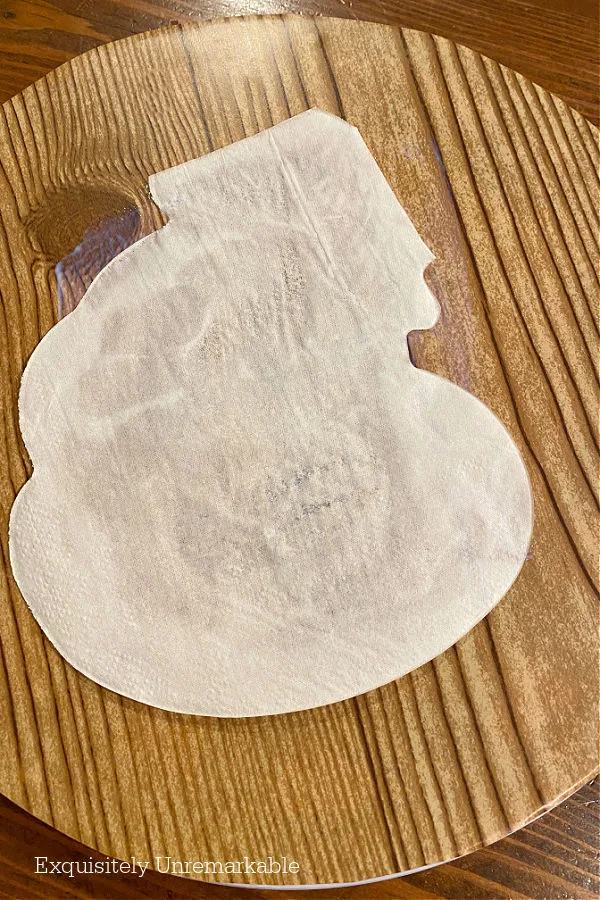
I laid the the white napkin on the decoupaged area and smoothed it down with my hands before adding another layer of decoupage over it.
I brushed on more of my sealer, covering the white napkin completely, before I placed Santa on top, lining the two shapes up perfectly.
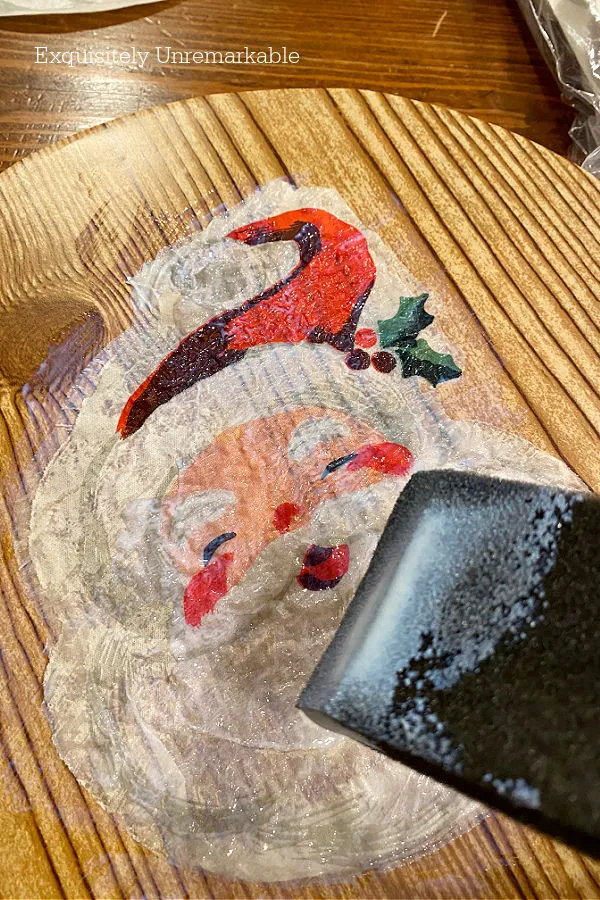
I smoothed the second layer down and added more sealer on top of the napkin and over the entire burner cover for a uniform shiny finish.
*Decoupage tip, it's easier to smooth the wet napkins down if you use a glove or a piece of plastic wrap.
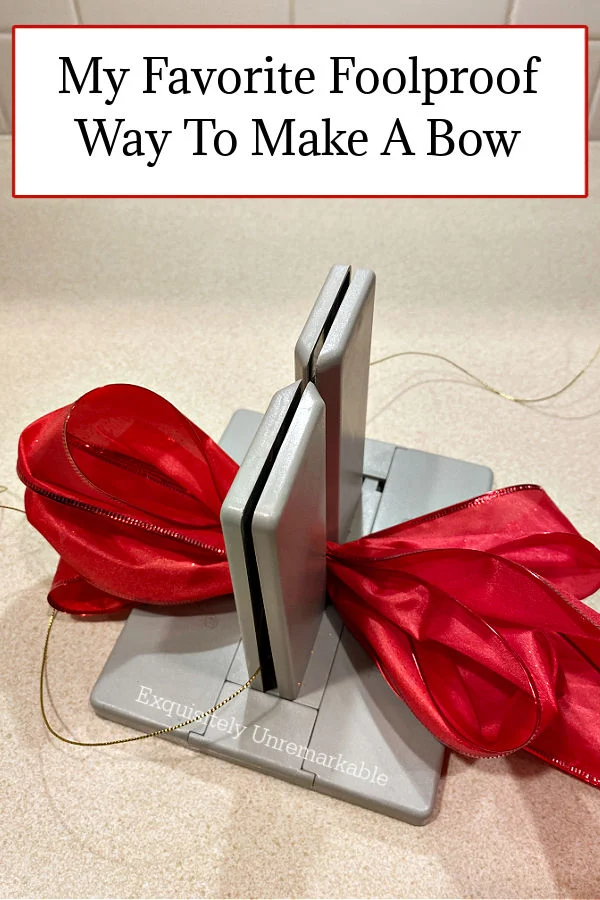
While it dried, I made a bow with my Bowdabra Bow Maker.

One that makes me smile whenever I look at Santa's darling face.
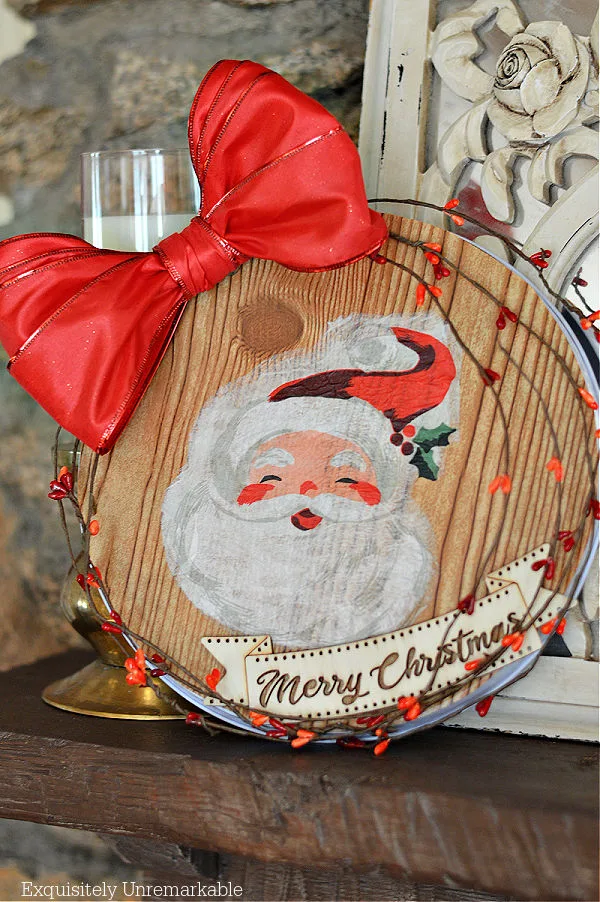
And one that only cost me a few bucks.
A small price to pay for a trip back in time.
Wouldn't you say?
🎄
Are you a vintage style Christmas fan?
If you're looking for even more crafty DIYs for the holidays, don't forget to visit my Craft Page for more Christmas ideas and inspiration.
Happy Christmas crafting, Folks!


Well, he is adorable! It always amazes me how well a napkin works for something like that. It looks like it's painted on. I like the old world charm! Your friends wreaths are all different and they are all cute!
ReplyDeleteThanks Mari!! I'm having so much fun with my Christmas crafts this year. Napkins are a little delicate for decoupage, so you need to be very careful, but they do give that hand painted look. Thanks for the visit and I hope you have a fabulous weekend!
DeleteKim this is absolutely adorable and looks very vintage. These signs go for a pretty penny in retail stores!
ReplyDeleteThank you so much! Wow, that's quite a compliment! I have to say, I wasn't sure how this one was going to come together, but it's really just stolen my heart.
DeleteYou looked at a burner cover and saw a wreath? Never in a million years would I have seen that! Santa is adorable and the wreath is fabulous, Kim. You are on a roll - keep the ideas coming!
ReplyDeleteThat’s my super power, Ann…seeing decor possibilities everywhere and in everything. It’s a fun one, but not a very lucrative one. Good thing I mostly shop at thrift stores and Dollar Tree! 😉
DeleteLook at you Miss crafty. This is so cool. You are really coming up with some sweet holiday crafts. Happy Weekend. Hugs. Kris
ReplyDeleteThanks Kris! I'm really having fun this season, getting crafty!!
DeleteKim, you made the cutest vintage wreath and I love that Santa!
ReplyDeleteThank you, Julie! The napkins were really too cute to pass up!
DeleteThis is super cute! I love that sweet Santa face.
ReplyDeleteThanks so much! I fell hard for that adorable face. I just had to have those napkins.
DeleteLOVE IT!!! Yes, I am into vintage Christmas. I have some vintage bulbs passed down to me from my grandma, they are always the finishing touch when we decorate the tree.
ReplyDeleteCarla
They sound lovely, Carla!! A vintage Christmas for all!!
DeleteThis is so cute, I love that little Santa napkin!
ReplyDeleteThanks Tania! I couldn't resist them.
DeleteKim,
ReplyDeleteReally cute!!!
Hugs,
Deb