I decided to whip up a few ghost lanterns to pop over my battery operated votives with Crayola Model Magic or air dry clay.
It was an easy craft and an adorable, budget friendly way to decorate my house for Halloween.
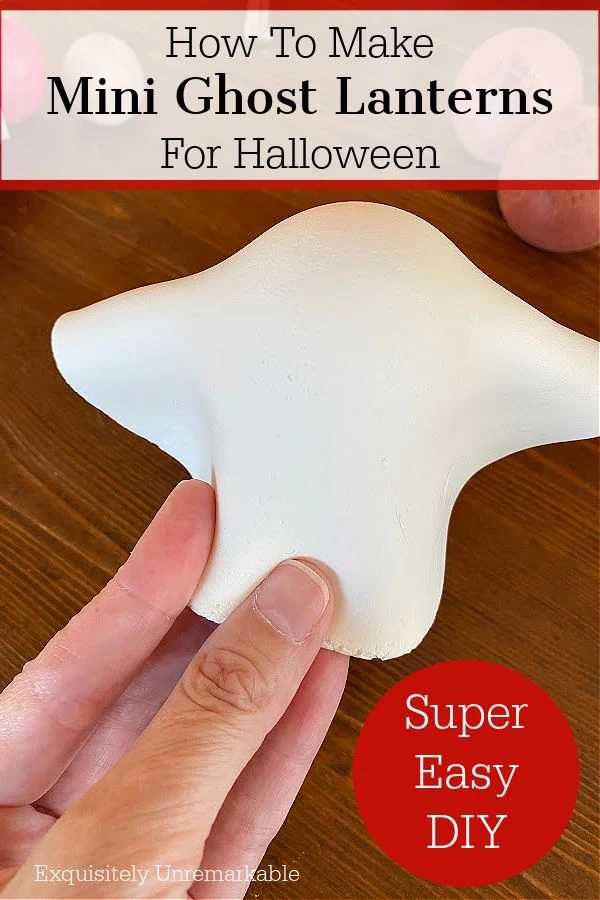
While I didn't find any great decor that afternoon, I did stumble upon the sweetest Halloween craft.
Model Magic Ghost Lanterns.
So stinking cute.
A few years ago, I made ghost lanterns out of some old, frosted glass shades that I’d found in a thrift store.
And they still light up my home every fall. They're quite large though. I thought these mini versions would be an adorable addition to my fall mantel.
And cheap ones, too.
You see, I'd recently come across similarly styled ghost candles online, but they were real candles that melted when you burned them. No thank you.
Model Magic was less than $4 a package and these lanterns would go on and off by themselves. Plus, I could use them year after year.
That's much more my speed.
I also really enjoy crafting, whipping up projects like my fan blade ghost and ghost banner and most recently a wooden ghost sign.
So that's the route I took.
Mini Air Dry Clay Ghost Lanterns
Now, a quick aside, since I made these guys a few weeks ago, I've seen them pop up on Instagram. There are several tutorials out there, using different supplies to make the body molds or the faces.I say go with the process you feel suits you.
I myself deviated a bit from the JoAnn tutorial, based on the supplies I had at home.
As a matter of fact, I made these ghosts with my family and we all used a slightly different approach.
We made different faces, and used different balls to shape the heads, making each one uniquely enchanting.
Supplies:


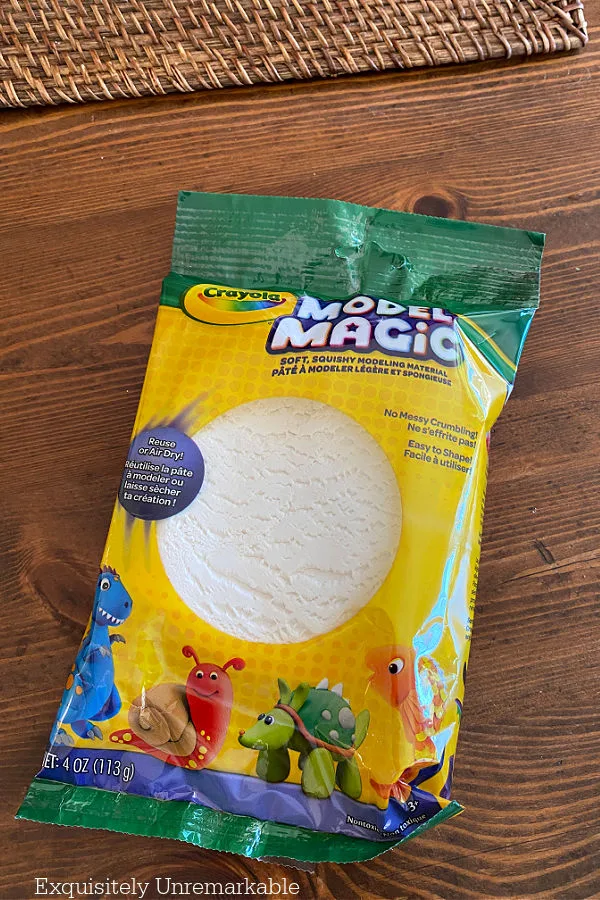
- Model Magic, one package makes 3 ghosts. You can also use Air Dry Clay. The process is the same.
- Small bottles for stand
- Small round balls for heads
- plastic wrap could be helpful if you don't have rubber balls. We used plastic to cover the wooden balls so the clay wouldn't stick.
- Rolling pin
- Straw
- Battery operated votives with timers
The Process:
I started by tearing the Model Magic (or Air Dry Clay) into 3 equal sized pieces.
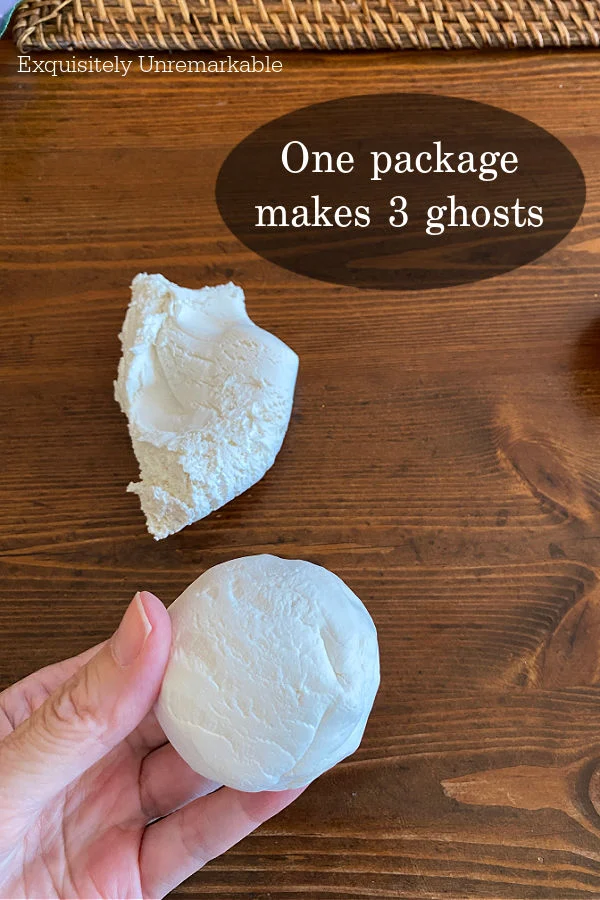
Then I rolled one piece into a ball.
I placed it on the table and used a rolling pin to make a circle.
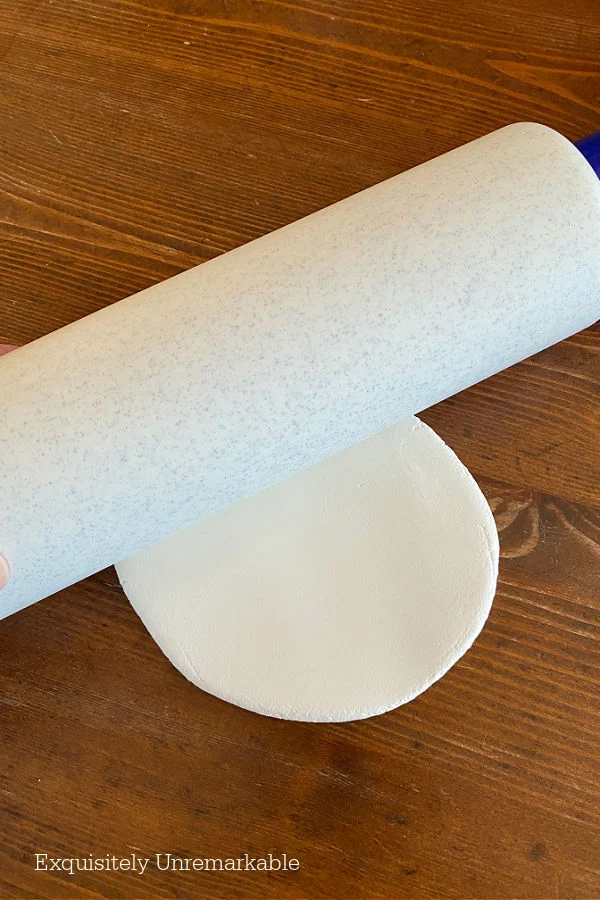
I’d say mine was about 6 inches in diameter. Large enough to fit a small battery operated votive candle underneath and thin enough that it would drape nicely.

I placed the ball on the mini milk jar I had on hand from another fall craft to make my “ghostly dress form”. Then I draped the Model Magic circle over the top of the ball.
I used my hands to gently flare the bottom of the circle.

I also tried to keep in mind that the ghosts were going to need to sit mostly flat on a table or mantel. That meant I needed to center the ghosts on the ball and not have their backs or fronts too long.
I was going for an even appearance all the way around.
The last touch with to add a face.

Of course, you can make any kind of face you like. I say, have fun, get creative, add your own spin. There are no rules here.
When we were done, I let our little spooky collection dry.
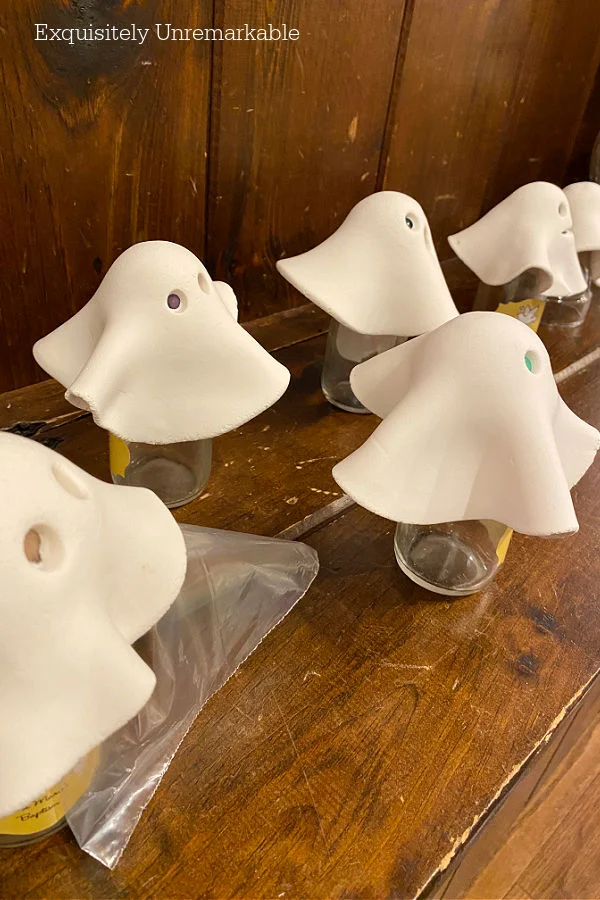
Model Magic will dry in 24 hours, but completely cure in 72.
So I waited a few days before I put them on the mantel, with a battery operated votive underneath each one.
A few notes here:
- They are not safe for use with real candles.
- You can see cracks, dots and dry spots on my ghosts. That is the nature of Model Magic.
- I've Googled, asked in forums, read tips online and the consensus is that when it dries, Model Magic can crack.
- When I used air dry clay to make Gingerbread men ornaments it also cracked. However, I used water to smooth the cracks and paint to cover them.
- I haven't found that water works with Model Magic and while you can paint it, you're painting cracks.
So if you're looking for perfect, this might not be the craft for you. Or you can try the air dry clay instead.

And they were truly as darling as I thought they'd be.
They're also just a super fun craft for the whole family, no matter how old your family members happen to be...I mean even my husband enjoyed making a tiny ghost of his own.
Which makes these my favorite type of crafts.
Very inexpensive, very simple, with guaranteed success.
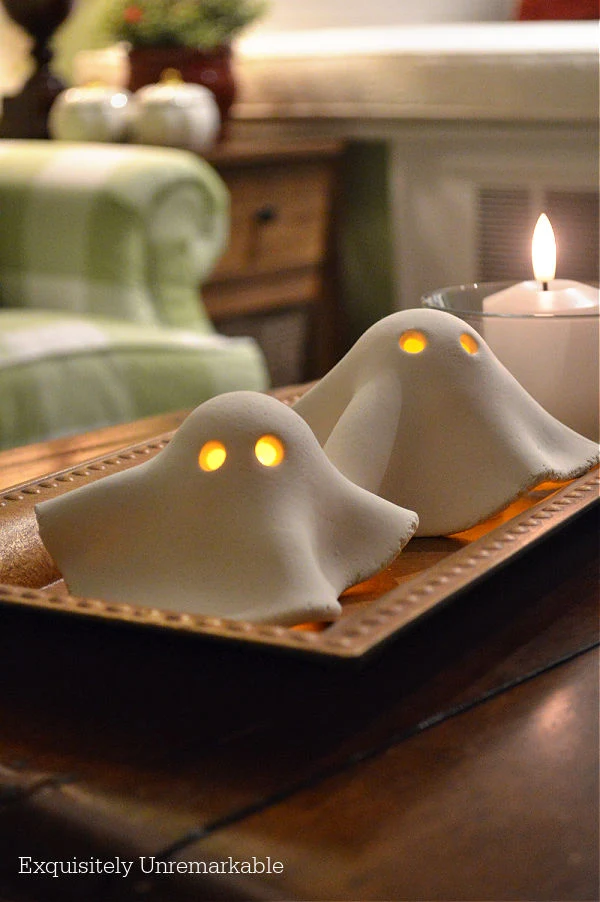
And guaranteed to make you smile.
All spooky season long.
Will you be making some Model Magic ghosts?
Yield: 3 Ghosts
Estimated cost: $5

Model Magic Ghost Lanterns
prep time: perform time: 20 Mtotal time: 20 M
How to make tiny Model Magic clay ghost lanterns for Halloween.
materials:
- Model Magic or Air Dry Clay
- Bottles
- Rubber Ball
tools:
- Rolling Pin
- Straw
steps:
- Separate Model Magic into 3 pieces
- Roll each piece into a ball
- Roll out the balls with rolling pin into 6" circles
- Place rubber balls on top of glass bottles and drape Model Magic circles over ball
- Use straw to make eyes
- Let dry 24-72 hours to be fully cured
- Pop dry ghosts over small battery operated votive candles
NOTES:
These are only for use with battery operated candles
Model Magic may show small cracks when dry
Copyright © Exquisitely Unremarkable 2023. All rights reserved.


Kim, these ghosts you made are adorable looking and perfect for Halloween. Julie’s Creative Lifestyle
ReplyDeleteHi Julie! Thanks so much, I really appreciate your sweet words. Happy Halloween!
DeleteThese are just the sweetest! I'm adding this to the list for our Halloween party weekend with the family. What a great idea for my grands and the rest of the gang. Thanks for this! Emily
ReplyDeleteEmily, this makes me smile!! I hope you have a lovely party and everyone has a ball, making ghosts! Haha!!
DeleteOh my goodness...these are so cute. Going to give them a try using the air dry clay I have on hand.
ReplyDeleteThanks so much! They were so easy to make, I hope you have fun giving it a try...and thank you for taking the time to comment, too. I really enjoy the conversations and the chance to chat!
DeleteThose are just the cutest! If my girlies were coming before Halloween I would do that. But I'm saving it for next year!
ReplyDeleteSo easy, Mari! They'll love them...and by next year, Cassie will be old enough to really get in on the action and make a great little ghost!
DeleteAdorable, and who cares if there are cracks? I will be adding Model Magic to my list of things to try!
ReplyDeleteI agree with you, Ann! They look darling and at night, you can't see anything, but a subtle glow. Happy Halloween!
DeleteAll the years of being a teacher is paying off. These are just too cute. You find the best and cutest crafts to make. Have a good week. Hugs. Kris
ReplyDeleteHaha!! Very true, Kris! I guess you can take the teacher out of the classroom, but you can't stop the teacher from making those crafts! Honestly, that was my favorite part of the job. I know you'd never guess! 😉 Have a super week! xo
DeleteOh my Kim, these are too cute! Personally, I love the mini's, and I had not seen these before visiting with you. I will have to save this idea for next year. Hope you are doing well. :)
ReplyDeleteHello Cara!! Thanks so much! I love these sweet little spooks. They make me smile and I'm glad you love them, too!! Thank you for popping by and taking the time to comment. It's always fun to hear from friends!
DeleteVery cute little ghosts. It's too bad they crack. I did see some on Instagram. Happy Halloween.
ReplyDeleteThanks Linda! So far I'm noticing that the cracks haven't spread. So I'm thinking, now that they're fully cured, I may give them a coat a shiny spray paint to see if that covers them up...not sure, but worth a try!!
DeleteKim, these are adorable. Tiny cracks and dots are perfect. Ghosts aren't going to be perfect ha, ha
ReplyDeleteThanks so much, Cindy! You're right, nobody's perfect!!
DeleteOh my goodness!!! Cute ghosts are my favorite kind. :-)
ReplyDeleteCarla
Mine too, Carla!! Thanks for the visit and the cheerful comment!!
DeleteI would have so much fun doing this craft with my granddaughters, Kim! The ghosts turned out super cute!
ReplyDeleteThank you, Kitty!! I can see them on one of your beautiful tables, surrounded by pretty tea cups and fall treats!! If you make them you'll have to let me know!!
DeleteThese are just adorable!! I know I’m a bit late in responding but I was just wonder if you couldn’t take more clay and fill in the cracks? Since they are already dry I can’t see any reason why that wouldn’t work. I actually bought some little ghost candles for a display I did this year..thinking they were 3-4 inches high but they were only about 1-1.5 inches each which didn’t work well with what I was doing so I had to set them on little log pieces to make it work. Now I will just make some with clay and I can make the sizes I need…for next year of course.
ReplyDelete