I made a dancing wooden ghost sign for Halloween with a piece of leftover plywood, some paint and a few trinkets from my supply closet.
It's a simple DIY and one that's bound to brighten your spookiest nights.
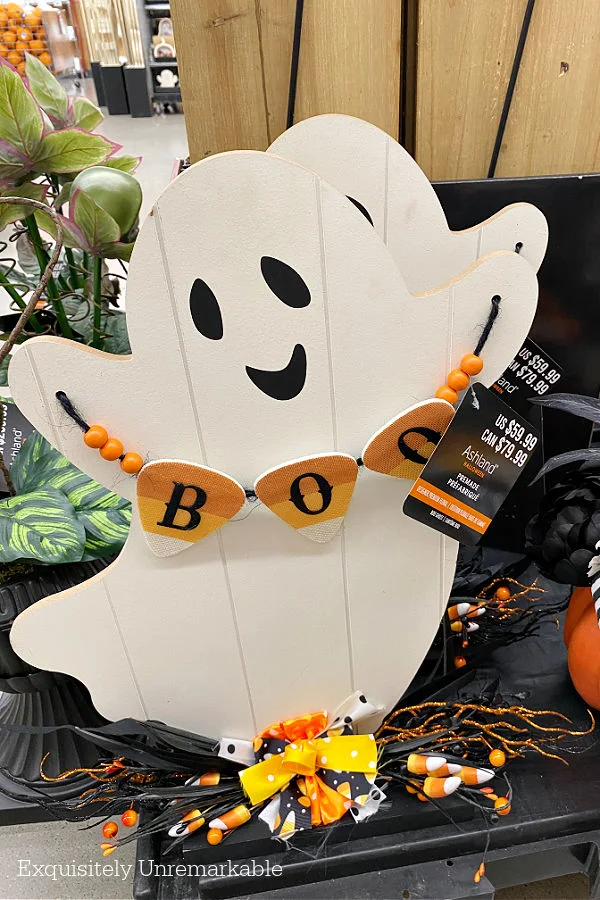
A few weeks ago I was in the craft store and I saw the most darling wooden ghost for Halloween.
At the time he was full price and $60 was way too much for this cheap decorator to shell out.
Instead I took a picture, for inspiration, went home and forgot all about it.
Until this weekend, when I was in the basement, looking for more of my fall decor, and found a scrap of plywood, leftover from my Christmas tree project.
And I suddenly remembered that adorable ghost.
The one I knew I could make for much, much (much!) less.
Now, I'm not a power tool kind of girl.
However, when I noticed that my handy dandy mister had the saw out for a project of his own, I knew it was the perfect time for me to whip up a bargain version of that craft store wooden ghost.
And frankly, I like mine a whole lot better.
Although, that could just be my wallet talking...but I'll let you be the judge.
How To Make A Wooden Ghost
The process was actually very simple. Like I said, the power tool cutting was the only part where I needed a little assistance.
Of course, if I had to make it on my own. I would've modified this craft by painting the area around my ghost, black. It's a simple way to get the same look.
You could also use an old wooden fan blade to make your ghost shape like I did years ago.
The Supplies:


- Plywood board
- Paper for ghost pattern
- White, black, orange paint
- Sealer
- Paint brushes/ foam brushed
- Small wooden ghost and/ or pumpkins shapes
- String
- Beads
- Saw
- Sander or sandpaper
- Drill
The Process:
I started by looking at my board size. It was a large, almost square piece, which was perfect.
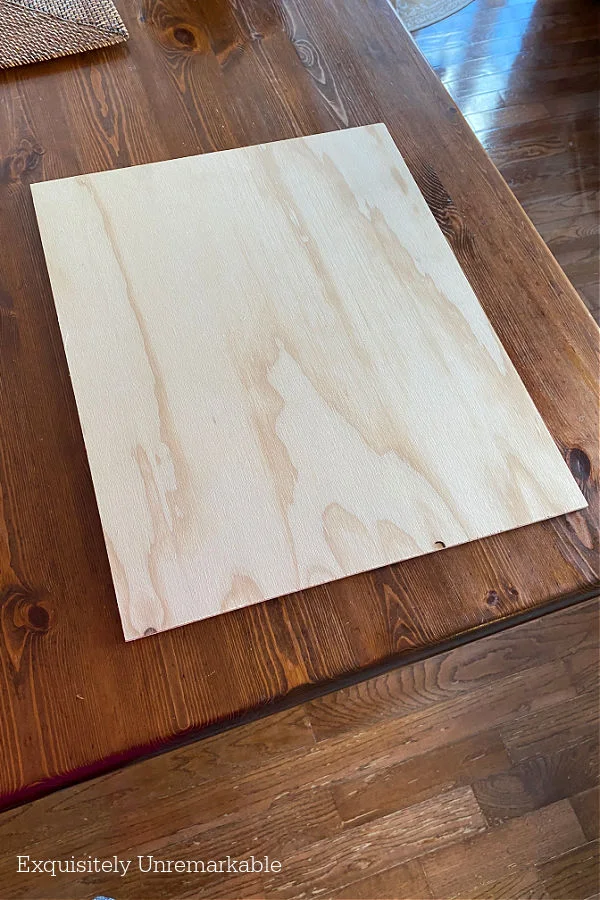
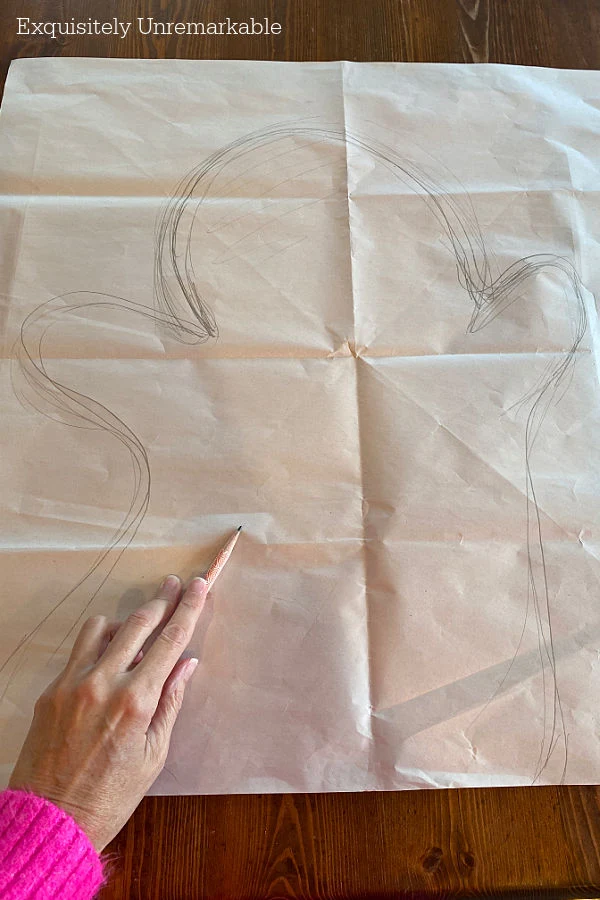
I wanted to use the entire board so I made sure my ghost shape would go all the way to the ends.
When I was happy with my shape, I cut it out, laid it on top of the board.

I traced it with pencil so the pattern was visible on the wood.

This is the point where I'd start painting, if I wasn't going to cut the ghost shape out from the board.
I'd leave it alone, paint my ghost white and, as I said, the negative space surrounding him, black, to represent the night sky.
Since I was going for a full cut ghost shape, I handed it off to my husband to get busy with his jigsaw.

He also used a belt sander to smooth out all the rough edges.
Once that ghost was back inside, it was my turn to get crafty.
I covered one side of the wood with two coats of white craft paint. I used a foam brush and allowed each coat to dry thoroughly in between.

To make the face, I simple drew on a mouth and two eyes with pencil and painted them on with black craft paint.
And a small angled bristle brush.

When all the paint was dry, I coated the wood with my Dixie Belle satin sealer. You could also use a spray polyurethane to do the same trick.
With my ghost complete, it was time to work on his banner. That was my favorite part.
I adore banners and over the years, I've made tons of them, so I was excited to create a fun one for this little guy to hold.
I happened to have wooden ghost and pumpkin ornaments from Dollar Tree in my craft cabinet.
So I painted the ghosts white.

And the pumpkins orange. Again, I just used a simple acrylic craft paint and sealed them when dry.

My craft closet also contained a few black and white beads, so I added them to the banner for a little jazz.

I made the string just long enough to stretch between my little friend's ghostly arms, with a bit of a swag.
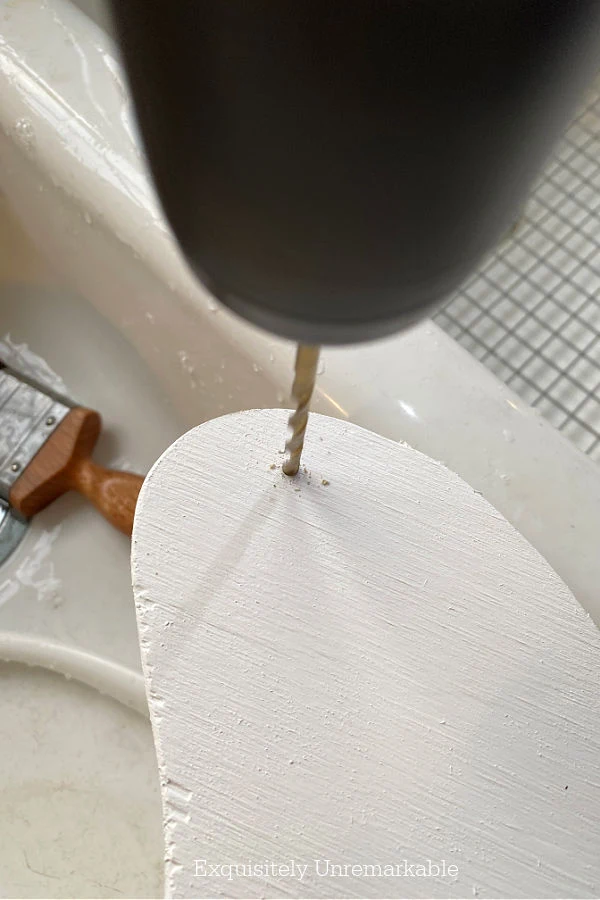
I was going to hot glue the twine in place, but I decided to drill holes in the wood instead to ensure the banner would stay in place.
Since the drill is one power tool I do know how to use.
This way he can be a porch sitting sign or inside decor that I can tuck into narrow spaces.
When I was done, I had the most charming wooden ghost shaped sign for Halloween.
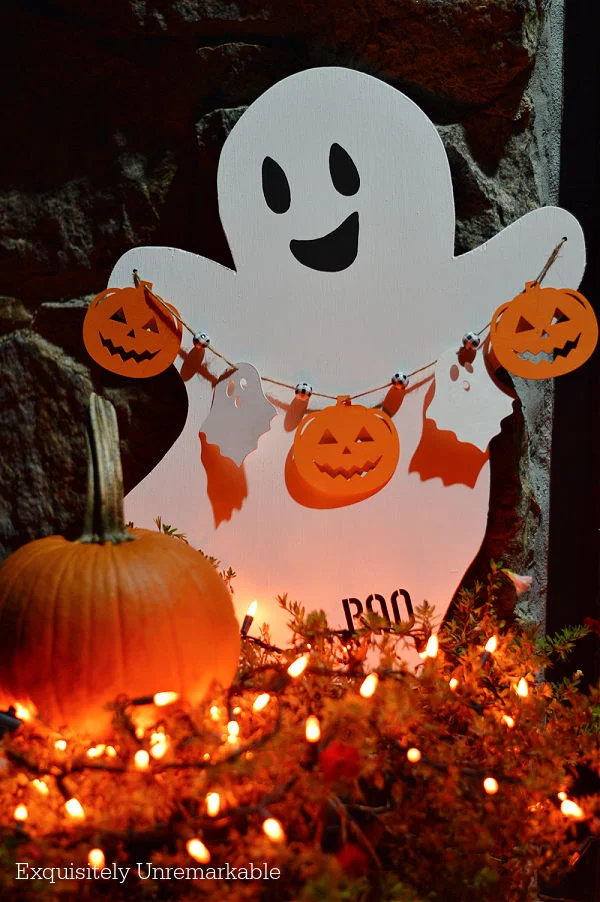
Inside or outside, day or night, he'll lend a festive air to my home, welcome guests.
And just make me smile.
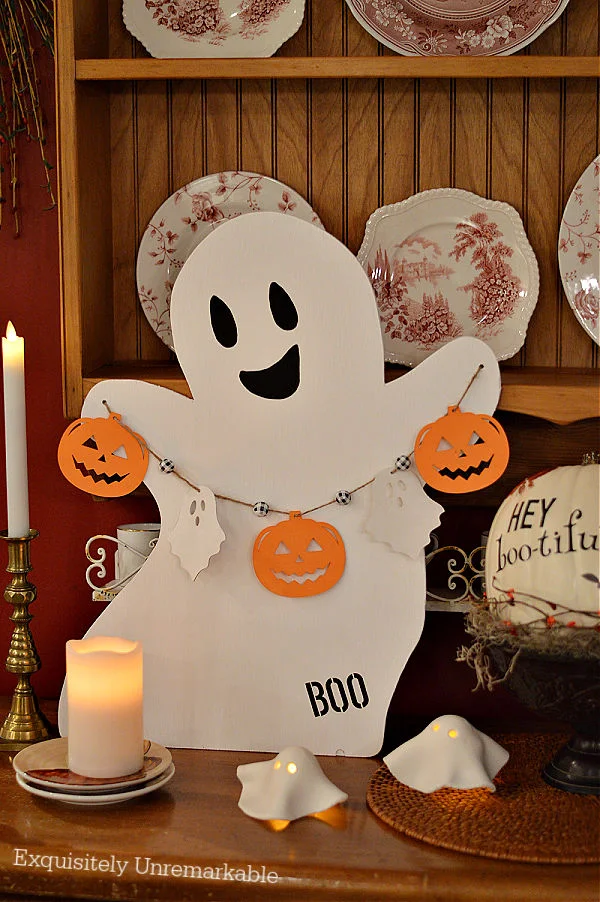
For free.
Which, according to me, is the perfect price for Halloween decorations.
👻👻👻

More Crafty DIY Halloween Ghosts:
Happy Halloween, Friends!


I like your friendly wooden ghost, he has a lovely smile.
ReplyDeleteEnjoy your October days.
All the best Jan
https://thelowcarbdiabetic.blogspot.com/
Thank you, Jan! He really is a happy little ghost. Thanks for the visit.
DeleteOh my gosh. That is fantastic. You do the best crafts. He is just darling.Xoxo
ReplyDeleteThank you so much!! You just made my night! ❤️
DeleteOh, I love this!! I don't have a power saw or anyone to cut it out for me, but I could definitely make the painted ghost sign that you suggested with the black background. Thanks for including a way to get the look for those of us who only have a board.
ReplyDeleteSo happy you love the craft and to hear that you like the may try the painted board version. I wouldn't even know where to start with a power saw, so I figured others might be in the same boat! Happy Halloween!
DeleteHe is way cuter than the store bought one!
ReplyDeleteThank you so much! He was a lot of fun to make.
DeleteIf the store-bought ghost was on sale for 90% off, I probably would have bought it. Howsomever, yours is equally as nice! And so easy! Of course!
ReplyDeleteI'm all for an easy, DIY, but yes, if that ghost was 90% off, I would've grabbed him. Truth be told, I probably would've been tempted for 75% off too...although, for free, I have the opportunity to recycle him for Christmas. I have a plan...😉
DeleteYour ghost is absolutely adorable and the banner is the finishing touch, Kim. You know I never would have paid...definitely a 'make it'!
ReplyDeleteThanks Ann! Yes, my friend, you are a maker…and an excellent one at that. I always love seeing your creations and have been inspired by your talents many, many times over the years. Can’t wait to see what you come up with next!
DeleteHe is the cutest ghost ever! I love his cheery smile. I was waiting to see what you were doing with the wooden ghosts and pumpkins and that banner is perfect. And the whole thing for a perfect price.
ReplyDeleteYou do the best crafts!
Mari, your comments are always the sweetest!! You are my biggest cheerleader! I love it when I see your name in my inbox, thank you so much and thank you for visiting so often.
DeleteHe is so adorable. Well Miss Crafty you have done it again. Super cute. Hugs. Kris
ReplyDeleteThanks Kris! I've had a lot of fun crafting for Halloween this year, just haven't had a minute to post about them. I hope the Christmas season is more relaxed. Haha!! Because Christmas is always relaxing, right? 😉 Have a great night!!
DeleteOh my goodness... he's absolutely perfect 🥰 You did an amazing job 🎃
ReplyDeleteThank you so much! I love that little spooky guy, too!
DeleteKim, I love this ghost decoration you made. Plus you saved so much money by making one yourself. Wishing you a happy Halloween.
ReplyDeleteThanks Julie! Yes, he was a bargain since I had most everything on hand...including the free labor!!
DeleteGoodness me... another great idea!!! I am getting excited for next Halloween just to decorate. :-)
ReplyDeleteTrick or Treat!!
Trick or Treat, Carla! I hope it was a great day for you!
Delete