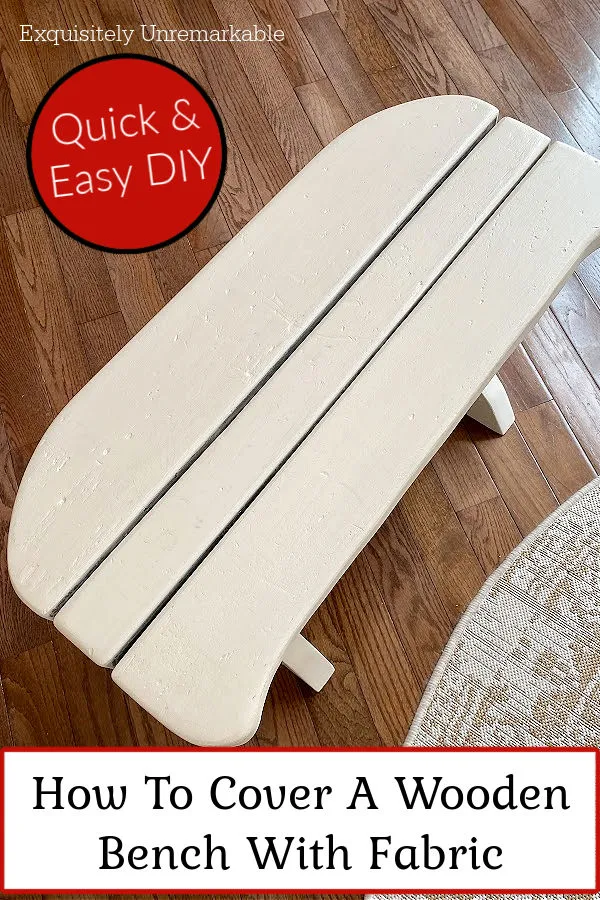
You can turn a plain wooden bench into a charming piece of upholstered furniture with this quick and easy DIY cushion.
It's a simple, no sew project that anyone can do.
Because you know I don't tell any other kind.
I can't help it, when I get rolling, I just keep going, making sure to cover all the details, twists and turns on my DIY and decorating journeys.
And apparently around here, there are no short design trips from A to B.
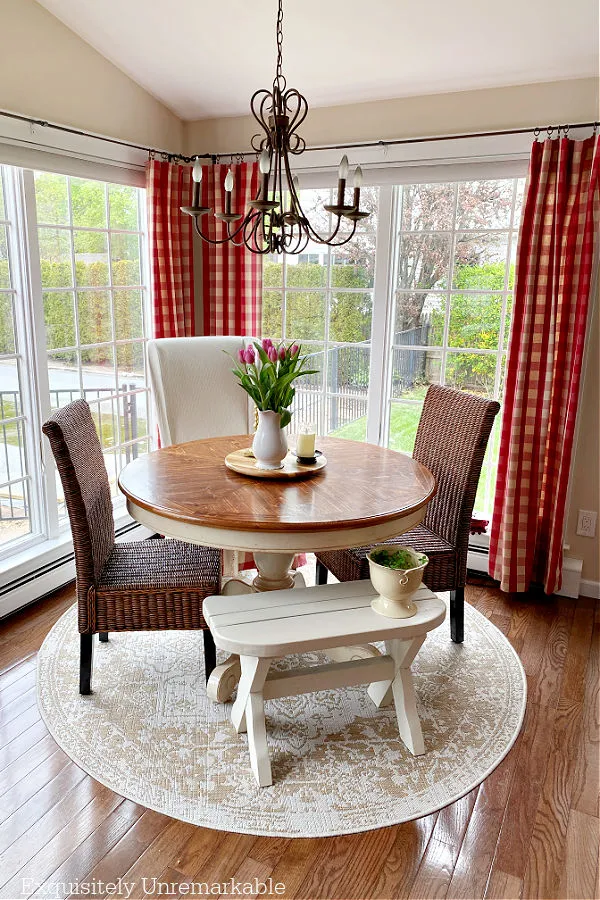
Case in point, my fabulous little wooden bench.
My husband made if for me a few years ago and after I got it into my brain that it was exactly what the room needed.
It was an adorable and eclectic addition to my kitchen.
I loved its simple lines and rustic elegance.
Then one day this winter I woke up and thought, um, nope. Too cold.
With so much in my stash, I debated my fabric choices for far too long. I started out certain that I was going to use this Ballard Design pattern that I used to make the first curtains I hung in the new family room.
But then I found a different pattern, that was a little more earthy and knew I had a winner.
So how did I do it?
Let's chat.
Adding A No Sew Cushion To A Wooden Bench
My supplies:
- Foam
- Batting
- Fabric
- Power Staple Gun - I have a corded one. This cordless one is on my list. Same brand as the one I have now but no wires to get tangled in or work around.
- Staples
- Scissors
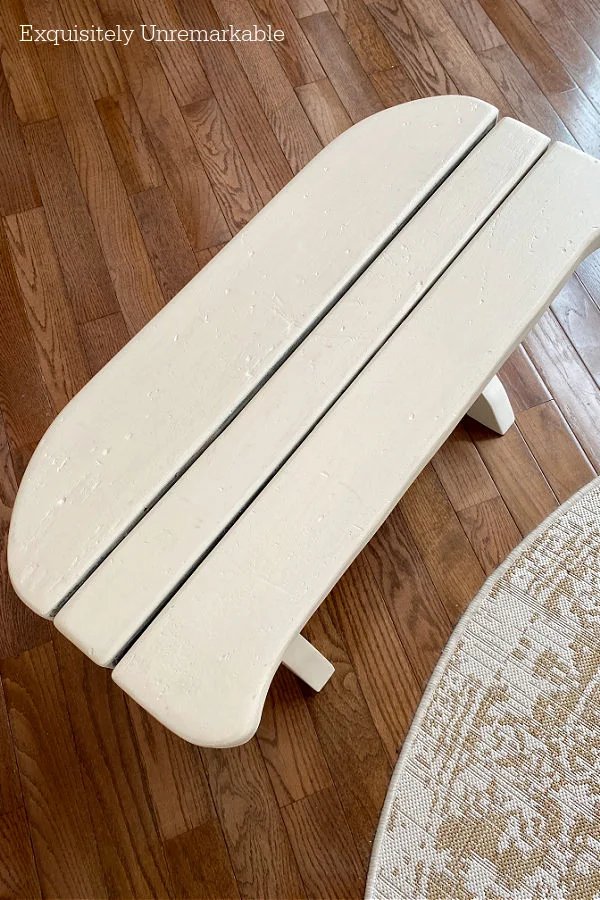
I started here with this bench.
Step 1. Make A Template
I drew a template on a large piece of paper and took it with me to the fabric store.
They cut the foam out in the shape I needed, which was awesome since I didn't really have the proper cutting tools at home. I also bought enough batting to cover the bench.
I chose a 1 1/2 inch foam and it worked out well.
Step 2. Set It Up
Next up I put a towel on the floor, laid the batting on top of it, placed the foam on top of the batting and finally put the bench, upside down, on the foam.

Step 3. Wrap It
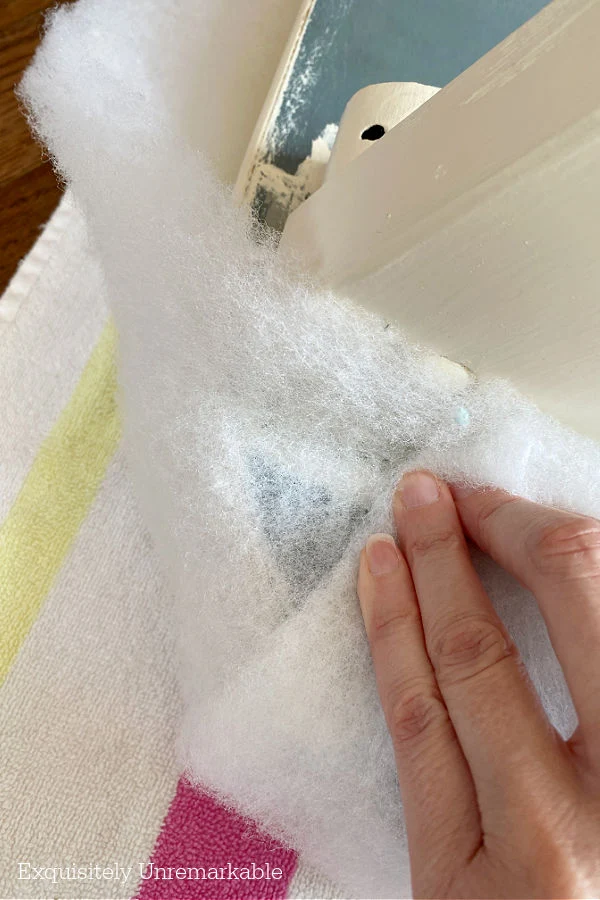
Then I pulled the batting around the bench and the foam, tightly, paying attention to the curves of the wood.
Step 4. Staple
I was careful not to bunch it up to much, as I anchored it in place with my power stapler.
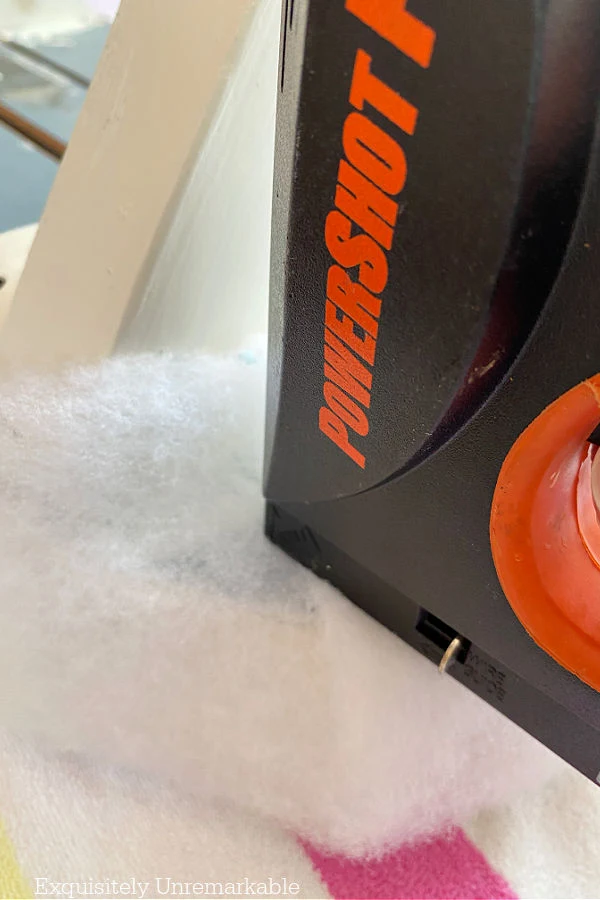
Step 5. Trim
I moved slowly around the bench and every so often, I took stock of my progress and trimmed away the excess batting.
I didn't cut it beforehand, because I wanted to make sure I didn't leave myself short.
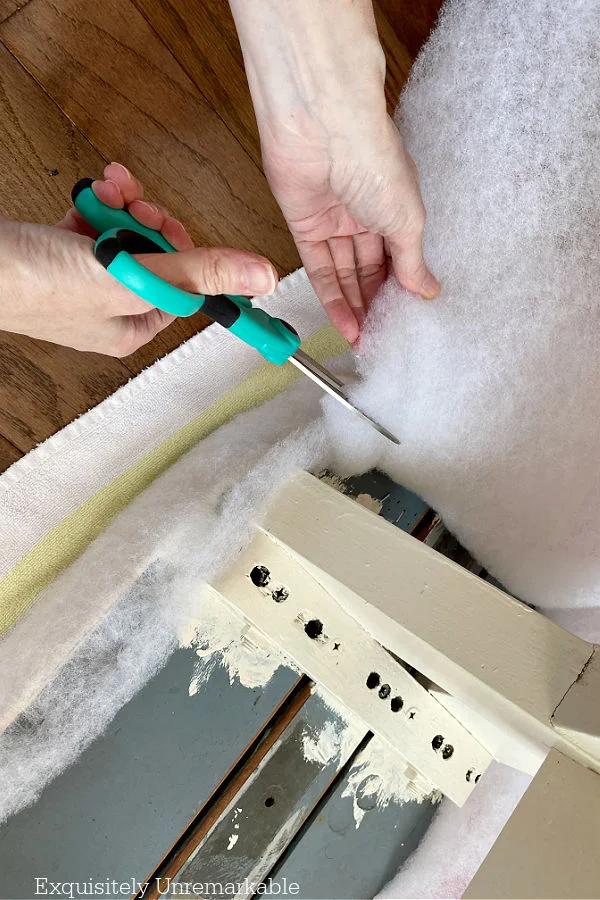
When I was done, I had a nice neat bench covered with foam and batting.


Now, I was ready for the fun part. The pretty part.
Step 6. Add Fabric
I started by getting a fresh towel, since the old one was filled with batting fibers. They were everywhere and I didn't want them to get all over my brand new bench.
Once the towel was on the floor I basically repeated the same process I just shared. I placed the fabric, pattern down on the towel and the bench upside down on the fabric.
Step 7. Wrap
Then I began to pull the fabric and wrap the bench. In order to have a nice neat edge and prevent fraying, I folded the fabric over once.
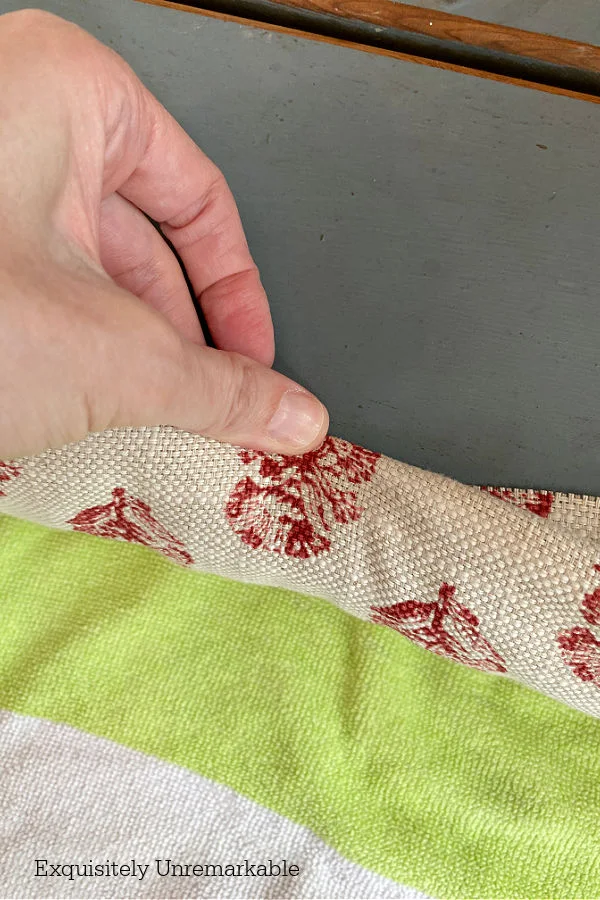
Step 8. Staple The Fabric
And then I anchored it place with the staple gun.
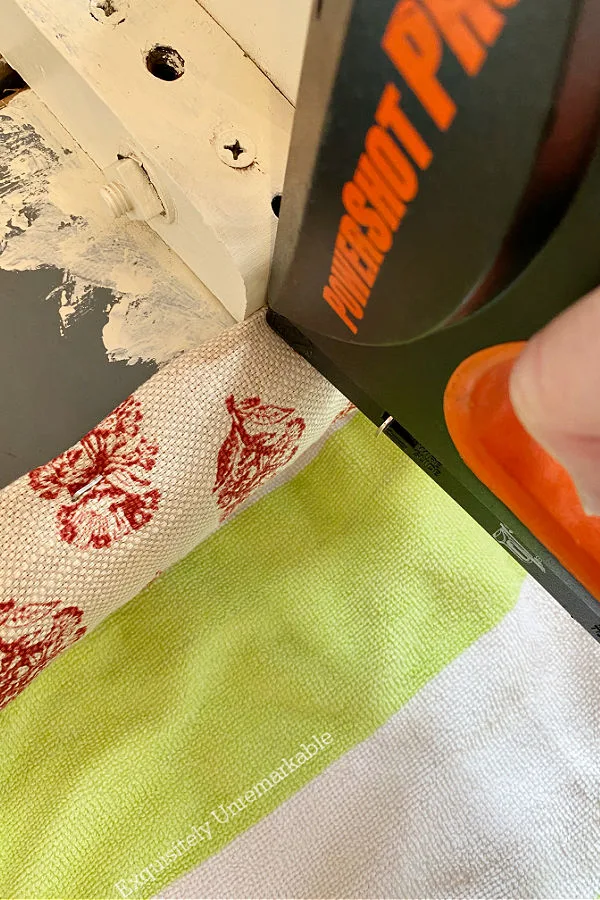
Again, I worked my way around the bench, paying careful attention to the curves and corners.
I didn't want any bunches and I wanted each corner to be folded in the same way.

I had to flip the bench rightside up a few times to make sure it was looking good, but the extra time was worth it.
When I was done, I had a lovely upholstered bench.
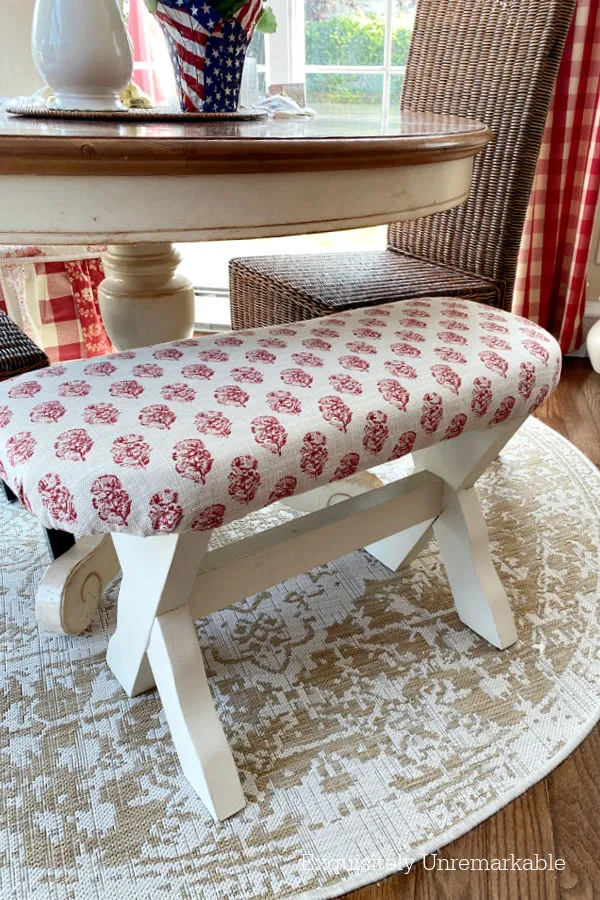
But I decided that it was a bit plain and could use some flair.
And when I say flair, I mean pom pom trim.
I know, I know, I'm addicted. It's already on the sink skirt, the curtains and I just added it to my family room sofa...and yes, I'm aware that too much of a good thing, is a real thing.

And promptly fell in love.
I adored the pop.

I mean how adorable is that? It was almost perfect, too.
However, I felt it could be even more charming with the addition of a ruffled chair skirt, so I started to add one.
You can catch a glimpse of my in process work in this picture I took of my cottage kitchen one morning right after sunrise.
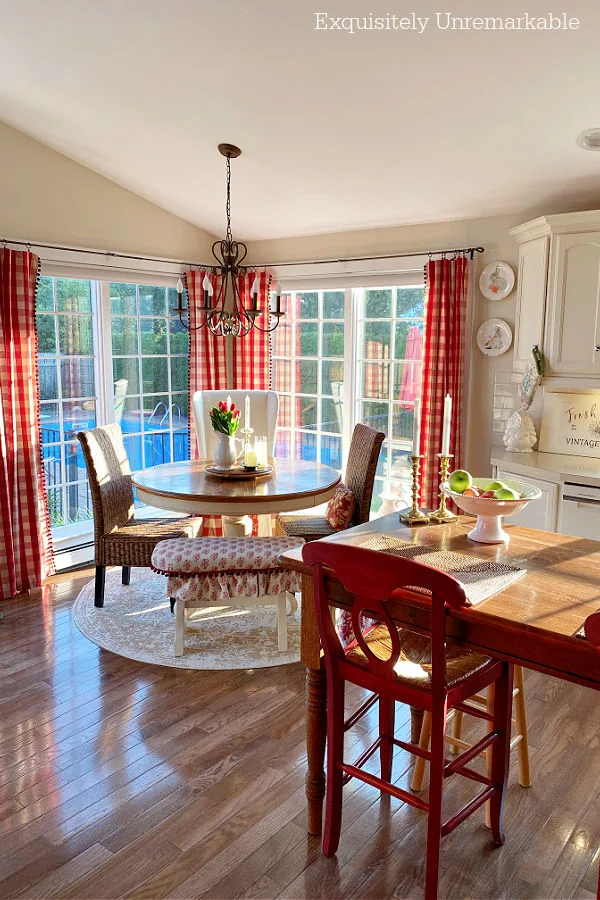
It was dreamy and exactly what I'd envisioned on the dreary winter day when I decided I needed more color and warmth.
Alas, my tale doesn't end here either, because you see that upholstered dining chair in the corner? Well, it needs help.
I added a skirt to cover a tear years ago, but now that chair is falling apart and just as I was pinning the skirt onto the bench, I found this combo of fabrics to reupholster that chair that my lovely design assistant is holding up.

Unfortunately, I wasn't sure if the pom poms and the skirt were all going to be too much with that multicolored, multi-patterned chair.
Side note: If I was going to keep the trim, I would use iron on tape to attach it and a staple gun to create the ruffle like I did on my living room captain's chair.
And the only way to know that was to see it all in the room together.
Now, I would've been content to live with my half finished bench until that happened, but the rest of the family wasn't happy about getting pinched in the tail every time they sat on it.
So being the good mom I try to be, I removed all the pins and decided to let that bench exist unadorned until I was sure all the extra fluff would look right in the room.
When the new chair shows up.
In several months.
Which is a long time to wait for anything.
And almost as long as my story.
😉
So stay tuned, friends!


I LOVE that little bench makeover. The fabric is perfect and I LOVE the pompom trim~ What a fun project and what a difference a bit of batting and fabric can make. I am debating on dining room chairs for here. I have three that my daughter gave me that are the perfect color and they are on the back with a bench on the front. However, when "old people-like me" come to visit a bench does not make the best seating arrangement...so I think 6 matched chairs might be a better option for our use. We'll see...always something, huh? lol. xo Diana
ReplyDeleteThanks Diana!! ❤️ I do love that sweet bench, I just hope I love it as much when the chair shows up. Like you said, always something...and I agree, the bench isn't ideal for lingering at the table, no matter you age. Haha!! It sure does look pretty though! Can't wait to see what you do in your dining room. xo
DeleteI love it! Funny thing is, I thought the wooden bench was cute, then I liked it better with the fabric, even better with the pom poms, then the ruffles topped it off. You have the best ideas!
ReplyDeleteMari, you are the sweetest, thank you so much! I really like it all decked out, too. I think I’m going to go for it all once that chair comes back.
DeleteI WANT TO LIVE IN YOUR HOUSE !!!!!!!!!! Love everything
ReplyDeleteOh my goodness, you just made my rainy Saturday and turned my soggy frown upside down!!! Thank you so much!! ❤️
DeleteI think the Pom Pom trim added a finished look to the bench!
ReplyDeleteI agree and now that I see it in the pictures again, I might put it back before the chair is finished. Thanks so much for sharing, I really appreciate the input!!
DeleteDefinitely love the pom poms & what I'm seeing of the skirt ruffle is just perfect IMO. What a "lovely" assistant you have too! Just wish I had half your flair Kim. I look at my place that I love & think "I wish I had Kim here to tell me what to do with this."
DeleteFlorence, I just know you live in a lovely, warm and charming home. I've seen the treasures in your shop and you have a great eye, but I appreciate the kind words. Oh, and I'll pass your compliment onto my assistant. He really doesn't get enough credit around here. 😉
DeleteKim you are the pom pom queen with adding it to the new couch and now this sweet bench. It is funny how a small little trim like that can make a big impact. Have a super fun week. Hugs. Kris
ReplyDeleteHaha...I think I may be going just a little bit overboard with all those pom poms, but they're just so darling, I can't help myself. At this point, I don't believe I have anymore hanging around the house, so if I decide to add more of it anywhere I'll have to go out and buy it and I've already instructed my "assistant" to stop me at all cost! ☺️
DeleteKim!!
ReplyDeletePERFECT!
PERFECT!
Love it!! What a charming transformation and the ruffle is simply fantastic!!! You really outdid yourself with this one!!
Fabulous!!!
Hugs,
Deb
Thanks Deb!! I do love that ruffle, thanks for the lovely words.
DeleteHi,
ReplyDeleteI say... I love it. You continue to inspire me.
LOVE IT!!!
Carla
Thanks Carla!! This one seems to be a winner with most everyone. I guess the ruffles and pom poms are keepers!
DeleteI love the fabric you used for this project! SO pretty.
ReplyDeleteThanks Ricki! Fabric is my favorite, I'm a sucker for the patterns.
DeleteWhat a transformation of this little bench! It's the perfect additon to you kitchen!
ReplyDeleteThanks Cindy! I have to say I agree!!
DeleteKim, I love how pretty the bench looks. You did a great job and I love the pom pom trim you added to it. Yes, you are the pom pom queen!
ReplyDelete