Looking for an easy way to make your very own custom wooden sign?
Well, here's how you can create one to match your personalized decor with wall decals and wooden boards from the Dollar Tree.
In under an hour and for under five bucks.

Thrift stores have always provided me with the most wonderful pieces to makeover.
Whenever I need a little decorating muse I head on over to one of my local shops and poke around.
Something always catches my eye.
Then I take it home and make it over into something fabulous.
Well, at least it's always something I think is fabulous.
However.
Lately, I find myself in the dollar store aisles looking at the art supplies and seasonal decor pieces.
You see, second hand finds are lovely, but when I want to create something brand new, I can't always be sure I'll find what I'm looking for on demand on thrifting day.
Plus, sometimes inspiration strikes based on what I see in displays and on the shelves.
For example.

As soon as I spotted them, I had a sneaking suspicion that their wall stickers, the same wall stickers I use to make my wooden signs, were the perfect size to mount on these handy dandy $1.25 boards.
I mean, I've been making wooden sticker signs for years and they couldn't be any easier to do. Here are some of my favorites:
- Merry Christmas Wooden Sticker Sign
- Sticker Sign Wreath
- Custom Designed Wooden Sticker Sign
- Christmas Tree Wooden Sticker Sign
Then you have to cut it or have someone cut it to the proper size for you.
Yes, yes, Home Depot will do it and it's a wonderful service, and my husband is always game, but if I could cut out {no pun intended} the middleman and do it all myself?
Why, that would be ideal.
So I picked up several of those perfect little boards and then headed over to the sticker aisle. The same aisle where I found the colorful floral stickers I used to make my giant Easter eggs.

There they had a huge selection of the wall decal stickers I love. Again, for $1.25.
This time I chose several. Some prints, some sayings, some black and white, others full of color.
Now I have enough small wooden boards and wall stickers to make signs for days. And for every room in my house.
Of course, I started with my family room and I couldn't be happier with the result.
How I Started Making My Sticker Wall Sign
As always, this was a super simple process and one that could be completed in way under an hour.
And for a few bucks.
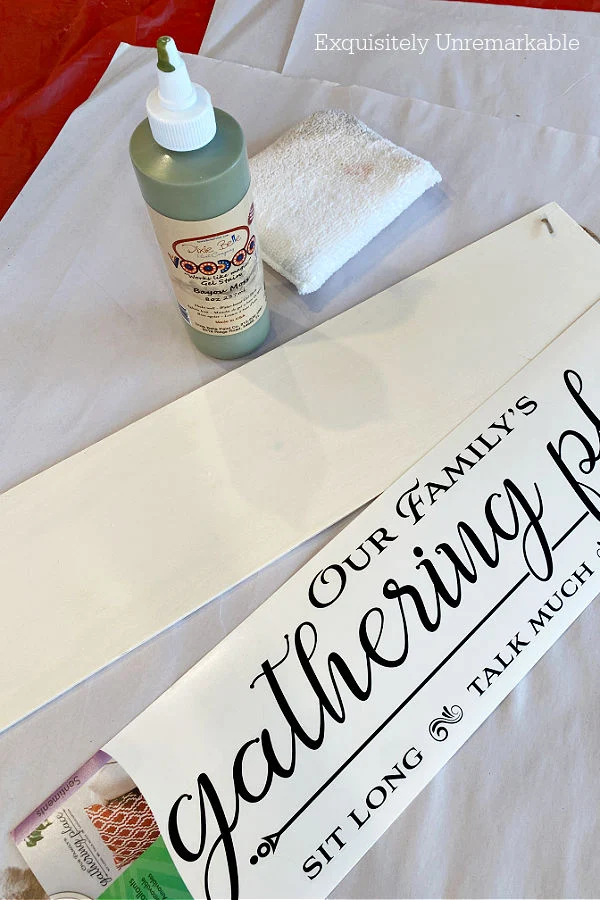
First things first, I gathered my supplies


- Dollar Tree Wooden Craft Board
- Wall Decal Sticker
- Floral Garland
- Wood Stain
- Staining Pad
- Brush
- Sealer
- Glue Gun
Cut the Strings
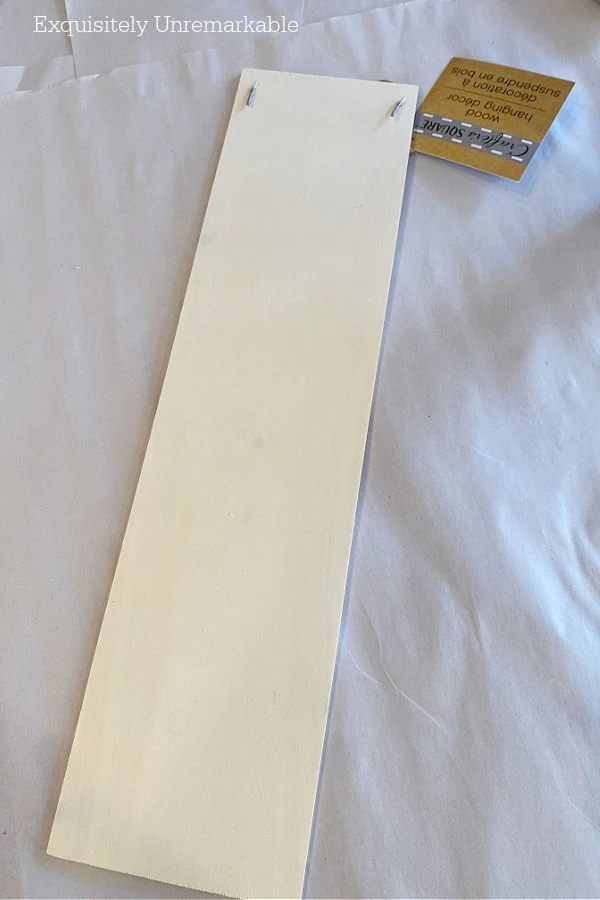
Ok, so these boards are truly meant to hang vertically, but my sticker was a horizontal saying. That meant I needed to cut away that cord.

It was unnecessary. Snip, snip, goodbye.
Stain The Board
I stained the board with a water based green color to match my new sofa.

I just wiped it on with a cotton pad in the same direction as the woodgrain.

I only used one coat, since the wood was clear and I wanted a light, bright color for spring.

Add The Sticker
Once the board was dry, which honestly took only minutes since it was very thin and didn't soak up much stain, I added the sticker.

That was simply a matter of peeling it away from its backing and placing it on the wood.
I positioned it in the middle, although depending on your style, you could favor one side or the other.

Also, these stickers are removable, so you can lift them and apply again if you're not happy with the position or you do have a stubborn bubble.
Cover The Holes

This step is one that I didn't need to do when I had my own boards cut to make signs.
However, since this one did come with a rope hanger that I wasn't going to use, I needed to cover or at least camouflage the holes in the wood.
I did this in two ways.
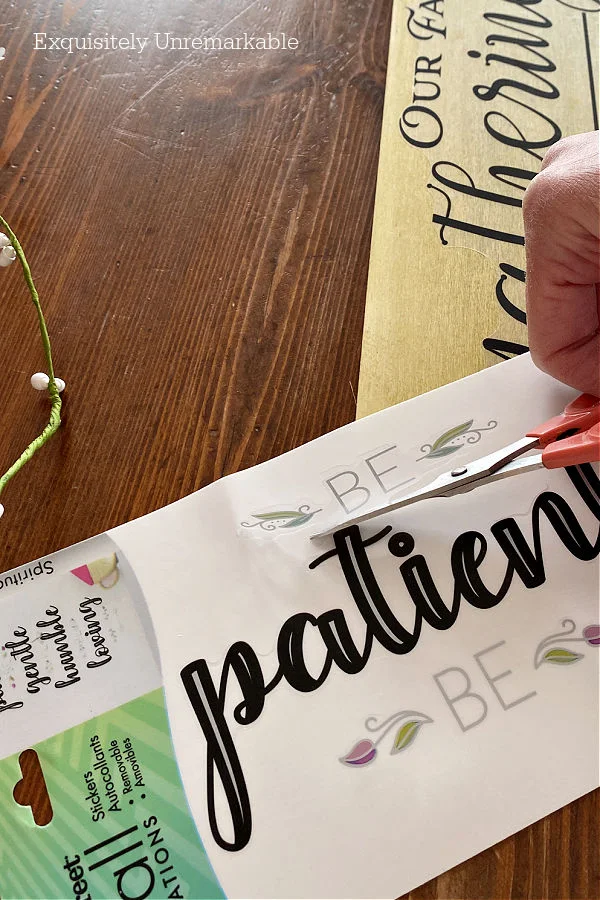
First, I used a few leaves from another wall sticker I'd purchased. I just cut them out and placed one over the bottom hole...and for symmetry one on the other bottom corner of the board.
*Optional- If you want to seal the board with a clear coat this is where I'd do it. I didn't seal mine.
Add Garland

The second was by adding a dainty floral garland. It's the same garland I used to cover up the burnt cups on my candlestick makeover. 
I wound a bit around my finger, to create a small floral ring and positioned it over the hole, threading one end of the garland into the hole.
Then I anchored it with a bit of glue on the back of the board.
And draped the rest of it along the top of the wood, on the front of the board.

In a matter of minutes, no kidding, I had a lovely new addition to my family room.
For a bargain price.
And it makes me smile every time I catch a glimpse of it.
It was another totally foolproof project that looks like a million bucks.
Even though it came from the dollar store.
😉
Are you a thrifty crafter?


Happy Dollar Days Friends!


Super cute and I love the touch of the little daisy ring. Happy Thursday and have a wonderful rest of the week. Hugs. Kris
ReplyDeleteThanks Kris. That daisy garland was a bargain find, less than a buck with a coupon and I use it everywhere now, since I bought several packages. I just couldn't resist!! Happy new week!! xo
DeleteKim, you made such a pretty sign that is perfect for spring. The Dollar Tree is a great place for finding art/craft supplies. Thanks for sharing this spring craft idea.
ReplyDeleteThank you, Julie. I do love a bargain when it comes to crafting. My daughter has become a Dollar Tree crocheter now. She loves their yarn, she makes almost all of her clothes and bags of out it now, which is great since it's so cheap!!
DeleteGreat sign, love the color green too. Can't beat the price
ReplyDeleteThanks Cindy!! It really is a bargain way to craft.
DeleteIt's so cute! I love that green and it really does look like Spring. The boards are a game changer. I hate getting boards or asking Bob to cut them. He'd do it, but I have to wait! :)
ReplyDeleteThanks Mari! I agree, I’m not always super patient when I want to craft, so I don’t love waiting for my husband to cut them either!! These little boards make it so easy to do it NOW! 😉
DeleteBeautiful! As usual. It's no wonder why you win awards all the time! The crafter for the working girl. Quick, easy, almost guaranteed to be fool-proof. You are truly remarkable!
ReplyDeleteYou just totally made my day!!! Thank you so much!!! ❤️❤️❤️
DeleteThis came out so lovely! You make it look so easy too! - Briana from Texas
ReplyDeleteThanks Briana!! Trust me, it is so easy. I don't have the patience for complicated projects!
DeleteI just LOVE crafting from Dollar Tree! Your sign Isuzu tooooo cute! Simple, quick and looks fabulous! I enjoy all you do!
ReplyDeleteThank you so much...and I agree, Dollar Tree crafting is really the best!!
DeleteLove it.
ReplyDeleteYou are an amazing crafting friend.
Carla
Thank you, Carla!! ❤️
DeleteThe sign came out great - I love the sentiment! It would make me smile, too!
ReplyDeleteThanks Amy!! This one was super easy and super cheap...smile inducing all the way around!
Delete