Wooden picture frames are a great home decor accessory, but they can be pricey.
Update a bargain priced one from a thrift shop with some red chalk paint to add a pop of color to your home. It's an easy DIY that any beginner can handle.
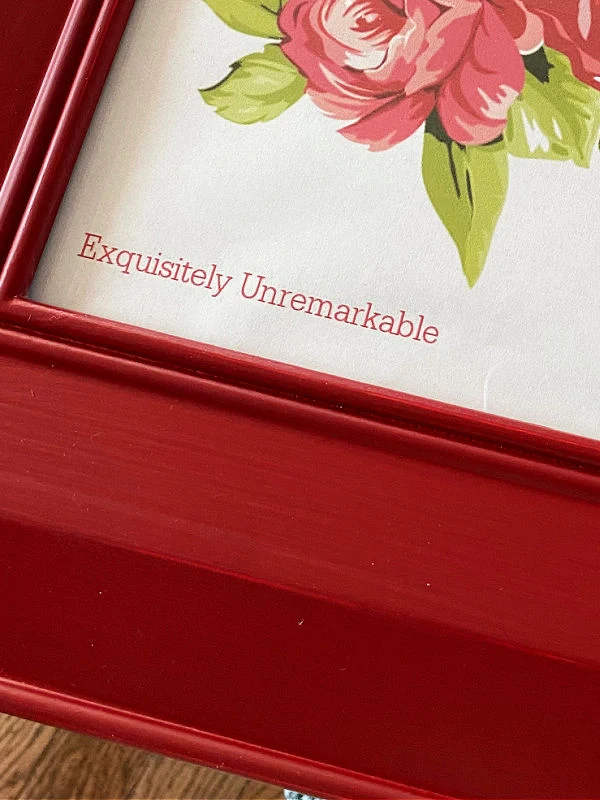
I can't tell you how excited I am that the seasons have changed. That the sun sets an hour later.
That the birds are chirping outside my window.
That the forsythias and daffodils are blooming.
There's a bounce in my step and whole lot of spring crafting and decorating around here.
I've been collecting thrift items and craft supplies for months in anticipation of the warmer weather and today I'm sharing one of my favorites.
It's a thrift store makeover that I completed in a flash.
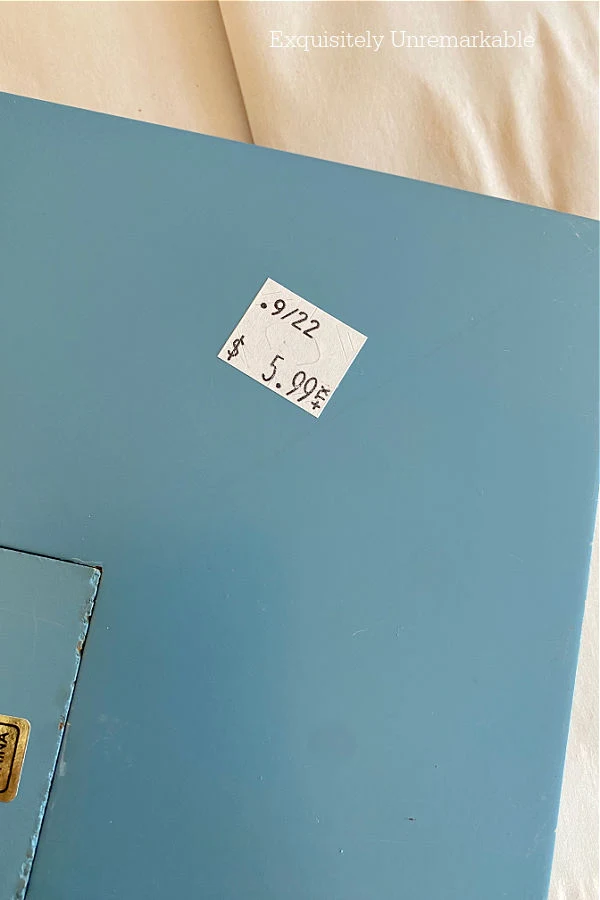
It was only $5.99 and now, it's red.
Easy, inexpensive and my favorite color.
It's literally the perfect Exquisitely Unremarkable DIY.
Plus, it's ready just in time for another installment of the Do It Over Designers hop, hosted by my good friend, Ann from The Apple Street Cottage.
Before we get to that though, let's talk about this frame and why I chose to share such a basic makeover.
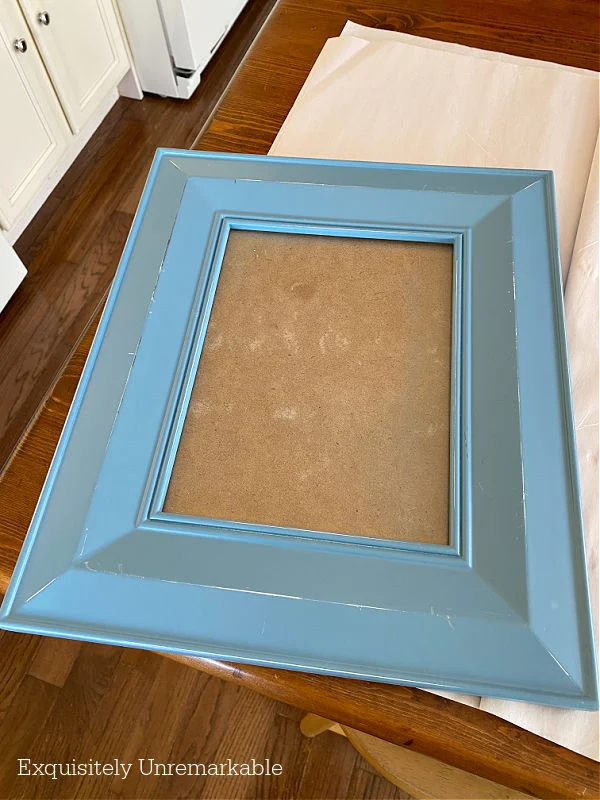
When I stumbled upon it, it was in great condition and, as I said the price and size were right.
The only thing wrong with it, was the color.
Which is always an easy fix.
So easy, as a matter of fact, that I almost wasn't going to feature the process. I mean it's just paint.
However.
Once I thought about it, I realized that while I do share a lot of relatively simple makeovers, I still hear from people, on a daily basis, "that they could never do...that".
Even when it is just paint.
So today, I'm here to say, oh yes you could.
Trust me, I don't possess any special skills and I'm not an expert on any one particular crafting technique. I just figure, what's the worst that could happen? And then I dive in.
It's an adventure.
And you don't need to have furniture transfers, decoupage, a sewing machine or even a glue gun to completely transform an item.
Sometimes all you need is paint.
So that is why I chose to share this very basic craft.
To demonstrate the process and encourage you to give it a try if you've never done it before...and with a wood frame, since they're inexpensive, readily available at thrift shops, yard sales and in clearance aisles.
And you can never have too many.
How To Paint A Wooden Frame
Here's where I started.Blue. Lovely, but in this house it just didn't fit in my crimson kissed cottage.
Step 1: Gather Supplies
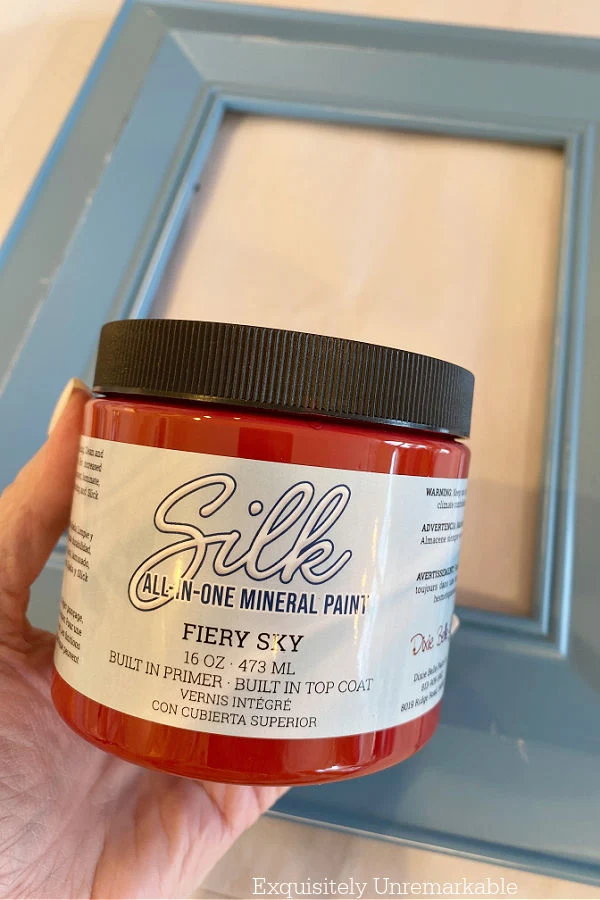
I started by gathering my supplies. Luckily I had them all on hand.
- Chalk paint
- Paint brushes
- Satin sealer (you can also use matte or high gloss)
- Plastic or wax paper work surface
You could also use mineral paint. Again, no prep required, it bonds well and it has a very durable surface.
Step 2: Prep Your Work Area
I don't have a special craft area. More proof that anyone can DIY anywhere.
I use my kitchen table, but I cover it with either dollar store plastic tablecloths, or packing paper with wax paper over it.
I like the waxy/ plastic surfaces, because my wet paint won't stick to them as it dries.
There's nothing worse than having to peel dry paper away from your new paint job. Not good, trust me.
Step 3: Prep Your Frame
This is why I love chalk paint. There really isn't much prep at all.
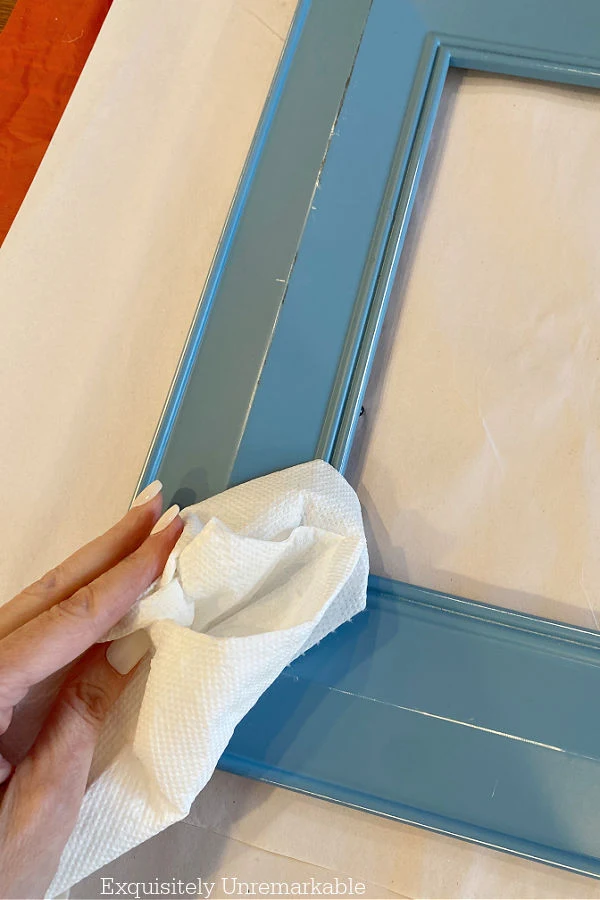
This is true whether my frame is already painted, unfinished wood or I'm painting over stained wood.
Chalk paint is very forgiving and covers like a dream.
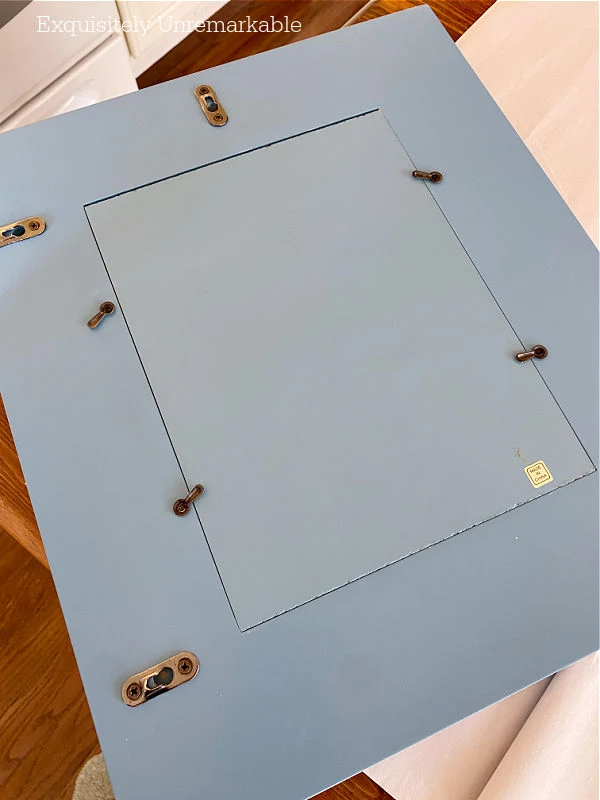
Step 4: Remove The Glass From The Frame
Easy enough, right?

Step 5: Paint
Again, nothing complicated here. I grab my favorite red chalk paint and go.
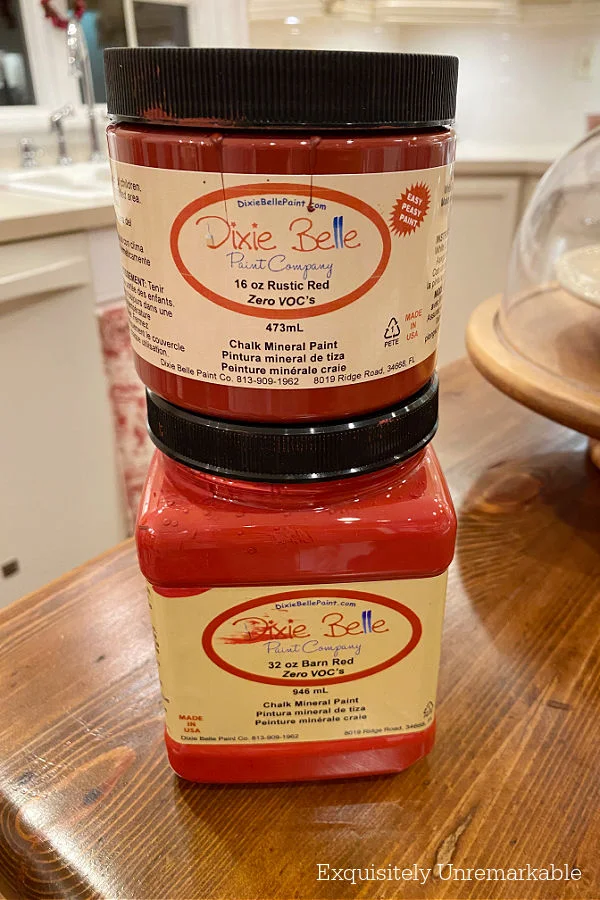
A lot of times, I don't even pour the paint into a new container. I paint straight out of the jar.
I dip my brush in and then apply the paint in long even strokes until the entire surface is covered.

If that happens, you can dip your brush into a tiny bit of water and keep working, or you can use a misting spray bottle to keep the paint active, like I did when I painted my red table.

On a project this size, where I'm working on a small frame, I've never needed water. However, it's good to be aware that it could happen.
Step 6: Let It Dry In Between Coats
After the first coat, I set my frame aside until it's completely dry.

I also pop my wet paintbrush into a ziploc baggie so it stays wet and ready for the next coat.
Step 7: Add A Second Coat
This step may be unnecessary based on what you're painting and the look you're trying to achieve.
I was covering a dark blue paint with red. A second coat was a must.
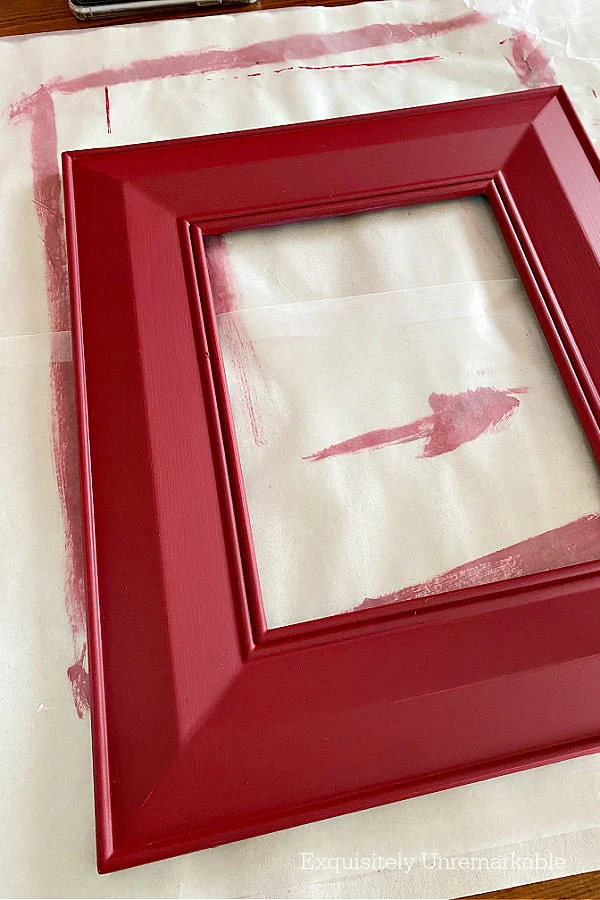
The same goes if your frame is stained with a dark wood and you want some of that rustic patina give your frame an aged look.
There are no rules here, it's basically a judgement call.
Step 8: Seal The Painted Frame
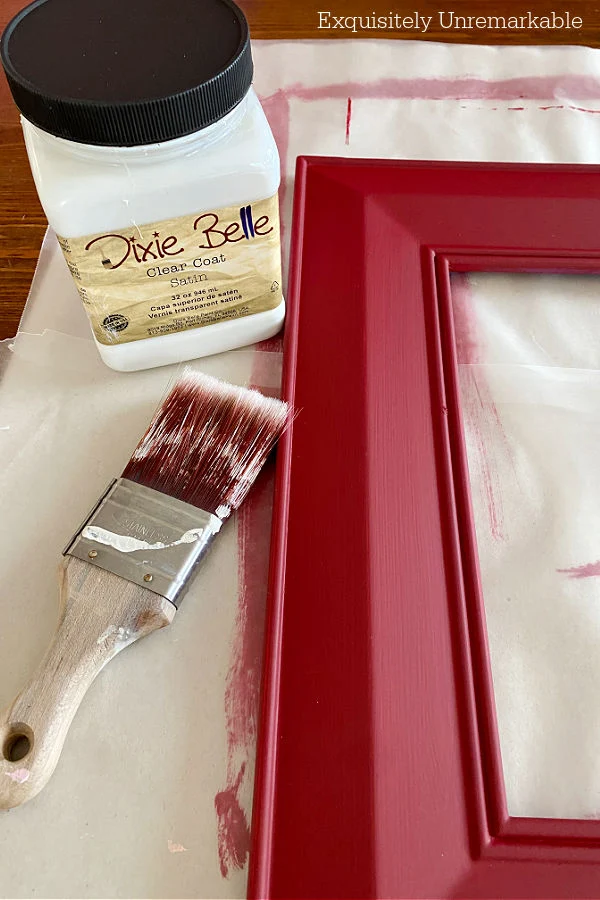
I'm not a fan of wax, I like to seal my chalk painted items with a clear, satin sealer.
Step 9: Add Your Artwork
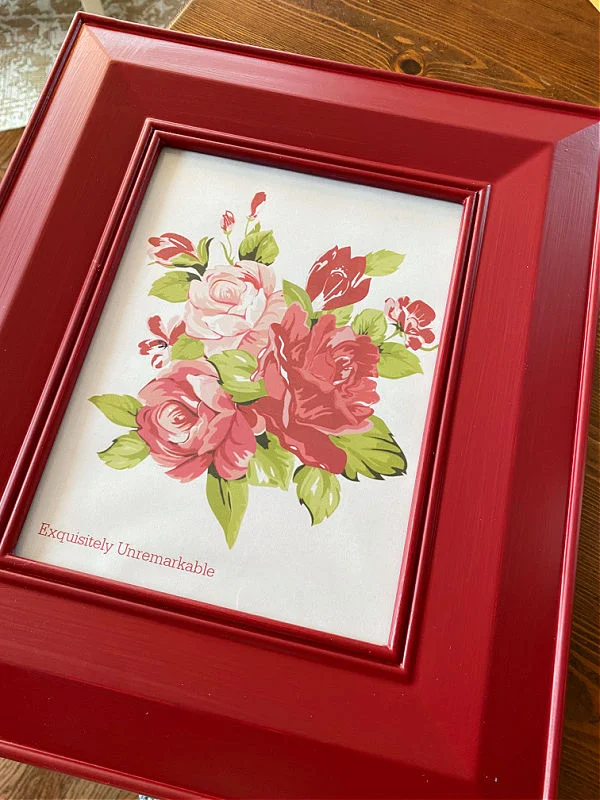
The last step in any frame makeover project is putting it all back together and adding your artwork.

I chose to make my own design, but there are tons of free printables online that will coordinate with your decor.
Of course, you may already have a photo or print on hand to fill your new frame.
That fabulous new piece of home decor that you madeover yourself.
No special skills required.
All you need is the desire to DIY.
Well, that and an old frame.
😉
What color will you paint one?


And now let's hop!! There's tons of good stuff in store, just click on the links below.
Don't forget to say hello and tell them I sent you over.

Happy Hopping Friends!!


Just beautiful, Kim, and so true. This is a DIY anyone can do with great results every time. That red is gorgeous - and that's coming from Team Blue over here at the Cottage! Wink-Wink!
ReplyDeleteThanks Ann!! I do love my red, but I also love that this DIY could be done in any color…and there are so many gorgeous ones out there to choose from. Thanks for hosting a lovely hop. I’m always honored to participate.
DeleteThanks for the awesome tutorial on painting a frame, Kim! You really made it seem so easy! Love the floral print you made! And of course I would paint my frame a beautiful shade of purple! But the red looks great, too! Lol!
ReplyDeleteThanks so much, Gail! I have to tell you, I understand your obsession. In our first cottage, I went all in with purple…so much so that the walls in the living room were a light lavender and the carpet was plum. It contrasted with all the white painted trim, kitchen cabinetry and white brick fireplace in such a dreamy way. It was such a happy little home!!
DeleteRed is my favourite too so I'm very supportive of your colour choice! I love this kind of 'back to basics' tutorial. Sometimes those of us who craft a lot forget that, for some people, it all feels too complicated so to see a nice simple upgrade that is so clearly set out and doable for anyone is just brilliant.
ReplyDeleteThanks so much and I’m always excited to hear that there are other red lovers out there! I’m also glad to know that these very basic tutorials are helpful.
DeleteFabulous. It may be easy, but it does a punch. How did you design your artwork Kim? Love how it looks in your new red frame!
ReplyDeleteThanks Sara! I use PicMonkey to design. It's so easy. I think I have a tutorial on here somewhere. I'll have to dig it up!
DeleteThat frame looks so much better now, great job! I get lots of people that say they can't do things too, I'm always like... have you tried? Usually, the answer is no. lol
ReplyDeleteTania, I always say the same thing! I think people assume the these tasks we post are difficult, which is why I always try to break it down to the basics. I don’t think I ever did such a basic painting tutorial before though. I’m glad I decided to share this one…and thanks!
DeleteIt's amazing what a difference some paint makes! This looks great and I love the art you put in it.
ReplyDeleteThanks so much, Mari! I love what paint does to a project and I love how easy it is to use.
DeleteVery nice make over of your frame. Love that you did your signature red. Love the flower print too. Happy Weekend. Hugs. Kris
ReplyDeleteThanks Kris! I always contemplate painting things another color, but my heart always drags me back to that red.
DeleteHmm, maybe I could even do a simple makeover like that! ;-) Please show us where you hung this beautiful framed picture. Love it!
ReplyDeleteMelanie, you totally could!! And yes, I will have to add a photo of it hanging up. Right now it’s been dancing between the kitchen and living room, but when I tried to photograph it on the wall, all you could see was my reflection! I need to catch it at the right light…so many windows in this tiny house! Have a great week!
DeleteI'm loving the pop of red! Your floral print looks so pretty and perfect in your "new" frame!
ReplyDeleteThanks Allyson! I do love my red!
DeleteI tend to wrap my brushes is cling film/Saran wrap but a zip lock bag seems more eco friendly. Love the colour you chose here, much fresher.
ReplyDeleteThanks so much and oh, I'll have to keep the cling film in mind. I haven't tried that, but sometimes I do run out of bags and it's good to know there's an alternative!
DeleteThis new red color on the frame looks exceptional, and I love the floral you put inside of it. (I also would have loved to see the final product hanging on the wall!) And one more comment thanking you for walking through every single step. That whole 'finish' step has me confused as to when to use what. Your directions about using the clear satin sealer are a huge help! I have a couple of 'frame' projects in the 'projects to be done' stack. You just added a little more courage to my confidence!
ReplyDeleteKristine, I'm so glad you like the step by step. Thanks for letting me know and yes, you can do this!! I always wonder if my steps are too much or too little. I guess it depends on the reader, but just knowing this helped even one person, makes me smile!
DeleteThat frame was a fabulous find. I just love simple DIYs that make a big impact. That color combined with your artwork is stunning! Pinned! Thanks for sharing a good reminder that makeovers don't have to be complicated.
ReplyDeleteThanks Donna! And I agree...sometimes a simple color change is all you need!
DeleteAnother great tutorial. Thank you friend for the inspiration.
ReplyDeleteCarla, thank you for all the sweet and supportive comments. Every one of them makes me smile!!
DeleteReally pretty, Kim. During Covid lock-down, I painted a ton of old frames to bring to our Florida apartment, and decorated them with stick-on beads to jazz them up. Not bad for a non-crafter! I love them better than any I've purchased! I think I'm all caught up with your posts now!
ReplyDeleteAmy that is awesome!! I love hearing this!! DIY can be as complicated or as simple as you like, but it's always more satisfying to look at the finished product when it's something you made. SO personal!! I just know they're all beautiful!! And by the way, you're a crafter now, my friend!! 😉
DeleteHi Kim
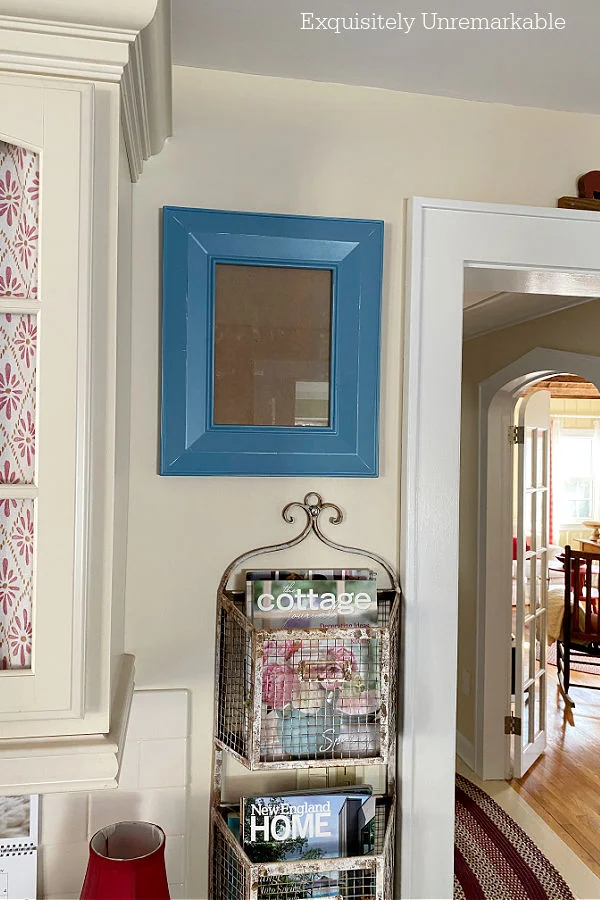
ReplyDeleteI was laughing at the blue frame hanging in the beginning.
It looked so out of place. This is a great size and has bulk.
Love it!
Hahaha!! Yes, it was completely out of place. It really needed a makeover to live here, that's for sure. It's actually hanging in that same space right now...it looks much more at home.
DeleteKim, once again you did an awesome job with the frame makeover. I love the pretty red color and the print. It looks just perfect for spring. I can't wait for it to arrive with warmer weather!
ReplyDeleteThank you, Julie! I'm so ready for spring flowers, so I decided to add a bunch inside. I hope you're enjoying this sunny spring day!!
Delete