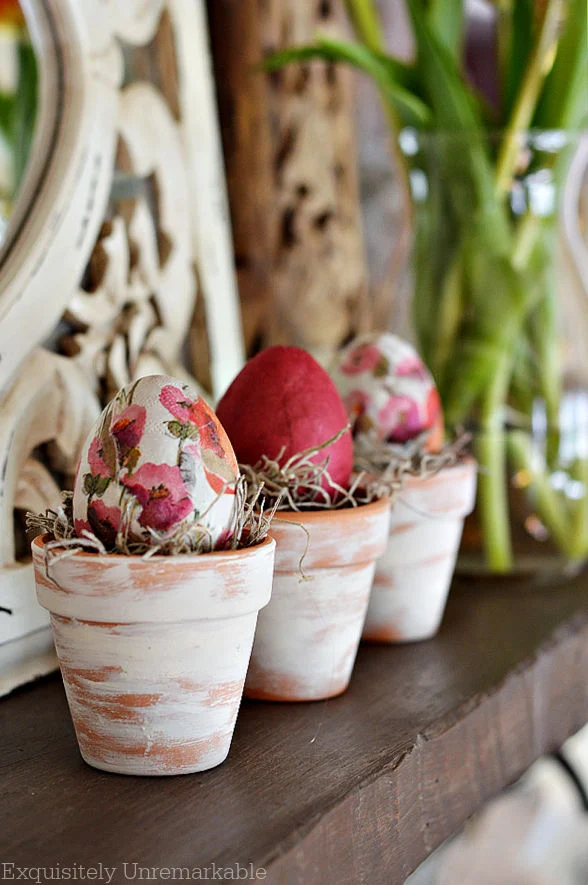
I aged a trio of small clay pots with paint to give them a weathered look without lime, concrete or spray paint and placed a few decoupaged Easter eggs inside to create a sweet spring display.
It's a quick and inexpensive DIY that will brighten your home for the season.
Every now and then I see something in a shop window and I'm tempted to buy it.
I seriously contemplate walking inside, taking my wallet out and plopping my cash...ok, credit card...down on the counter.
And walking out with a stunning piece of decor.
Then I get a hold of myself and keep walking.
That usually happens right after I think about how I don't have a lot of storage space to house things when I get bored with them or the holiday or season has passed.
And how I love a fresh view.
Mostly, however, it happens when I really think about the price.
Yikes.
Some of them are just outrageous, like those designer Easter eggs I shared.
I knew I could make them myself with a few dollar store supplies and, honestly, for under $10 each, I came pretty close.
So when I passed by the garden shop this week and saw a darling egg display in aged pots, I knew I could come reasonably close if I chose to recreate the look they had in their window.
Using what I already had on hand and for a whole lot less.
It literally took me 5 minutes to pull it all together and cost me a whopping $1.25.
Now, part of this craft goes back years ago, when I decided that I was going to hop on the bandwagon and decoupage my own eggs.

Long before I ditched Mod Podge for my favorite satin sealer and long before I learned about rice paper.
I'm a much better decoupager now, but since I already had those hard fought eggs on hand, I didn't see the need to make new ones.
The Easiest Way To Age Terracotta Pots
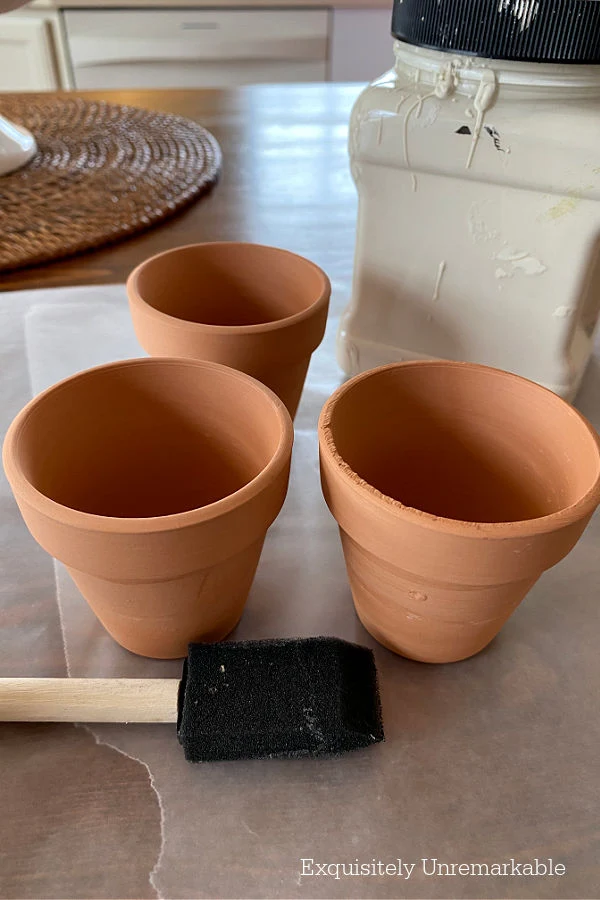
That meant the only thing I needed to make this Easter egg nest display was the small terracotta pots.

And can you believe that just a few month before, while the ground was still frozen and spring was just a mirage on the horizon, I picked up a few packs of tiny clay planters at the dollar store.
I mean who could resist all that cuteness?
Like so many other items I gather throughout the year, like that classic storybook mouse, Frederick, I grab what makes me smile and tuck those craft supplies away until I need them.
Transforming them was a breeze.
I didn't use concrete or spray paint. I didn't use baking soda or decorative mud.
I like the easy way out, remember?
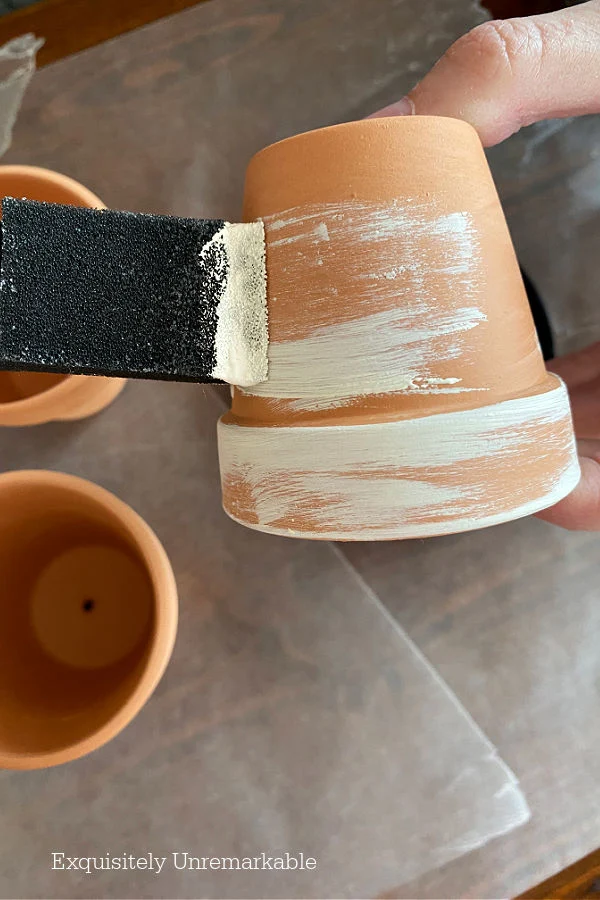
To age my terracotta pots I simply used a foam brush and a tiny bit of chalk paint.
I dipped my brush into the paint and then I dragged it along the sides of the pots until they had that left outside in the elements look.
The key was using an almost dry brush and a haphazard application.

They were intentionally messy, intentionally uneven and intentionally streaky...in an effort to make my aging process look unintentional.

The paint dried in minutes, which allowed me to move onto the next part of my craft.
* Side note: My pots were intended for indoor use only. If I were going to use them outside, I'd seal them.
Adding The Nests and Eggs
Since the pots were deeper than the eggs, I needed to stuff the base of the clay planter with paper.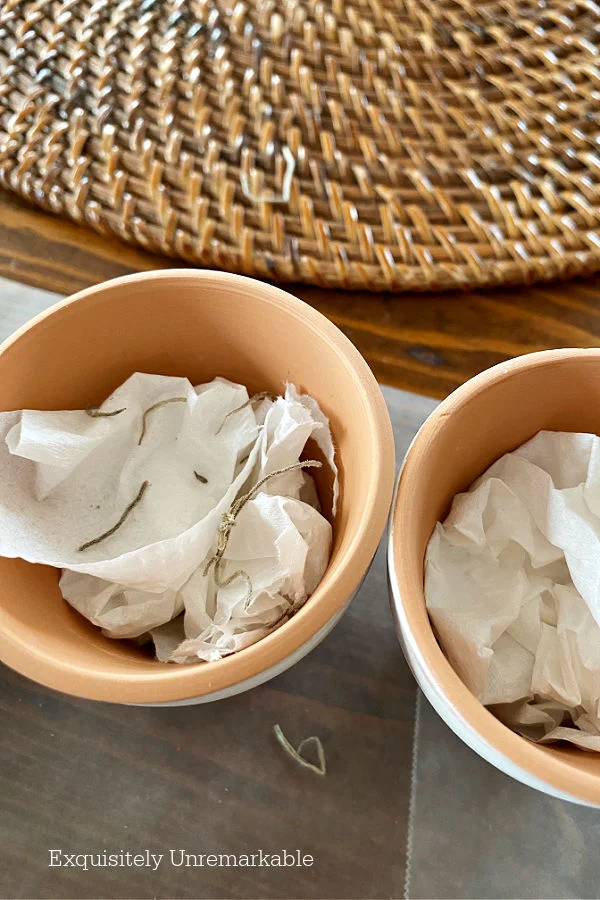
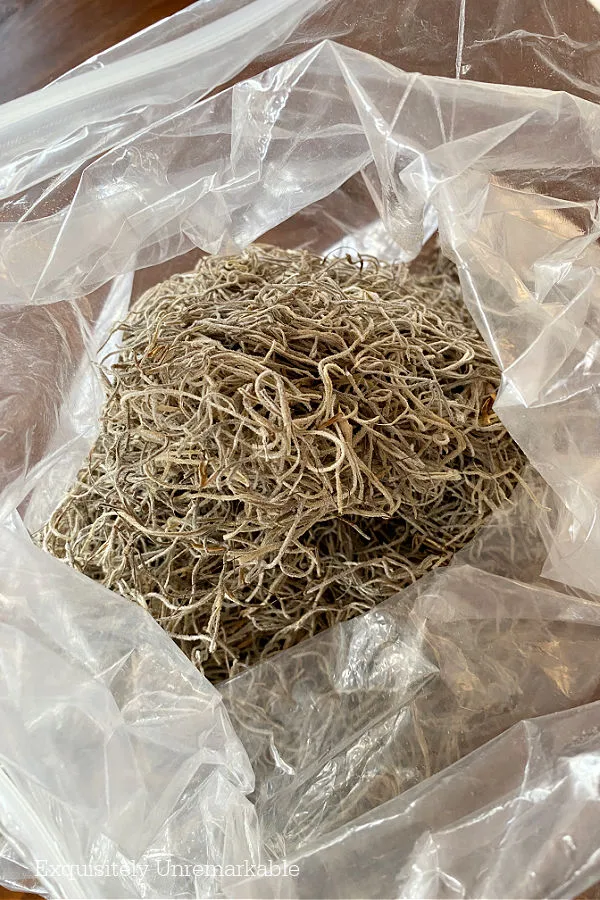
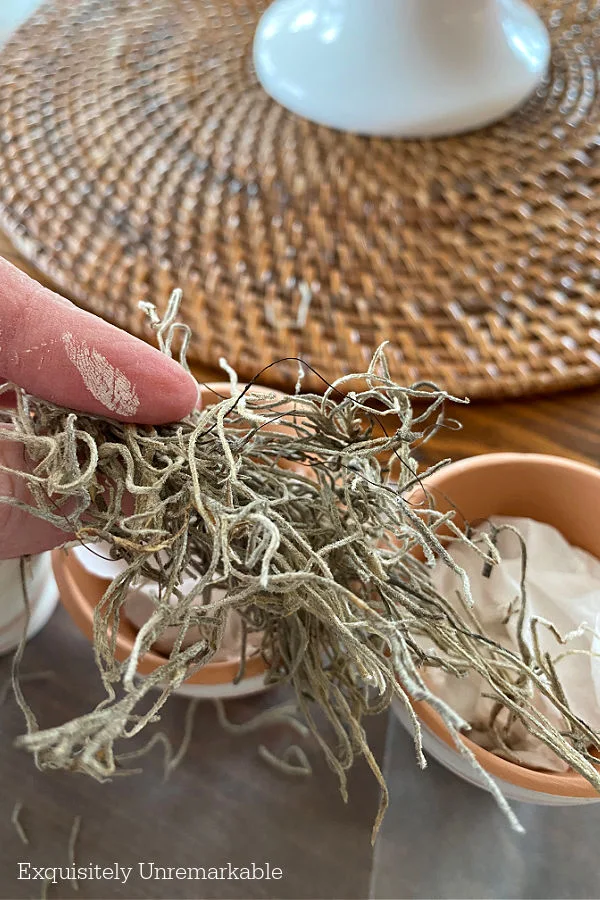
Then I used to moss to cover the paper. I didn't need to use too much.
A little moss goes a very long way.
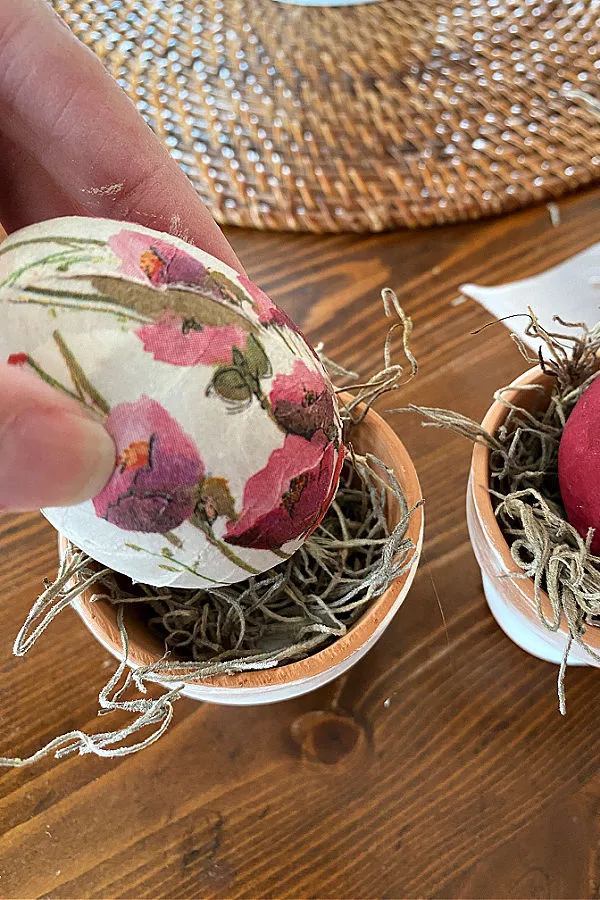
The last step, was to place a napkin covered egg into each one of the pots. Super simple.
When I was done, I arranged them on my mantel, next to a vase of brightly colored tulips and poof, just like that, it was spring in the living room.

With the simple addition of three tiny, newly weathered pots.
And now the only window I'm drooling over, is my very own.
Which is really the way it should be.
🥰


Hey Kim, I might have those cute little pots - somewhere! As for decoupage with napkins, haven't got that far yet, but I have occasionally collected cool napkins. But then I use them. You inspire me, as usual. I could use some tiny spring decor around my house. Since I'm bored lately, I'll have to see what I can whip up! Perhaps I'll use my DT napkins with flowers, or the ones with a robin. Your house/craft projects are my store windows!
ReplyDeleteNancy
Nancy, you are the sweetest and you have such a way with words. Thank you so much! ❤️ Your creativity inspires me equally as much. Trust me. You also make me laugh...I use my "craft" napkins, too! Haha!! They sit around waiting to be glued or pasted to something and then I get impatient and set them on the table. I guess great minds really do think alike!
DeleteCute, cute, cute! I saw those pots in the dollar store last week, picked them up, and put them back down because I couldn't think of anything to do with them at the moment. I guess this means I'm headed back to the dollar store.........
ReplyDeleteThey were so cute I had to have them, Ann! Of course, now I have to figure out something to do with them for summer…goodness knows an actual plant will never make it for long around here! Can’t wait to see what you do with yours…and thanks for that decoupage trick! Too bad I didn’t know about it when I made the eggs!
Delete"Intentionally messy, intentionally uneven and intentionally streaky." I think this is something I could do very well, haha! Another winner, Kim!
ReplyDeleteThanks Amy!! I’m glad to know I’m not the only one who thinks perfection is overrated. 😉♥️
DeleteI love that you can see something in a shop and be able to duplicate it for a whole lot less and many times better than the original. These are so cute. Happy Wednesday. Hugs. Kris
ReplyDeleteThanks Kris! I really do enjoy the challenge, and while I don't mind paying up for a beautiful handmade piece, most of what I see in the stores lately is mass marketed, poor quality and outrageously expensive. The nests I saw were almost $50. That to me is a giant no. I hope it's warm where you are!! xo
DeleteI love terra cotta pots for their organic look!
ReplyDeleteMe too, Gina! These tiny ones are great for so many projects, too.
DeleteYou know I love flowerpots, and these are pretty. Love the eggs.
ReplyDeleteThanks Cindy! Those little pots are my newest obsession. Happy Spring!
DeleteKim, you made the prettiest pots with Easter eggs. You mantel looks so nice with eggs and flowers. It looks like you are ready for Easter!
ReplyDeleteThanks Julie! That room is all ready for spring, I just wish Mother Nature would get ready, too. Brrrr!!
DeleteWhat a really cute idea! I have some of those mini-flower pots that I have had for a long time. You always do such a nice job on all your crafts...and look at the money you save! Soon you will be sitting poolside...as for us....more snow coming! xo Diana
ReplyDeleteSnow?? Oh no, no, no. I really hope it passes you by and then it evaporates before it has a chance to get here. It’s chilly at my house, still coat weather. I’m pretending the threat of snow is over, but I know that’s not really true until May. Or June? Haha! Thanks for the sweet words about my little pots, I enjoyed making this craft and now I have money left over for more supplies! xxoo
DeleteThey are the cutest! I love terra cotta pots and they do paint up so nicely. They are perfect with the eggs!
ReplyDeleteThanks so much, Mari! I really love easy crafts.
DeleteThese are sooo cute!
ReplyDeleteThanks so much, Melanie…and they were $1.25. I love that best!! Haha!!
DeleteKim,
ReplyDeleteThanks so much for stopping by and for your kind words!! This is such a cute and easy craft and looks so pretty!! I have some of these pots so you have inspired me to do something like this with them...Thanks so much for the inspiration!!
Hugs,
Den
Thanks Deb! I love those teeny pots. They're just super sweet!! Enjoy the weekend!
DeletePerfect, I love the idea.
ReplyDeletePinning. :-)
Thanks Carla. I know you could grow real plants in yours. I'm considering it for summer! Wish me luck!!
DeleteAahhhh, now that's a neat trick. I have so many terracotta pots that could do with a haphazard paint job. Love it.
ReplyDeleteHaphazard is my favorite way to go!! Haha!! Thanks Michelle!!
Delete