Or should I say my frenemy?
I'll admit that I adore a few snowflakes on Christmas and maybe a bit of chill while viewing the lights in my neighborhood, with hot cocoa to warm my hands.

However, once New Year's Day rolls around, I'm ready for summer.
Unfortunately, the calendar and Mother Nature call the shots. So I try to make peace with the season, by wearing layers, cuddling up in front of the fireplace.
And creating cozy decor. Of the snowy kind.
Ornament wreaths, adorable sock buddies and painted curbside upcycles.
I guess it's my way of taking a bit of the sting out winter.
This week, I decided to start by decorating the front door.
Normally, I would leave my flocked wreath out there for a few more weeks, and then skip right to one for Valentine's Day.
Apparently, someone didn't like that plan, because the week after Christmas, that evergreen wreath disappeared.
I'm not sure if the wind took it away or someone really liked it and took it home to decorate their own entryway, but either way, it's gone.
And a naked front door isn't acceptable.
So. What to do?
Easy. Combine winter and Valentine's Day decor in one, with a darling snowman stencil on a large wooden craft round, and hang it up.
Fabulous.
How To Make A Round Wood Door Sign
Since I just had a traditional Christmas wreath on the front door and my spring and summer wreaths are all about flowers, I decided to decorate with something different.
I'd seen those lovely round wooden wreaths for years, but never tried my hand at one.
I thought this would be the perfect time.
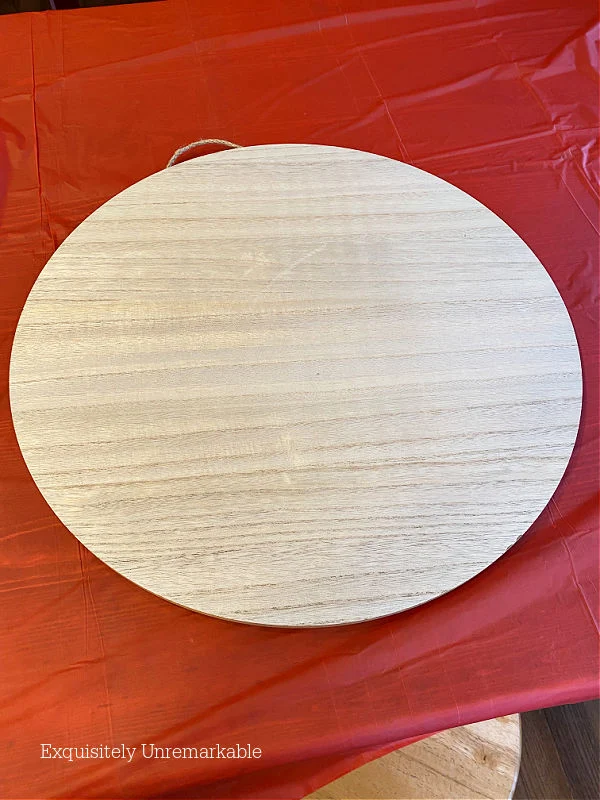
But honestly, with a coupon code and a reward certificate, this one from the craft store, was less than $5 and so much easier than making my own.
Supplies To Make This Craft:
- One 18 inch wooden craft round- I measured my stencil to see what size I would need before I ordered it.
- Stencil of your choice. This is the one I used. I got it on sale.
- Blue painter's tape
- Craft paint: This is a great kit for beginners...but I use whatever I have in my cabinet, mineral paint, chalk paint and acrylic paint.
- Round stencil brushes
- Index cards
- Paint brush
- My favorite sealer
- Ribbon
- Bow maker - another favorite
1. Decide On Paint Colors
The first step in this process is all about design. While most stencils come with a completed photo for inspiration, those colors aren't set in stone.

You can choose whatever tones you please, ones that fit your personal decor or the current season.
Keeping that in mind, I chose ones that would work well for winter and Valentine's Day, since once this sucker goes on that door, he's going to be there until March.
2. Paint The Wooden Round
I literally just squeezed the paint onto the wood and began painting.
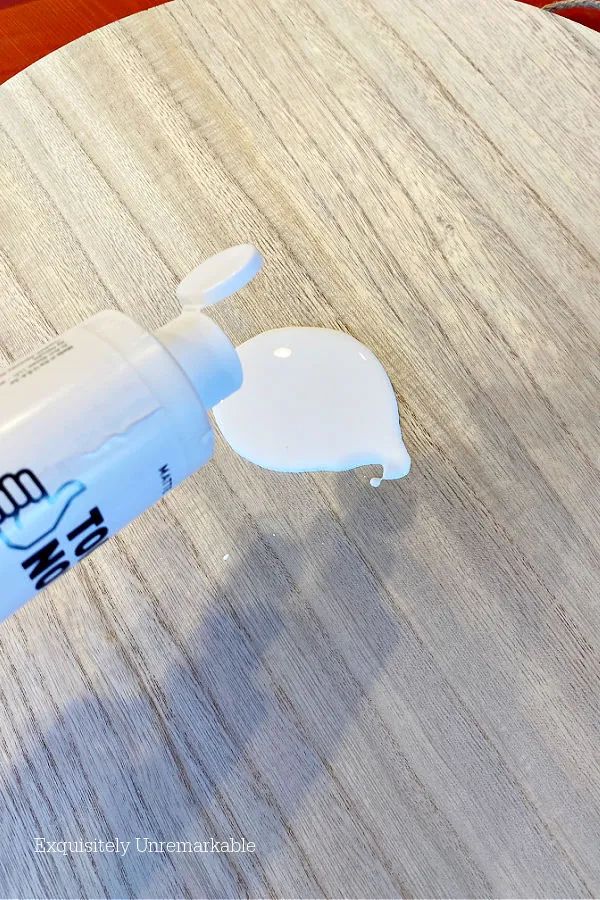
Where the wood shows through a teeny bit.
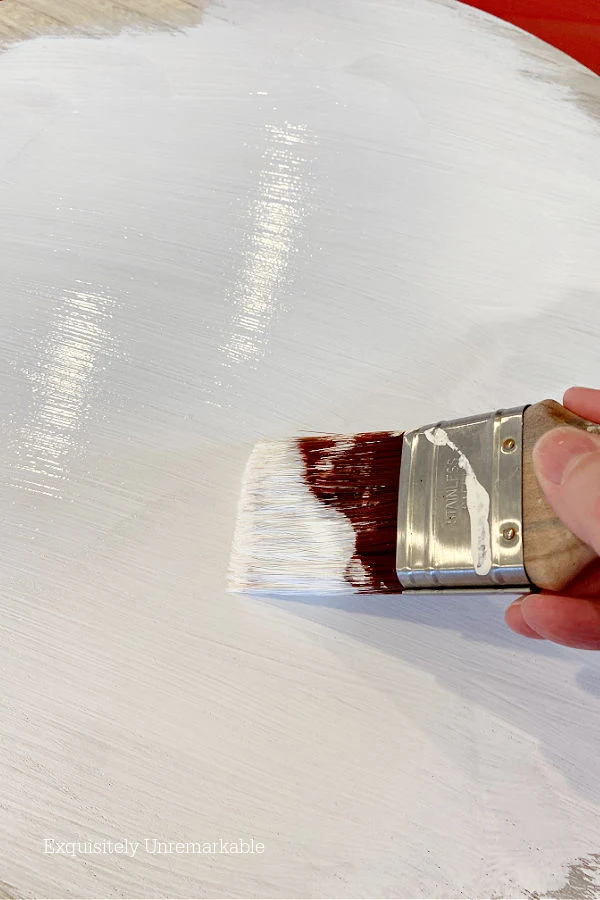
Then I set it aside to dry. Completely.

3. Tape The Stencil To The Sign
Then it was time to add the pretty, with a stencil. A snowman stencil.
Isn't he a dapper fellow?
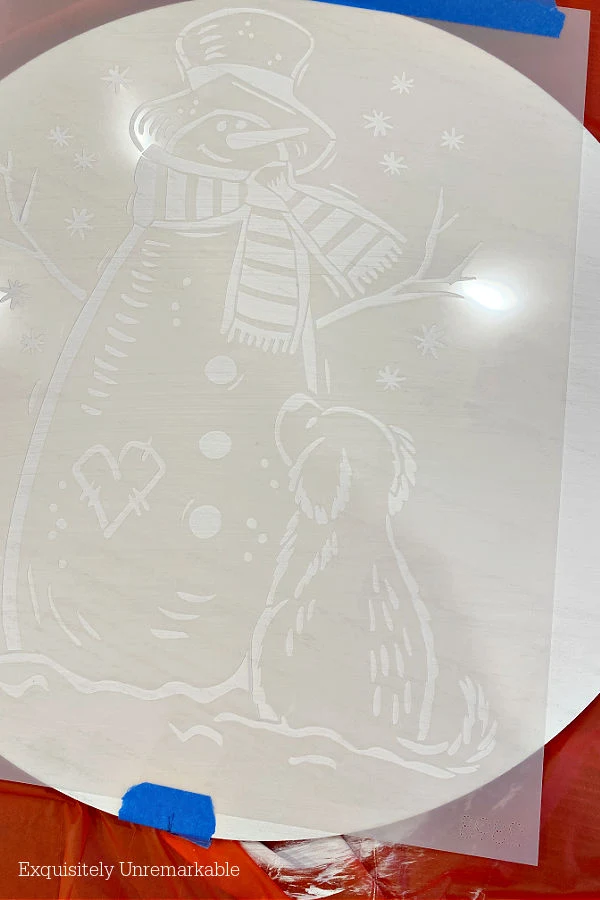
I simply positioned it where I thought it looked best and then I used my blue painter's tape to secure it to the board.

4. Stencil
Now, normally when I stencil, I use rollers. Big rollers, small rollers, I find they work the best.
However, this stencil pattern was composed of mostly lines, so the rollers wouldn't have been appropriate. They were too large and the lines were too close together.

I needed small brushes. There was no way around it. Not my favorite, but effective.
I like small, round, stiff stencil brushes. They hold the paint well and don't absorb too much, so offloading is minimal.
And I don't have to worry about it bleeding under the stencil openings.

They work great, they're very inexpensive and they're disposable.
Nothing to wash. I think I like that part best.

But when I peeled that stencil away...magic.
5. Add Hand Painted Details
To add a little more Valentine's Day charm to my round sign, I decided to break out the pink paint and fill in the white spaces on the snowman's scarf.
Putting your own spin on a stencil is what makes a cookie cutter craft personal and really takes it up a notch.

It was a quick process, but one that made a huge difference in the design.
6. Add A Bow
I used my handy dandy bow making tool and a thick, bold, red ribbon to create my bow. Again, another quick process.

Then I added it to my sign and I was done.
So how do you attach a bow to a wood sign?
You can use a hot glue gun, if your sign will be inside. However, if outside, I recommend using a staple gun so it's very secure.
I did not use either. I attached my bow to the rope that came with the round to hang it. I used a small piece of the the bow maker wire to tie it onto that heavy twine.
When I was all done painting and fussing with my bow, I had an adorable new addition to my winter decor collection.
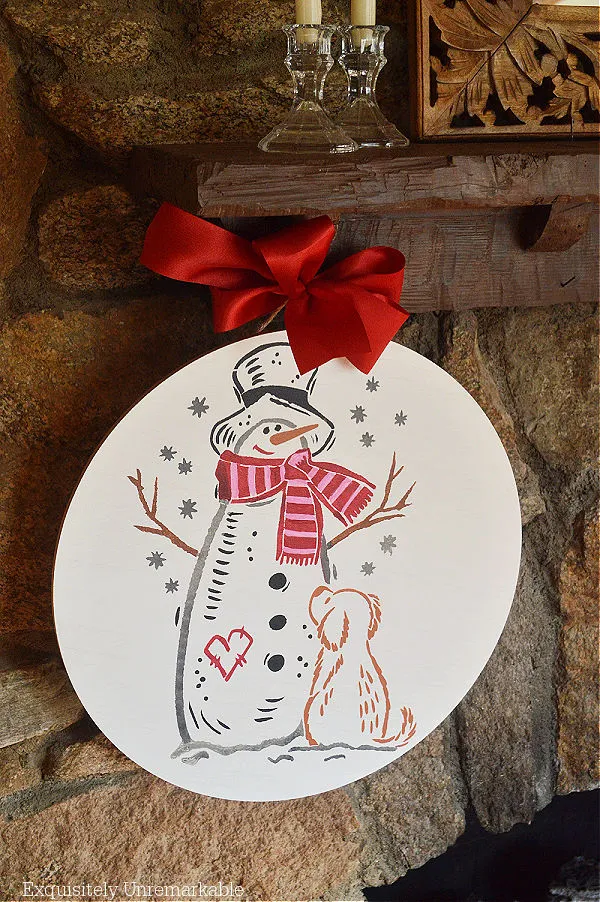
This sweet snowman dressed for Valentine's Day and his adorable puppy pal were almost too precious to part with and place on the front door.
Somewhere I'll only get to visit when I'm coming and going.
But snowmen don't belong in the house.
They're so much more comfortable outside.
All those cold temps and flurry filled days.
They love winter.
And with those two cuties on my front door, the whole neighborhood will think I do, too.
Shhhh.
😉
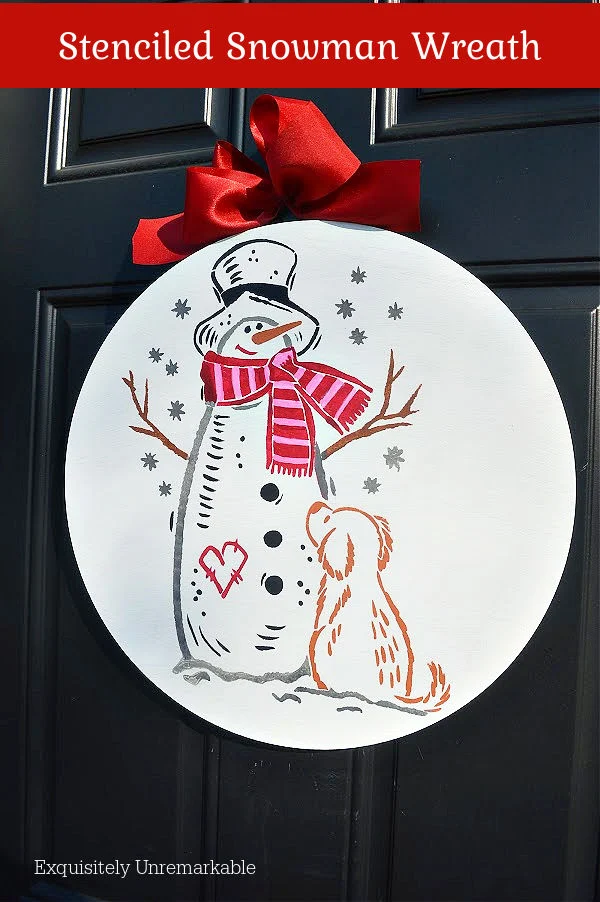
Stay warm friends!


Very cute! And you are so right about the scarf needing pink stripes. The heart is just right -- not too much, but it adds a lot of interest.
ReplyDeleteThanks so much! I think that pink scarf took it from Christmas to Valentine's Day in a few quick brush strokes.
DeleteHi, oh my, I love it!
ReplyDeleteWe have over 43 inches of snow. The most in December and early January we have ever seen while living here. I walk in a tunnel to take care of the hens because the snowbank is about as tall as me where we clean the paths. Ha!
Oh my goodness!! Sounds like you could have a real snowmen…or an entire clan of them…at your front door!! Stay warm!
DeleteKim I really like this. It is so cute. You are so crafty. I am like you and trying to make peace with the winter months but some days are harder than others. OMG about your wreath going missing. With those winds and snow you never know what happens to things outdoors. Have a great rest of the week. Hugs. Kris
ReplyDeleteHaha!! Thanks Kris. I keep thinking about that wreath rolling around the neighborhood somewhere…and someone finding it in their bushes in May!! Maybe it’ll make its way back to me in the spring. Until then, I have two cuties to take its place! Hugs!!
DeleteI'm with you - ready for Spring!
ReplyDeleteYour snowman is just perfect! It really does cover winter and Valentines Day without being too much of either. Now I hope it stays on your door and doesn't disappear like the last one. If someone did take it, this one is at risk because it's so cute!
Oh Mari, I’m counting the days until spring! I saw the snow you had over the holidays and it’s understandable why you’re ready!! Thanks for the sweet comment about my snowman. I do love him and hope that he remains on the door. I guess only time will tell!! Ha!!
DeleteI can't believe your wreath disappeared, but this is really cute! You know we are kindred spirits when it comes to Winter, although, I've noticed it's getting dark later now....there is hope for Spring!
ReplyDeleteYup. It just disappeared. One morning I found myself driving away from the house thinking, where is my wreath? Never had one walk away before. I hope my snowman sticks around for the long haul!!
DeleteSo sorry to hear about your missing wreath! Don't know if it was the wind, but I lost two beautiful pots with geraniums I had on our front porch, due to wind. (I know they weren't stolen, we live on a gravel road that dead ends in at the end of our property!) Your snowman wreath turned out beautifully - the puppy and the heart just pulled at my heart stings! I pinned this to my projects board; I would like to do more paint related projects, and I know your instructions will be a big help! Winter? Well, honestly, it's my favorite. It's part of the reason we moved to the Midwest. We had snowstorms in Nov and Dec, but so far, January is coming up empty. I keep yelling at the weatherman on the news, but it doesn't seem to be helping!
ReplyDeleteKim, I can't believe your wreath vanished! You made such a cute stencil snowman. It will look great in your house or on your door. Hopefully it won't vanish if you put it on your outside door.
ReplyDeleteThanks Julie! He really is a cute replacement. I just hope he doesn’t pull a vanishing act, as well! So far, he’s still hanging on the door!! Haha!!
DeleteKim, I absolutely love this idea!!! I have worked with rounds before, but never thought to paint. You make it look so easy!! Julie redheadcandecorate.com
ReplyDeleteThanks so much, Julie! I have to say this one was fun, I'll definitely have to try another round project. Thanks for popping by!
DeleteVery cute - I like the break from the traditional wreath! I have left some winter stuff up, too, but since we get snow maybe one time each winter and it lasts only a day or so, I put the snow-themed stuff up in lieu of pinecones. I love this time of year for the winter theme - so peaceful. Happy Weekend!
ReplyDeleteThanks Gina! I really like shaking things up a big, wreaths are beautiful, but I do like a little variety. Your winter decor sounds lovely...very peaceful. Happy Weekend!!
DeleteAw, Kim! This is AH-dorable! I like what you did with the scarf: It does look like Valentine's Day! Have a great weekend! xo, RJ
ReplyDeleteThanks Ricki Jill! I tried to add a little bit of Valentine’s charm with my limited artistic ability. I know you could paint the snowman and a beautiful Valentine background freehand!! ♥️
DeleteKim, this is the cutest idea for a front door! I can hardly believe someone actually took your other wreath, but in this day and time, ya' never know! The snowman is adorable!
ReplyDeleteKim, this is soo cute and creative, door looks amazing, i just love your idea, i will definitely try this, thank you for sharing.
ReplyDeleteYou better put an alarm on that one, Kim. It's so cute that someone may take it for their own front door!
ReplyDeleteKim,
ReplyDeleteThis is so adorable!! Love it!! I intend to do less buying this year, even though i did not do too much last year and it was mainly at Dollar Tree...I have a huge craft stash so i hope to really dig in during the Summer which is my "down" time and do some serious crafting....wish my luck!!
Hugs,
Deb