It's a great way to personalize, decorate and protect them. Here's the quick step by step.

It's much smaller that the one I used to go to, but ironically it has more stock.
It's also much less crowded.
I love that, because I can sit in an aisle for a good long time, all by myself, pondering the possibilities.
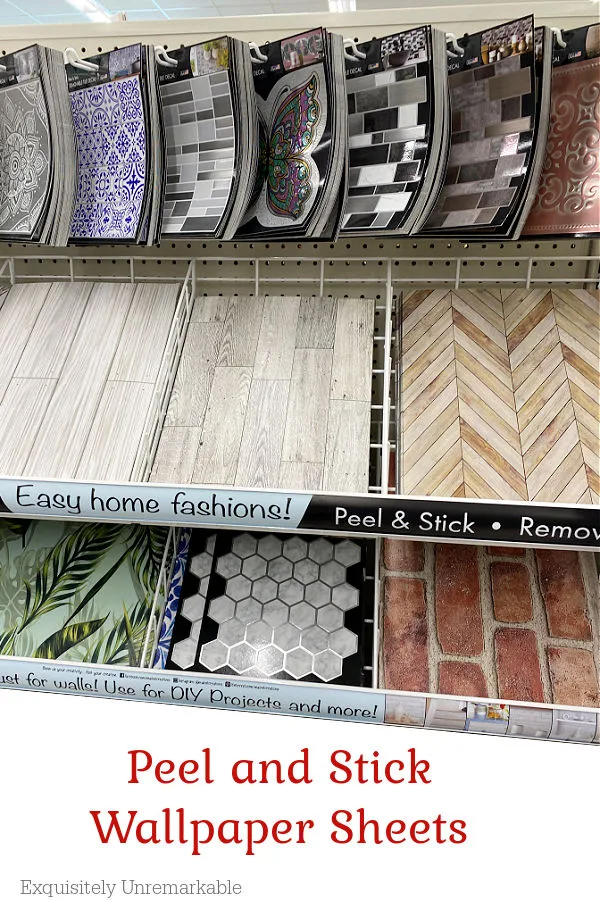
That's actually exactly what happened when I found these peel and stick wallpaper sheets.

They were so fun and I loved the fact that they were basically bite sized. So cute.
I had to have them.
Of course, I had to make a few laps around the store before inspiration hit, but once I saw the marble notebooks, I knew I had a winner.
How To Make A Custom Notebook Cover

This process took me less than 5 minutes, from start to finish.
And it only cost me about $2.50 per notebook.
Supplies I used:
- Marble notebook
- Peel and stick wallpaper sheets, contact or peel and stick wallpaper
- Scissors
- Credit card or ruler
Step 1. Measure Your Notebook

Now, in the store I checked to make sure that sheets would cover, but once I was home and ready to get down to business I had to measure things out for real. 
I simply opened the notebook and measured it all the way across both sides and top to bottom.
Then I measured my wallpaper sheet. I needed these measurements so I could center the notebook on the paper.
The sheets I used were exactly the right size for my notebook. If you're using a roll of sticky paper or wallpaper you'll have to cut a piece first.
I'd make it about 1-2 inches larger than your open notebook.
Step 2. Remove Backing

Next up, I removed the backing paper from the sticky side of the wallpaper. 
Sometimes it can be rough to do, but the dollar store sheets made it easy with a foolproof, open here tab.
Step 3. Add Paper To Notebook

This is pretty self explanatory, but here goes. I just laid the wallpaper sheet on the counter, sticky side up. 
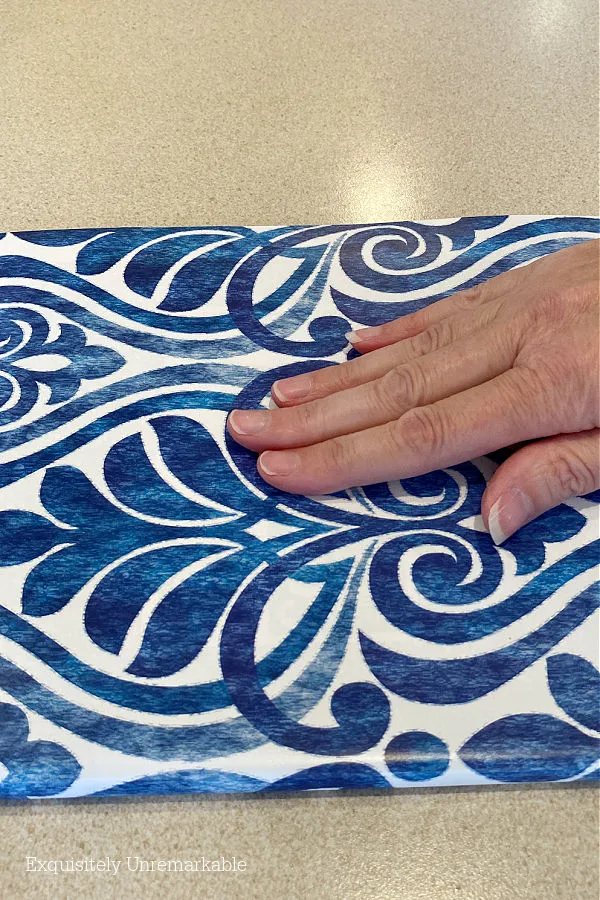
Then, I opened the notebook, lined its center up with the center of the paper and set it down. I used my hand to smooth out any bubbles or wrinkles in the paper.

If there was a stubborn spot, I used a credit card to smooth it out. It was basically the same process I used when I added contact paper to my kitchen drawers.
Step 4. Fold and Cut

The last step was fold the excess paper over the top, bottom and sides of the notebook cover. Front and back.

I used a scissor to snip the wallpaper at the center binding so the fold would be flat and not interfere with turning pages.

I also cut the corners to create finished edges.
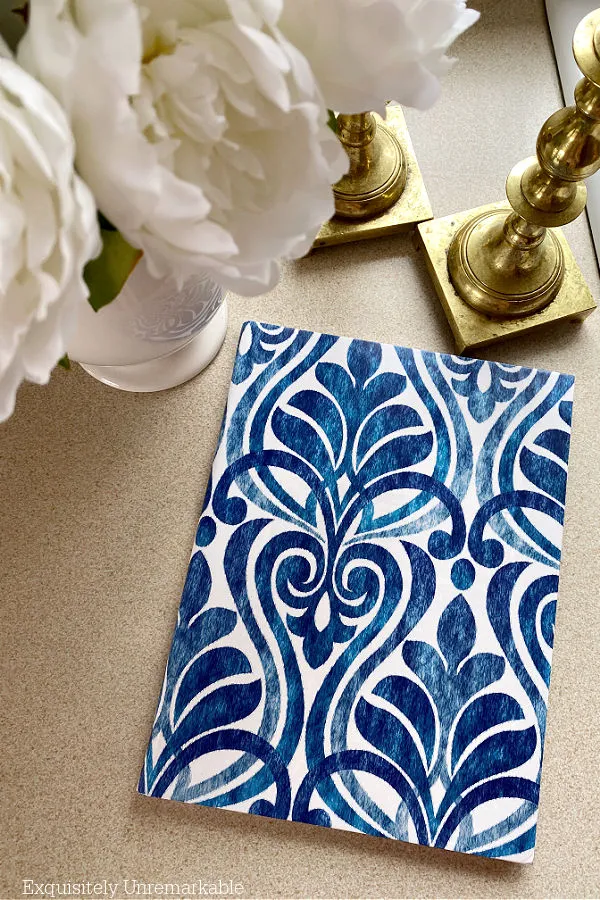
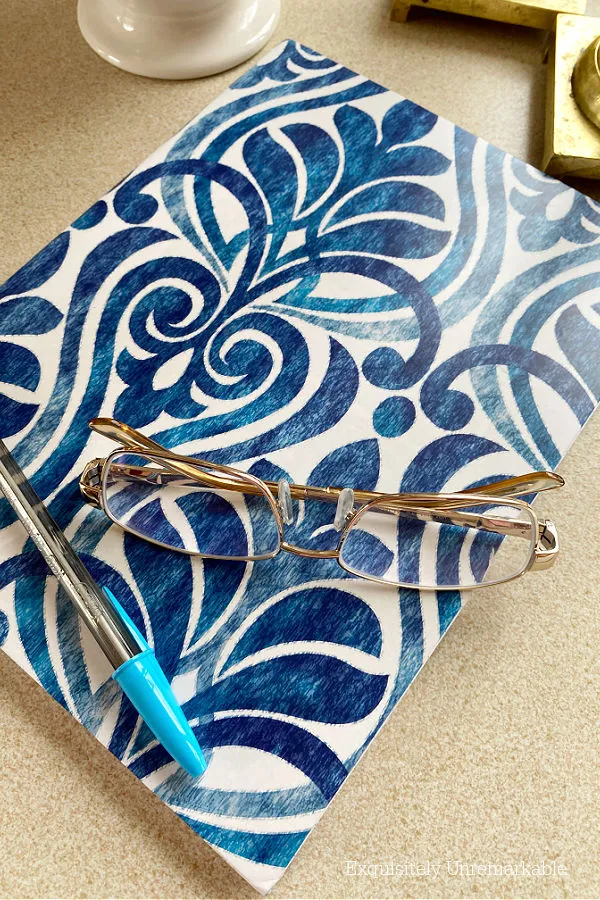
When I was done, I had a lovely decorative notebook cover. It looked much more expensive than the $1.25 I paid for it.

Which is much better than looking like someone forgot to put their math notebook in their backpack.
And since it's such a basic notebook, it can be used for almost anything.

- A daily planner
- A personal journal or diary
- A meal planner or recipe book
- A bullet journal
- A list or note pad
A few helpful tips and tricks:
- If you want to make the inside prettier, you can place a piece of the paper on the inside covers before you begin. Then proceed with covering the outside.
- You can use this same process to cover hardcover books to use as decor or customize planners. And you can upcycle old books or old notebooks, as well.
- You can also use it to cover the kids' school notebooks or workbooks to protect them.
- Most of these sticky papers are removable, so if you have a big bubble or your paper isn't straight, you can usually peel it back and reposition it.
And they're so cheap you can buy lots and lots of them.
To cover all the notebooks in your house.
Especially if you're like me, a tried and true, paper and pencil kind of girl.
Who loves to hang out at the dollar store.
But only on quiet days.
😉
What would you cover?


Happy Crafting!!


If you wait til you’ve covered the outside and then cut a piece just a smidgen smaller than the cover and apply to inside you will cove the overlaps.
ReplyDeleteYes, great idea! And your way sounds easier!! Thanks for the tip!
DeleteHey Kim, you are lucky that you have a DT store that is close by and not that busy. I wish I had a store close by me but the one we had closed down. Now I have to drive a half hour to the closest one. :( I love how pretty your notebook looks with the new cover.
ReplyDeleteI was thinking about you, Julie...I have two literally blocks for each other and you have none nearby. Doesn't seem fair now does it?
DeleteHi, what a fun gift idea. You have me thinking Easter baskets. :-)
ReplyDeleteOhhh…Easter baskets sound wonderful! I might need to go back and see what other patterns they have!
DeleteOh, isn't that pretty! Much nicer the way you covered it! Have you tried using the brick one yet? Does the notebook "feel" heavier? 🤣 As I was scrolling down I saw A personal journal or diary" and I saw "A personal injury journal"! 🤪 Take care, my dear! 🥰
ReplyDeleteThanks Kim! Let’s see, I haven’t used the brick one yet. Any good ideas? I’m stumped so far, but I’m hoping I find something at the thrift store that needs a good brick makeover! The notebook does feel heavier, which is nice, it gives it a substantial air…and personal injury journal, huh? Well, between my two falls on that same shoulder, and all those PT appointments I need to keep track of, it certainly could be!! Haha!! Take care!!
DeleteKim, I always have stacks of those black speckled notebooks lying around! I used to be able to find them in green or purple but nothing as pretty as your wallpapered ones. Why not have everything pretty, right? Every detail matters and you always make it as pretty as can be!
ReplyDeleteThanks so much, Dewena! I think it’s the former school teacher in me, but I too have stacks of those notebooks all over...and yes, I agree, pretty is better! Especially when I can make it that way for a buck. Enjoy the week!!
DeleteHow cute and fun. These would make such cute gifts too. Have a good week. xoxo Kris
ReplyDeleteThanks Kris! They would make darling gifts and they certainly brighten up this winter house. Enjoy the week!! xo
DeleteLove this idea! Going to see if they're at MY dollar store bc sometimes they're not. :(
ReplyDeleteI hope they have them Florence! I'm going to put a link to them up top for those who can't find them in the shop.
DeleteVery pretty, Kim. I like the pattern and color. Hugs.
ReplyDeleteThanks Nancy! That blue is just so cheery and bright, I had to do something fun with it. Hugs to you friend!
DeleteThis is such a great idea, Kim. I just love the blue!
ReplyDeleteThanks so much, Ann! That color caught my eye, too. It’s so elegant looking. I think I’m going to have to go back for more.
DeleteGreat idea and an easy way to create personalized notebooks for everyone in the family.
ReplyDeleteThanks Janet! I love the idea of making everyone their own book.
DeleteI see on your photo that they have lots of cute papers. I love the way your notebook turned out!
ReplyDeleteThanks Mari! They do have a lot of patterns. It’s an easy project, I bet your grand girls would make beautiful books of their own.
DeleteI love this idea! I’ll have to check our Dollar Tree and see if they have any of that peel and stick paper. It’s certainly more economical than buying more expensive notebooks for special writing! Great job!
ReplyDeleteIt really is, Mandy! Pretty notebooks and journals can be pricey, this is a cheap - but elegant- alternative. Thanks for visiting!
DeleteKim I've seen those peel and stick papers before at the Dollar Tree but never expected them to look so good! You have proved me wrong. Going to go and take another look. The notebook looks fantastic!
ReplyDeleteThanks Mary! I have to say they're pretty sturdy and I'm not easy on my notebooks. They've held up really well!
DeleteI don't use these types of notebooks, but what a good idea to make them look prettier! Teen girls might like this idea for their school notebooks, too. (Do they still use these?!)
ReplyDeleteThey do, Melanie! Well...sometimes, I think most schools have them using chromebooks and laptops, but there's always math class!!
DeleteWhat a great way to use these peel and stick background sheets! I had bought some at my Dollar Tree, but still haven't used them. You've definitely inspired me! The uses no doubt are endless! But I love pretty journals, and have quite a few of those note books. Thanks again for great inspiration!
ReplyDeleteThanks Marilyn! I have become obsessed with them lately. I cover and fill them with lists and ideas. I think I'm going to start making some for gifts now, too!
DeleteWhat a great idea, Kim! I just picked up some pretty contact paper and it would be perfect for this project. Thanks so much for sharing! I'm linking to your post this weekend in my weekly roundup!
ReplyDeleteThanks so much and how exciting! I need to pop by and check it out!
DeleteI've seen some of those wallpaper sheets in my dollar store, and I was tempted to buy some, but I didn't know what to do with it. Now I do! I love the pattern you chose for your notebook.
ReplyDeleteThanks Amy! I really like that pattern, too. It's very bright!
DeleteKim, I admire that paper aisle every time I am in Dollar Tree. I love your pretty notebook transformation--pinned!
ReplyDeleteThanks so much! I'm so glad I was able to find something fun to do with it!
DeleteWhat a brilliant idea. It makes me wish I was back at school so I could impress everytone with my fancy notebook covers
ReplyDeleteMe too!! ☺️
DeleteKim,
ReplyDeleteYour imagination never ceases to amaze me! This brought back so many memories of making covers for my school books when I was a kid...a very long time ago!! Great project and one that would be good for teens!!
Hugs,
Deb
I remember that too, Deb. Of course, mine were just covered with paper bags and I decorated with the name of whatever boy I had a crush on that week! Haha...these are much more elegant!
Delete