Stenciled porch sitter signs are a great way to decorate your entryway, without spending a lot of time or money.
I've made two for Christmas and I'm totally smitten. Here's how to get a professional look. And have some fun.

Summer is definitely my favorite season, that's no secret, but Christmas. Well.
While not technically a season, I'd consider it a close second. Maybe even a tie.
So when it comes to celebrating it in July, I'm always on board.
I get to combine hot and hazy days at the beach with a bit of holiday crafting.
Just thinking about it, makes me smile.
Some of my best holiday creations have been summertime Christmas DIYs.
Sock Angels
Shell Wreath Ornaments
A Vintage Sled Makeover
And this past July, an absolutely adorable stenciled Santa porch sitter sign.
Measuring in at impressive four feet tall, he had quite a presence.
And, tons of charm.
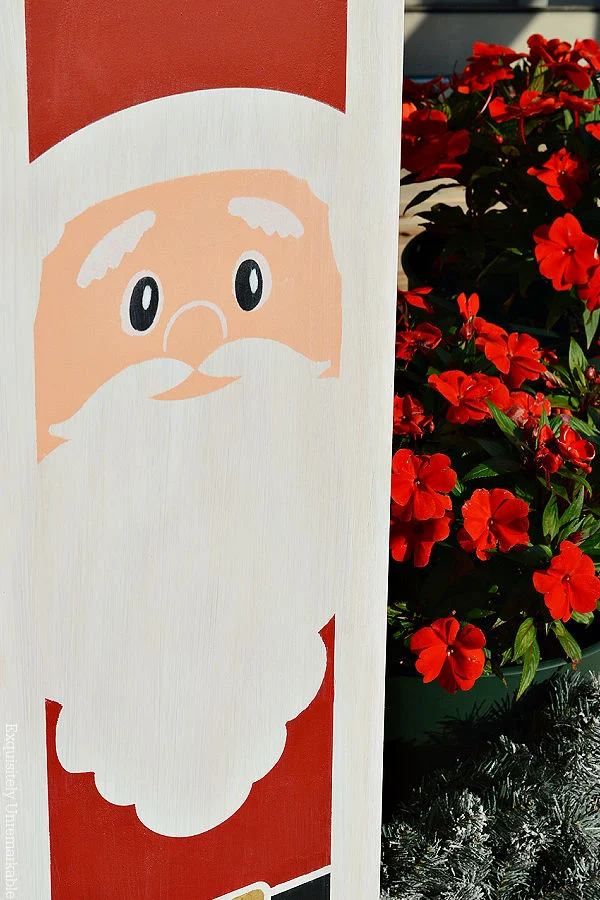
Just between us, I couldn't bear to tuck him away until September, and that's only because he looked a bit silly sitting next to the pumpkins.
I just adored him and couldn't imagine anyone better welcoming people into my home during the holiday season.
Until.
Until a few weeks ago, when I spotted - you guessed it - a Mrs. Claus stencil.
If at all possible, she was even more darling. I needed her.
And frankly, so did Santa.
She had a little more detail than her hubby, but she was still a breeze to create.
Stenciling A Wooden Sign With A Roller
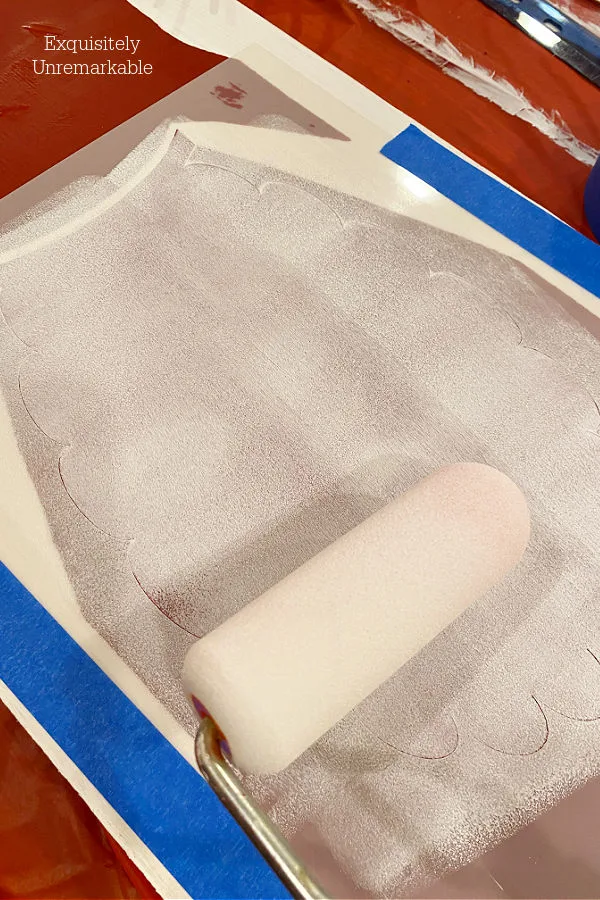
Once again, I used rollers to complete the majority of the stenciling. I've been stenciling a long time.
Back in the 80's I helped my sisters stencil, then in the 90's I stenciled walls in my first apartment and my first home. Over the last two decades, I've stenciled everything from my bathroom to pillows.
And rollers - these small foam rollers - are my tool of choice. I find I get the most control, best coverage and cleanest stencil lines with them.
The Process
I started by gathering my supplies and making a plan. For Mrs. Claus, I used a combination of acrylic craft paint and the same red chalk paint I used to paint Santa, since they'd naturally have similar suits.
I also measured Santa, to see how far off the ground his shoes were, because, again, I wanted Mrs. Claus to match.
Paint Your Board A Base Color
First, I painted my board white.

It was a 48 x 11.25 inches. Right off the shelf at Home Depot.
You can cut one to your exact size, but this was fine for my 48 x 10 inch stencil.
I didn't prime it, since I like a rustic look and don't mind the knots showing through, however if you want a more finished appearance, you could prime before applying the paint.
Measure, Map Out Your Design and Tape
Next up, I drew a line on the bottom on the board, lightly in pencil, to mark where the bottom of her shoes should sit and placed the stencil with the shoes on it.
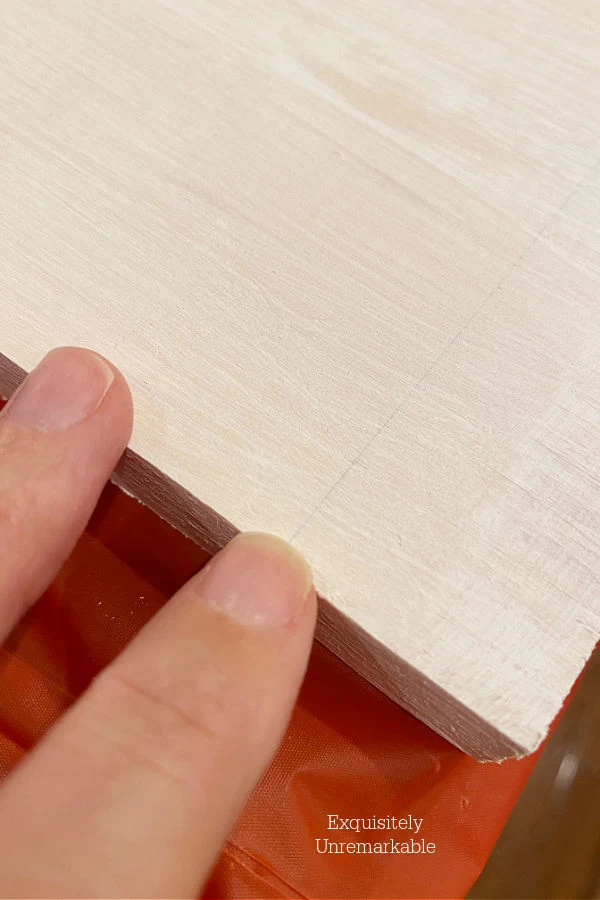
I carefully lined up the main stencil, the one with her dress cut out, with the shoe stencil, for placement and then slipped the shoe stencil out.
Next, I took my ruler and measured the sides of the stencil and the board, to make certain that she would sit straight.

Then, I carefully laid out all my stencil pieces and planned out what colors I would be painting where and in what order.
Honestly, the prep was the most time consuming step.
But isn't it always?
Once she was taped in place, totally secure so there was no chance she'd slip or slide, causing the paint to run, the fun began.

Painting
I started by dipping my roller in the red paint and then off loading some of it on a paper towel.
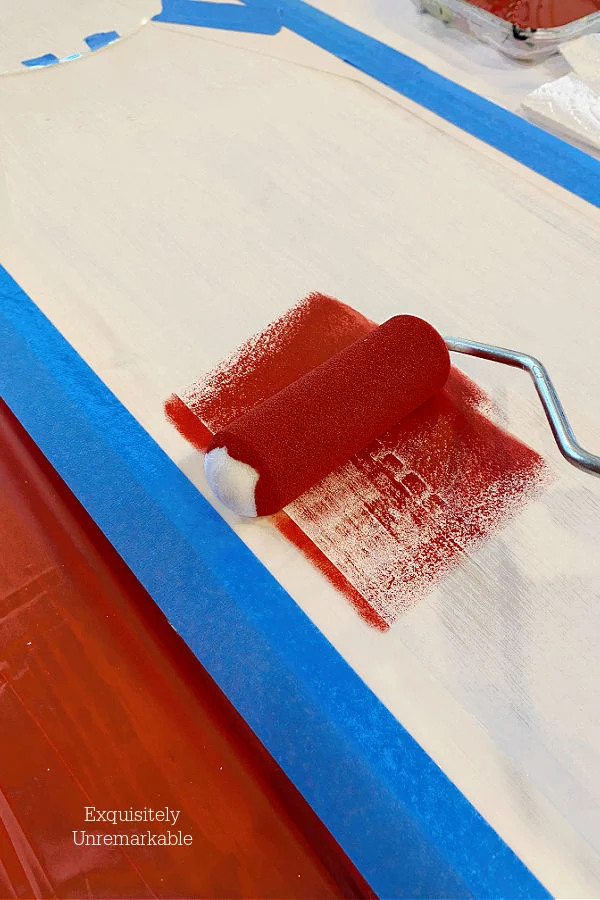
That's the key to stenciling, whether you use a brush or a roller.
You never want to have too much paint on your tools or your board. It's a quick way to get blurred lines and smudges.

For smaller areas, I used smaller rollers, the tiny ones for paint samples. They aren't as dense as the foam ones, so I go very slow.
However, even they leave a nice sharp line.

The only really tricky part with this particular stencil was the fact that I had to go over the dark red paint with white, since her apron and collar were applied after the dress.
It wasn't difficult, just time consuming, since I had to apply more than one coat of the white and let them dry thoroughly in between.

And I'm not a very patient crafter.
It was worth the wait though.
It gave me some time to contemplate her outfit and change her Peter Pan collar into a turtleneck. A little more my style.
When the base was dry, I moved on to the detail work. For that I did use smaller tools.
There's just no other way to get the kind of control those small spaces require.


If I ran into places where I needed to block up a stencil cut away, I used an index card.
And if I was painting in an area, like the face, where it was necessary to lay the stencil over a newly painted area, I waited for the first paint to dry.
Lastly, once the paint was cured, several days later, I gave my entire board a quick coat of clear sealer to lock in the color and protect the paint from the elements.

I have to say, I think I might be even more smitten with Mrs. Claus than I was with Santa.
The girl's got style.
She brightens my kitchen on her own.
And look how happy he is now.
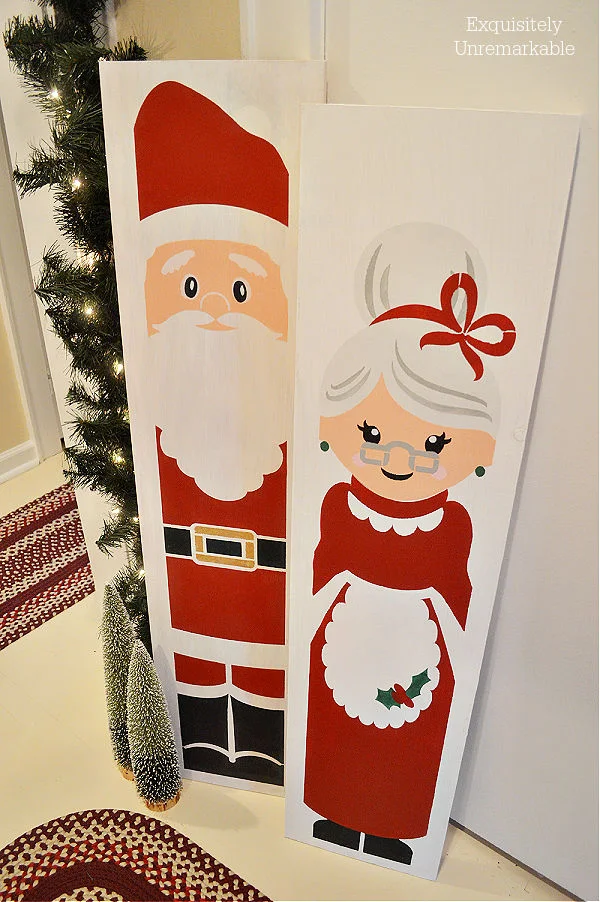
They look so cute in my enchanted holiday hallway, I think they'll be spending the season inside.
With me.
After all, there's plenty of time for them to hang out on the porch.
When Christmas roll around again.
In July.
😉

Stenciled Mrs. Claus Wooden Porch Sitter Sign
Make your very own wooden Mrs. Claus porch sitter sign with a stencil and a few foam rollers.
materials:
- Mrs. Claus Stencil - I chose a 48x10"
- Wooden Board - to match the size of your stencil
- Paint: White, red, green, light gray, dark gray, black, peach, pink
- Sealer
tools:
- Foam rollers and handle
- Round stencil brushes
- Foam pouncers
- Foam squares
- Ruler
- Pencil
- Painter's Tape
steps:
- Paint the board
- Measure and set your stencil in place
- Tape stencil in place
- Plan out what gets painted first
- Paint the sections
- Seal
NOTES:
Off loading paint is the most important step, too much paint on the roller or brush with cause smudges and bleeding
Go slow, it really does make all the difference

She pairs well with Mr. Claus
Copyright © Exquisitely Unremarkable 2023. All rights reserved.
Do you stencil?
*This is not a sponsored post. I just really love the stencils and wanted to share.


She is adorable. I remember when you made the Mr. She is the prefect companion! xo xo xo
ReplyDeleteThanks Diana! They really are a sweet pair. xo
DeleteMrs. Claus is so cute. I remember when you made Santa and he needed Mrs. Claus by his side. Super cute. xoxo Kris
ReplyDeleteI totally agree, Kris. He looks so much happier now…and thanks! xoxo
DeleteAdorable!! Judy Clark
ReplyDeleteThanks Judy!! She really is full of Christmas spirit.
DeleteTrue Christmas Sweethearts ~ I love her earrings, a classy Mrs. C indeed.
ReplyDeleteHaha...I guess a girl needs a little sparkle, even in the North Pole!
DeleteI love how she turned out! Now Santa won't be lonely anymore! - Briana from Texas
ReplyDeleteThanks Briana! Yes, they really are a darling pair. Happy Weekend!
DeleteShe is so cute and they are adorable together! I haven't stenciled in some time, but it really is fun!
ReplyDeleteThe rollers just make it so easy and I love the porch sitters since the stencils are big. I bet your grand girls would enjoy stenciling!
DeleteShe is adorable!
ReplyDeleteThanks Deanna!!
DeleteShe's ADORABLE! She has a face that makes you want to give her a big hug.
ReplyDeleteShe really does, Marie, so adorable...and thank you!
DeleteI love this Mrs. Claus you made Kim and it looks great with Santa Claus! They are the perfect for the holidays.
ReplyDeleteThank you, Julie. I love the fact that he has a sweet partner now.
DeleteMrs. Claus is absolutely darling, Kim! I love that you now have the matched set.
ReplyDeleteThanks Ann! I just love her sweet face. Plus she was fun to make. Happy Weekend!!
DeleteAdorable, Kim! Mr. and Mrs. look very happy to be together!
ReplyDeleteThanks so much, Amy! They really are a fun pair.
DeleteKim, these porch sitters are adorable.
ReplyDeleteThank you, Tammy! You are too sweet.
DeleteKim,
ReplyDeleteO my goodness! Aren't they just the sweetest couple!! I LOVE them and I would not want to let them out on the porch just yet either!! So darn cute!
Thanks so much for stopping by!! And for you kind words!!
Hugs,
Deb
Thanks for popping by to peek at Mrs. Claus, Deb! She is just as adorable as her mate.
Delete