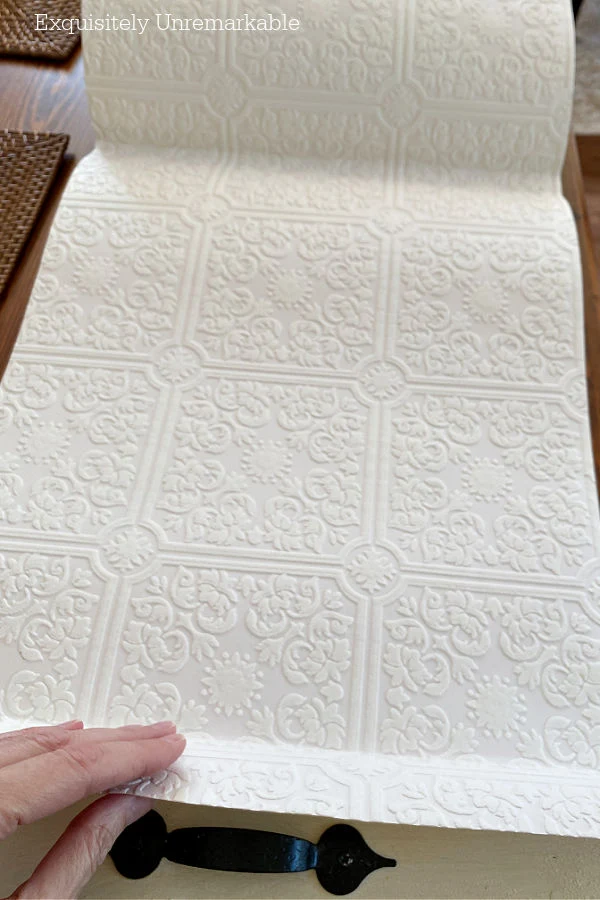
A forgotten roll of paintable wallpaper turned out to be the perfect craft supply to makeover an old thrift store tray.
In no time flat, and for free, I had a brand new piece of elegant, vintage styled home decor.
How fabulous.
Well folks, it's officially summer now, my all time favorite season and that means I've been spending time at the beach, by the pool and at yard sales.
I just love those Saturday morning treasure hunts.
Of course, I don't really need anything, I've amassed quite a collection over the years.
As a matter of fact, the this little cottage was getting overwhelmed, so two weeks ago, I had a yard sale of my own.
It was a great way to clear out the storage rooms.
And make space for some new fun finds.
I sold a lot of home decor, some original Exquisitely Unremarkable designs, a few rugs, a patio set and books. Lots of books.
It felt great to purge.
However, along the way, I also unearthed a few pieces that I'd tucked away and forgotten about.
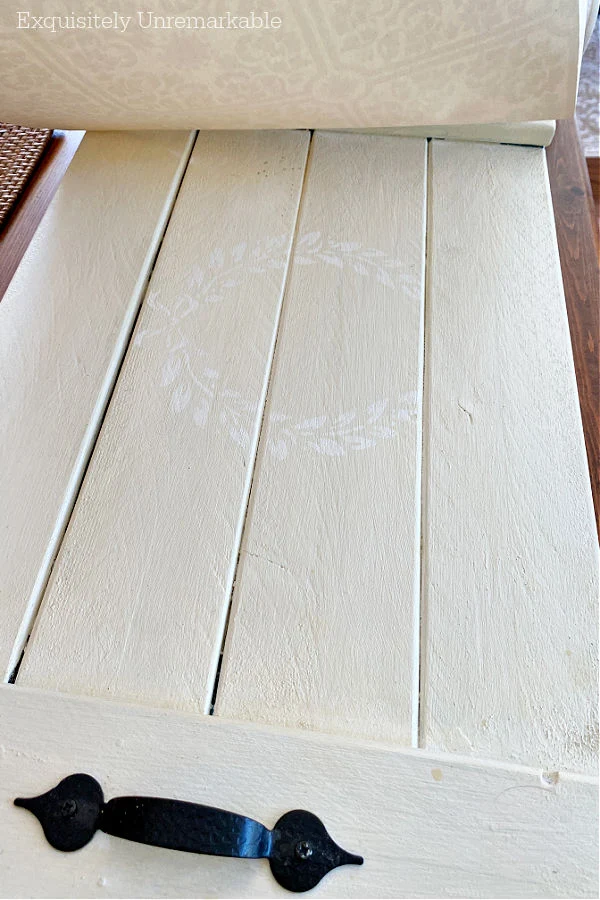
Like this second hand wooden tray.
It was a thrift store purchase from a few years ago.
One that had a rather dramatic before and after.
However, when I also stumbled upon a brand new roll of paintable wallpaper, I knew it was ready for another one.
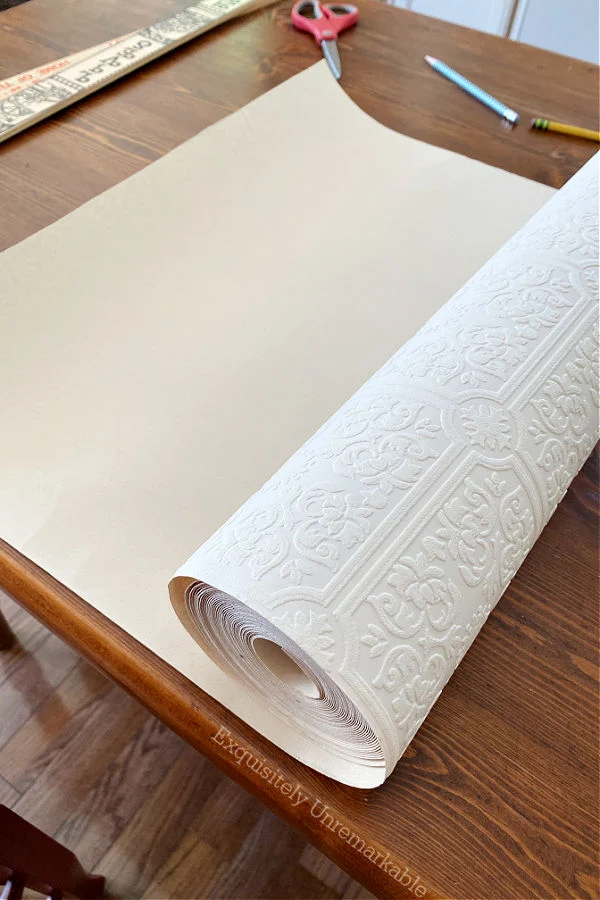
I'd bought it with the intention of adding it to the bathroom, however I never returned it when I decided to stencil the walls instead.
Turns out, just like peel and stick wallpaper, it's very, very easy to work with, looks fabulous when applied and honestly, it looks great painted or just left alone.
I started by dusting off my old tray and rolling out the paper on the kitchen table.

Then I measured the paper out on the tray and creased it where I would need to cut. The paper is rather thick and stiff so it didn't tear.
I cut along my crease line with scissors, moving slowly, so I didn't deviate from my line.

The next step was a bit messy, since it involved water. To make this paper stick, you need to immerse it in water for a few seconds and then pop it into place.
Ideally, I would've had a bucket nearby to submerge my paper, but I'm a lazy crafter.
Instead, I literally ran that one piece of wallpaper under the kitchen faucet, gave it a shake and applied it to the tray which was on the counter.
I mean it was just water. Sticky water, but water nonetheless.
Positioning the paper was easy, I just moved it around until it was even on both sides and straight. The glue was very forgiving while it was wet.
My wallpaper was textured, it has a relief pattern it on, so pushing too hard would ruin the raised design. I had to go slow and be mindful.
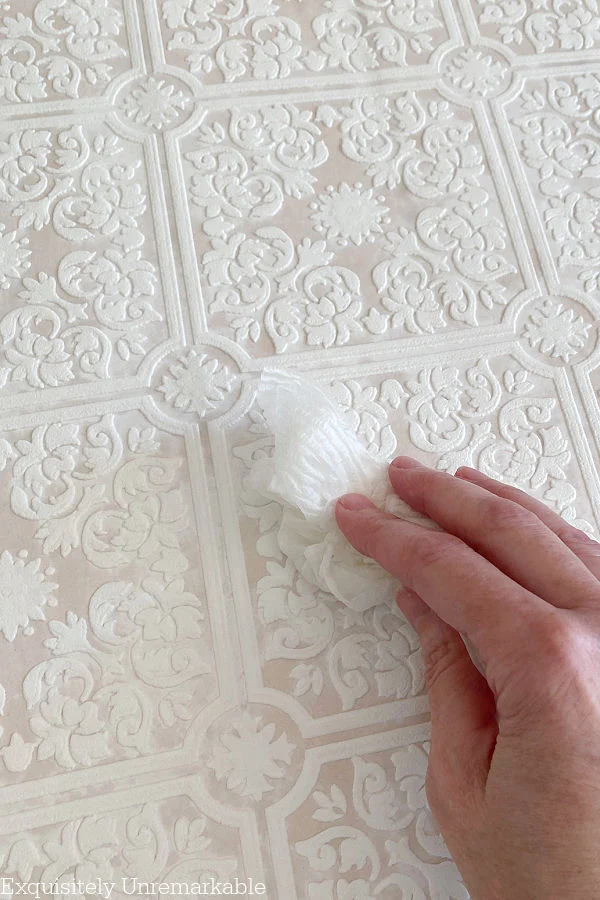
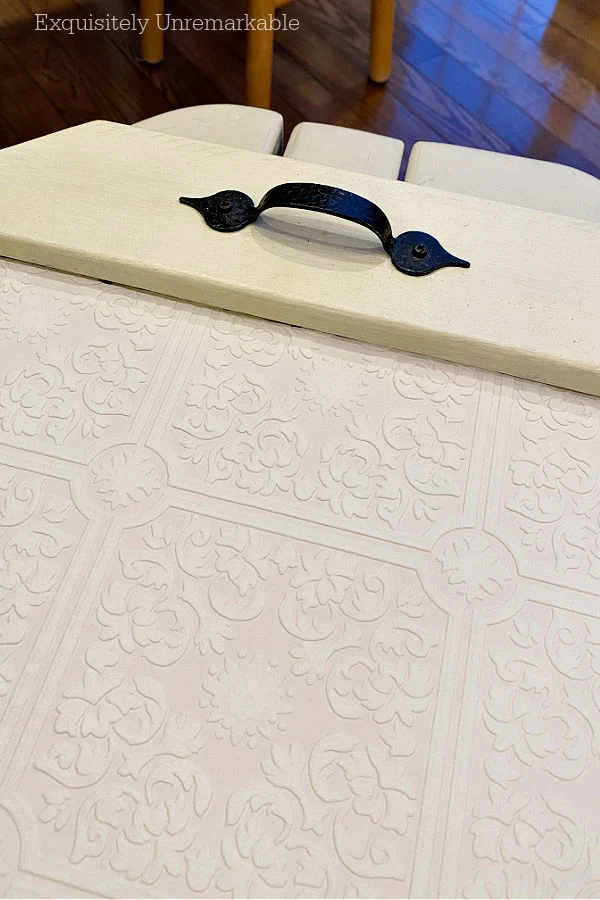
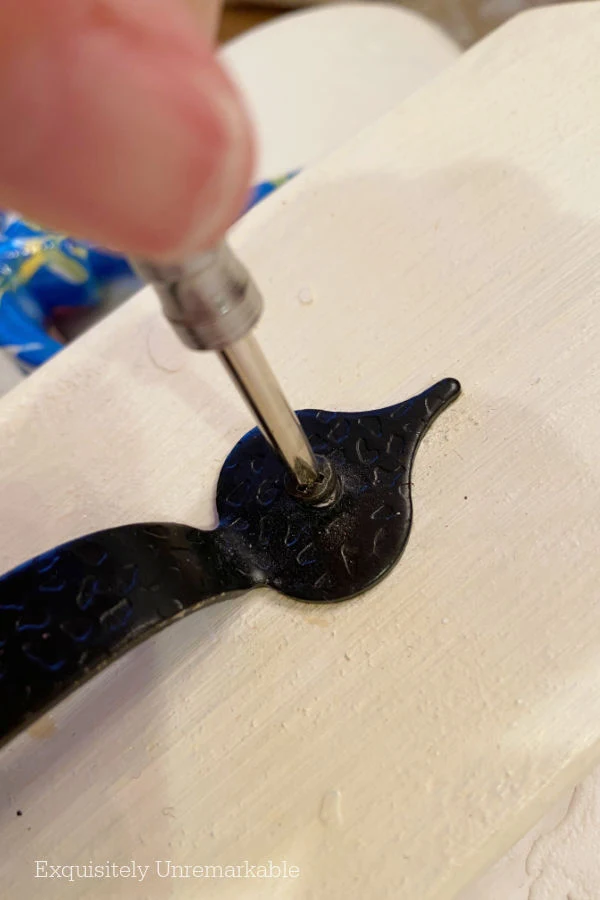
I started by removing the hardware with a screwdriver and wiping the tray down again, to remove any dust or debris.
Of course, you could use any paint you like.
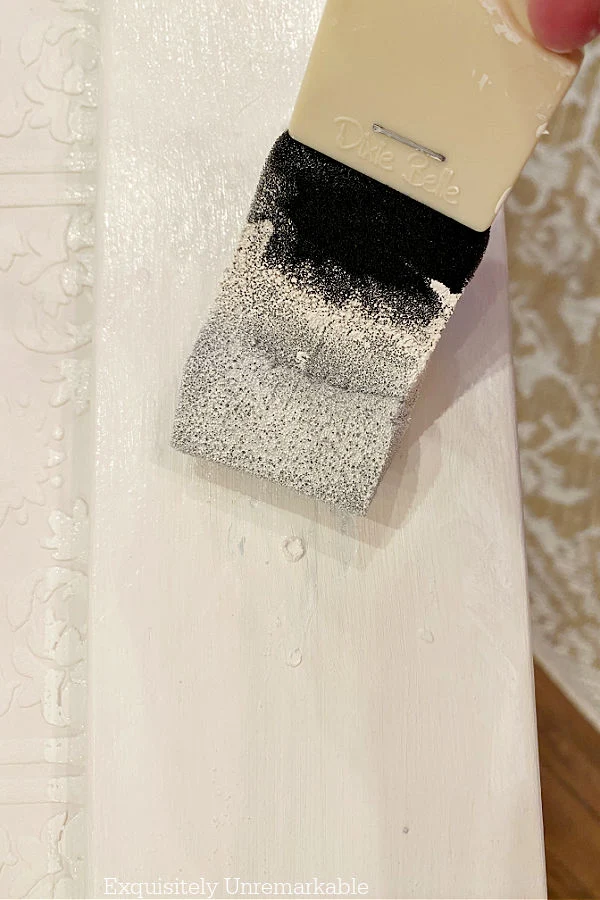
Any color you like, too.
I went with white since I wanted the tray to provide a neutral background for some of brighter pieces, but this paper would be deliciously dramatic in a dark hue.
Plus, it comes in all kinds of patterns, so there's lots of choices.
I've already used it in two other places...so keep an eye out for those DIYs.

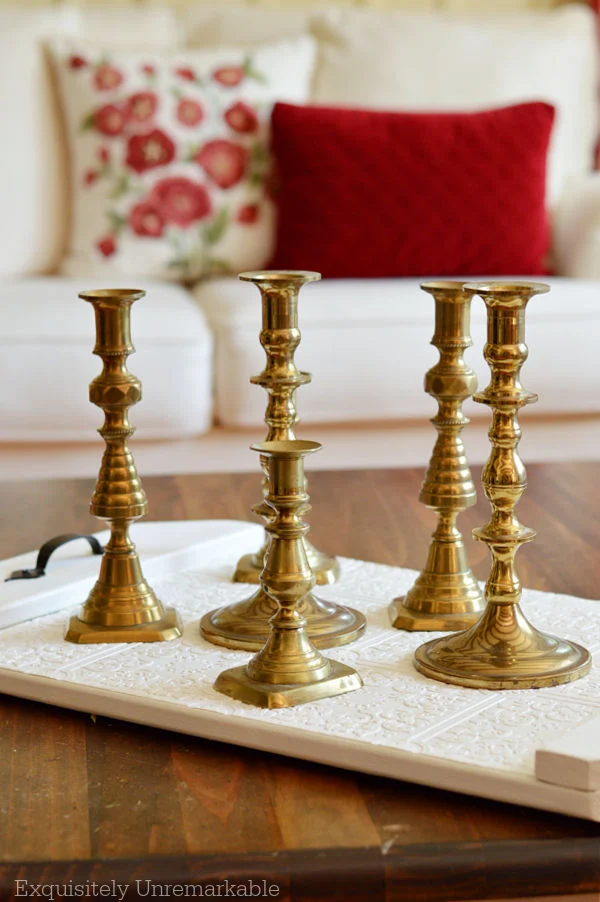
When it was all done, I had a brand new tray that I'd found at my own yard sale.
To display the brass candlesticks, I'd recently found at someone else's.

You see how that goes?
😉
What will you be doing today?


That turned out fabulous! Have a wonderful weekend!
ReplyDeleteThanks Penny! You too!
DeleteOooh! That patterned paper is perfect there. I really like the way it turned out.
ReplyDeleteThanks so much, Mari! It was a fun way to makeover the tray. Easy too...
DeleteI love how your tray turned out! So pretty! - Briana from Texas
ReplyDeleteThanks Briana! I had totally forgotten about this paper, now I'm obsessed with it.
DeleteYou've inspired me...I have a couple of trays (1-thrift shop, 1-garage sale) that could use at least a new coat of paint, and maybe a little more!! I love your idea of doing a stencil...I will look into that!
ReplyDeleteI'm so happy you found some inspiration here today, Kristine!! That just makes me smile...and yes, the first tray makeover was done with a stencil. It was very pretty and great way to embellish it. You'll have to let me know if you try it!
DeleteI love the idea of paintable raised wallpaper. Bookmarking this for future reference! (: Have a great weekend!
ReplyDeleteGlad you like it, Gina! It really was an easy way to get a vintage look.
DeleteWishing you a happy weekend.
ReplyDeleteAll the best Jan
https://thelowcarbdiabetic.blogspot.com/
Thanks for the visit today, Jan!
DeleteThis turned out so nice. I have some of that paintable wallpaper and now you have me thinking about doing something like this. Love it Kim. Have a great weekend. xoxo Kris
ReplyDeleteKris, you were the one who inspired me to buy that wallpaper in the first place! I remember seeing you use it and picked up a roll for my bathroom. Since I never used it there, I still have the whole roll and have already used it on furniture and am contemplating putting it on my steps! So thanks for sharing!! xo
DeleteI like what you did with the tray, Kim. The design of the paintable wallpaper is perfect with the elegant brass candlesticks. And I love the simplicity of using only the candlesticks on the tray. Beautiful statement. I'll be working on a project today, just not sure which one. Happy Sunday! Hugs.
ReplyDeleteI can’t wait to see what you choose to make today, Nancy! You always inspire me with your pretty pieces and very clever DIYs. Thank you for the sweet words, too!! Happy Sunday! Hugs!
DeleteI love how this turned out! I have never actually used “real” wallpaper - only peel and stick. I’ve wanted to try it so many times … now that I see it’s not that hard, maybe I’ll give it a try! Thanks for the inspiration!
ReplyDeleteThanks for the kind comment and I hope you do try it!! It's so simple to use...actually, it's almost a little bit easier in some regards than the peel and stick. There aren't any bubbles and the glue is a little more forgiving. ☺️
DeleteKim,
ReplyDeleteThanks for stopping by!! And GUESS WHAT I HAVE??? Yep, a roll of similar paintable paper...Thanks so much for the inspiration!! Love this!!!
Hugs,
Deb
Of course you do, Debbie!! You are the queen of crafts and craft supplies! If you do use it to get crafty, I hope you'll share. I can't wait to see what you come up with...Hugs!!
DeleteI love how this turned out, Kim. Now I'm on the look-out for some paintable wallpaper!
ReplyDeleteOh yay!! I love when I share and it inspires someone else to try the same thing! Thanks for letting me know!
DeleteThis turned out beautiful Kim. And there are so many other places it can be used too. You are giving me bad ideas! Lol!!
ReplyDeleteThanks Mary! I'm very smitten with this wallpaper. I've already used it on a piece of furniture and I'm contemplating using it on my steps. So you're in good company with the bad ideas! Hahaha!
DeleteYour tray turned out so cute, Kim, and I’m sighing over your brass candlesticks that you found at a yard sale.
ReplyDeleteThanks so much, Kitty! I actually walked away from them, but when I got back into the car, I went back! I’m so glad that I did since the kind lady selling them gave them all to me for a song! It was a lucky yard sale kind of day. Enjoy your evening!
DeleteOh my. I literally gasped when I saw the last two images. Wow, that's quite some transformation. I'm wondering whether a thin layer of resin over the top would make it extra durable or whether it would make that gorgeous texture look flat. I have to give it a try. Beautifully done, Kim.
ReplyDeleteThat's an interesting idea, Michelle. Leave it to you and your crafty brain...I'm going to have to ask my husband if he has any. We could try it on a small piece to see. Thanks for the suggestion!
DeleteOoh I like the pattern on your paintable wallpaper. Such a pretty tray transformation! I'm also swooning over the pillows in the background, especially the floral poppy one.
ReplyDeleteThanks Marie! I love those pillows, I bought them a Pier 1 a few years ago, before it closed. I grabbed two, but I should've purchased more, they're just lovely inside and out for summer.
DeleteAs always.. another great idea and tutorial.
ReplyDeleteThank you my sweet friend. This was a fun one.
DeleteI love how pretty the tray looks Kim. The wallpaper pattern looks great and you did a nice job with your new updated tray.
ReplyDeleteThank you so much! I have to say, I'm rather smitten with this one. Glad you like it, too!
DeleteKim, it's great that you were able to use the wallpaper on your tray makeover. The tray looks pretty and I hope enjoy using it.
ReplyDeleteThanks Julie! Finding that paper was definitely a bonus of the yard sale. It turned that tray into something special for sure. Have a sunny afternoon!!
DeleteAnother winner, Kim! I've been tempted to have a yard sale, and purge. I used to love to go to them when I had a house in the Hamptons, because frankly, there, the saying "another person's junk" had much more meaning! I got some amazing things.
ReplyDeleteHamptons yard sales are next level, Amy. We’re actually heading there for a bit this summer and I have yardsalefinder.com set to those zip codes to score some goodies!!
Delete