I decorated a small unfinished wooden crate with a little bit of stain and four small wooden beads for feet. You can peek at the super easy craft here, step by step.
Get all the details.
Hello friends! I hope you're having a lovely spring weekend.
It's windy and raining here today, but that's ok, it means it's a good day to sit in front of the computer and share my latest easy craft with you.
It's another crate makeover.
The third in a series.
Did you catch the other two?
The crates I added a transfer to are filled with farmhouse flair and have served me well in the spring decor department.
The geranium napkin decoupaged pair still make me break out in a giant smile everytime I catch a glimpse of them.
However.
Today's share is hands down the most darling.
Because of its feet.
Yup, little wooden feet. How sweet.
Here's the super easy DIY.
Footed Wooden Crate Craft
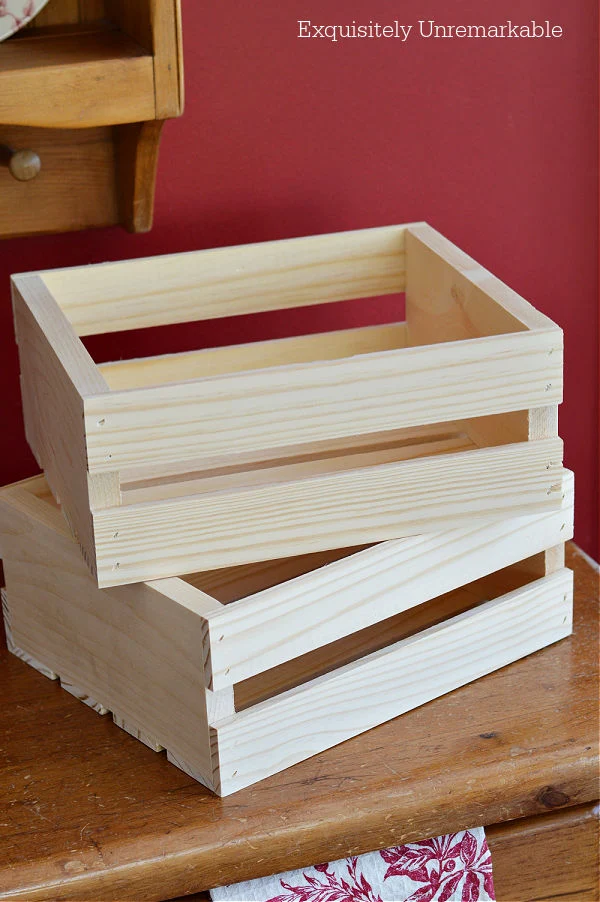
From the moment I saw these small crates, I knew that at least one of them would have feet.
Nothing special, just a few little wooden beads to elevate the design a bit.
Literally.
Supplies:
 |
| This post is sponsored by Crates And Pallet |
Small Wooden Crates
Brown Stain
Paint Brush
Application Pad or Rag
Rice Paper
Sanding Sponge
Satin Clear Coat
Cordless Glue Gun
Wooden Beads - with a flat spot on top and bottom
Step 1: Apply The Stain
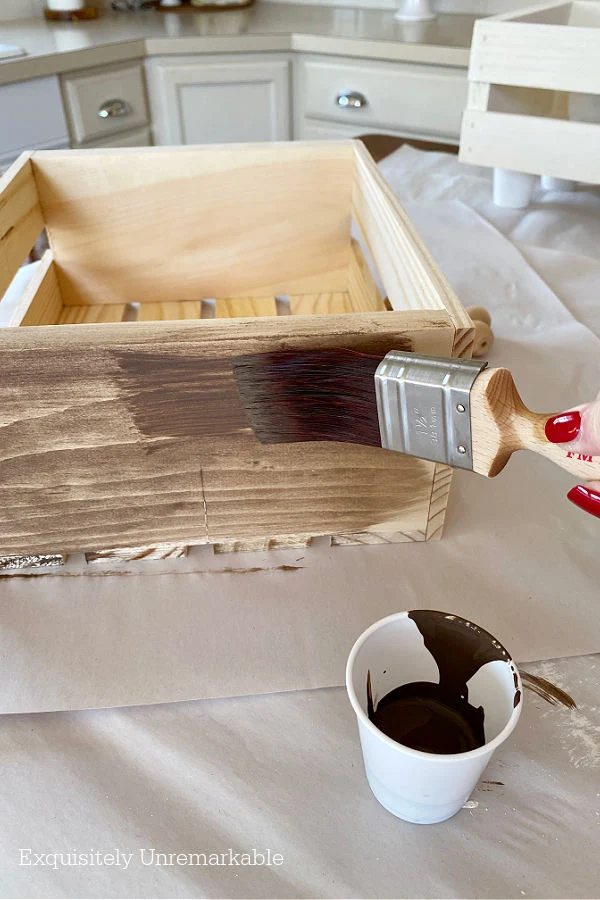
I started by brushing a layer of stain onto the crate with a paint brush. I didn't need to be too careful, I just made sure that I moved my brush in the same direction as the wood.
And I didn't want to use too much stain, otherwise it would drip.
Step 2: Wipe Excess Stain Away

I applied the stain in small sections and then grabbed my application pad and wiped any excess away from the wood. I didn't want the coverage to be too thick since the wood grain was lovely.
Once the stain was on the crate, it really stood out.
Step 3: Stain The Wooden Feet

While the crate dried, I stained the wooden beads/ balls/ feet.
I knew it was going to be a messy job, and I also knew that trying to paint them was going to be futile.
So I put on a pair of gloves, dipped the beads into a cup of stain, rolled them around between my fingers until they were covered. Then set them aside to dry.
Step 4: Decoupage With Rice Paper
I loved the simplicity of the stained crates. It gave them an aged appearance. I did want to add a bit of color though. For that I chose rice paper.
I used this same technique on my wooden Christmas trees.
First I trimmed the piece of paper to fit the face of the crate.
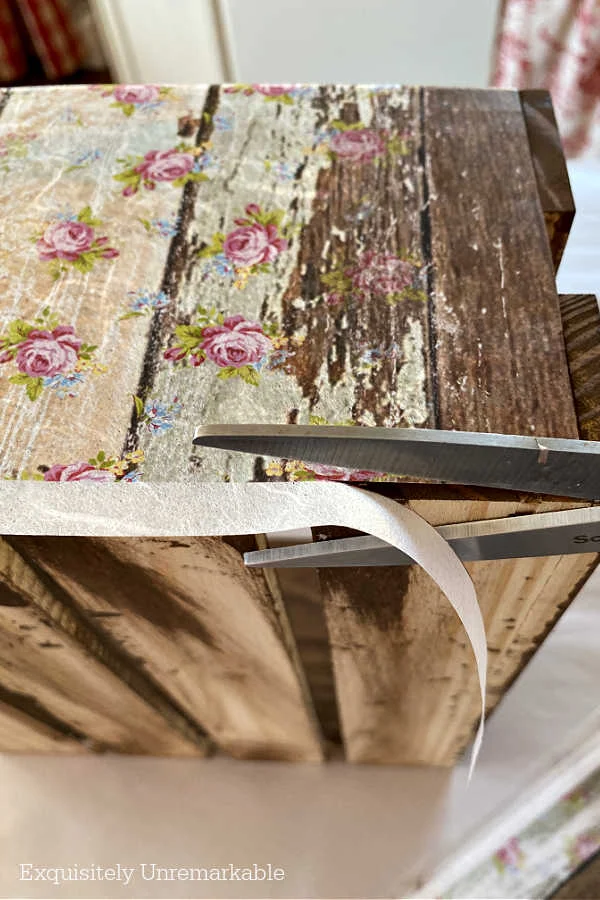
You can use Mod Podge, I just like this better.
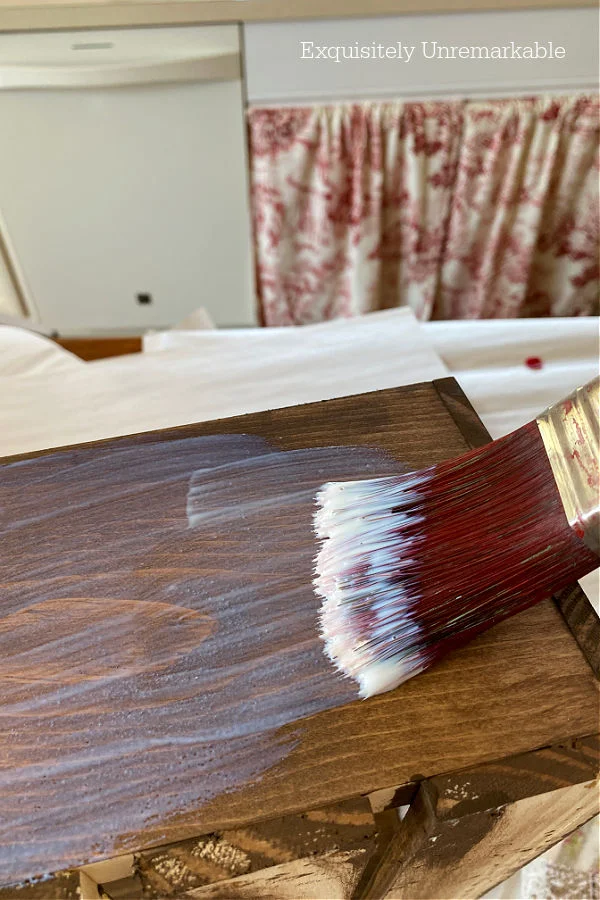
Next, I placed the rice paper on the wood and smoothed it down with my fingers. I worked any bubbles or wrinkles out, but honestly, rice paper is so easy to work with, there was very little to do.
Much easier than decoupaging with napkins.
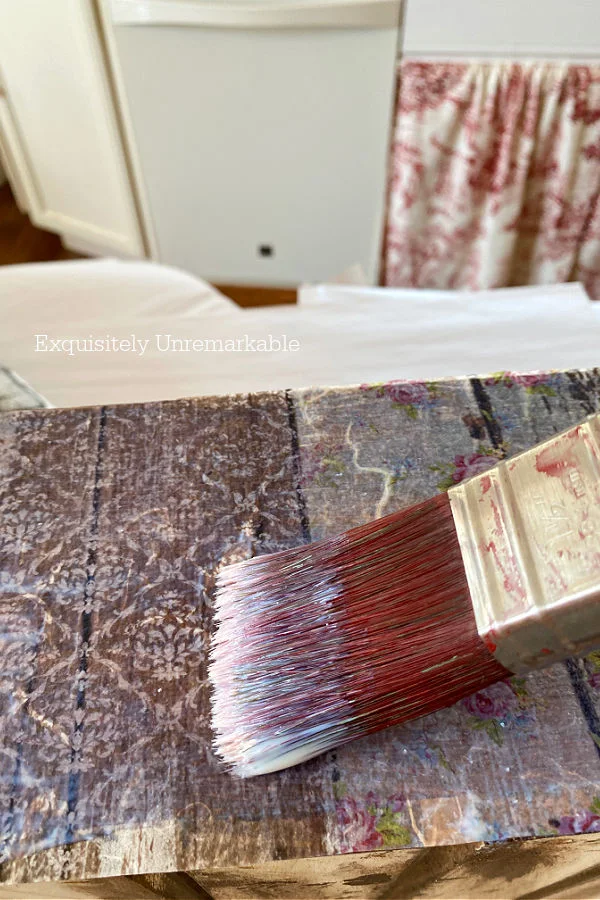
When I was satisfied with the way the paper looked, I locked it into place with another coat of the clear sealer.
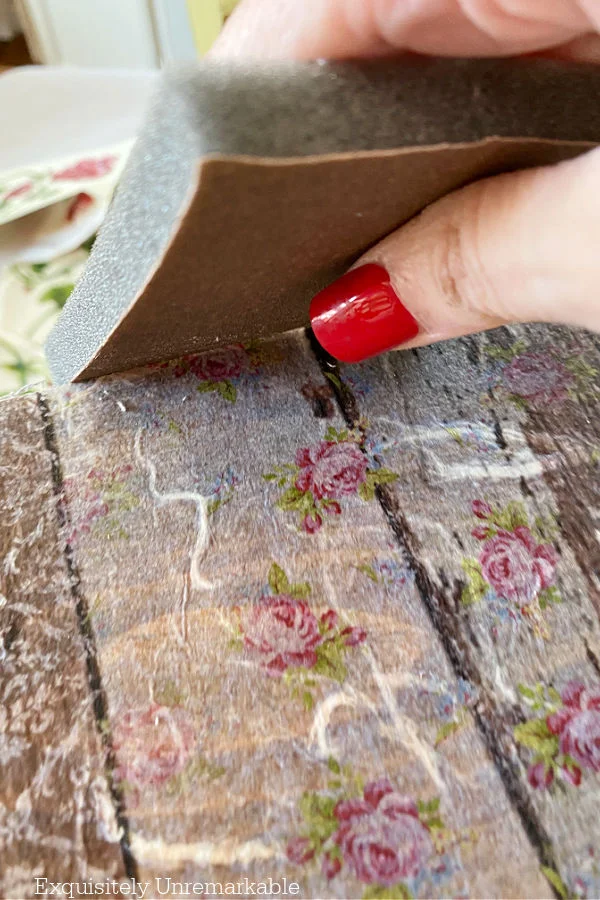
The last step in this process was clean up. I used a small sanding block to gently work away any of the rice paper that hung over the edges of the crate.
Step 5: Add Wooden Feet

The feet went on quickly with the help of my handy dandy cordless glue gun.
I just dabbed a little bit on to one of the flat ends of the bead and pushed it against the bottom of the crate.
The only consideration here is to make sure that your feet will be level when you place it on the floor or table. So check it after each foot and adjust it before the glue dries if necessary.
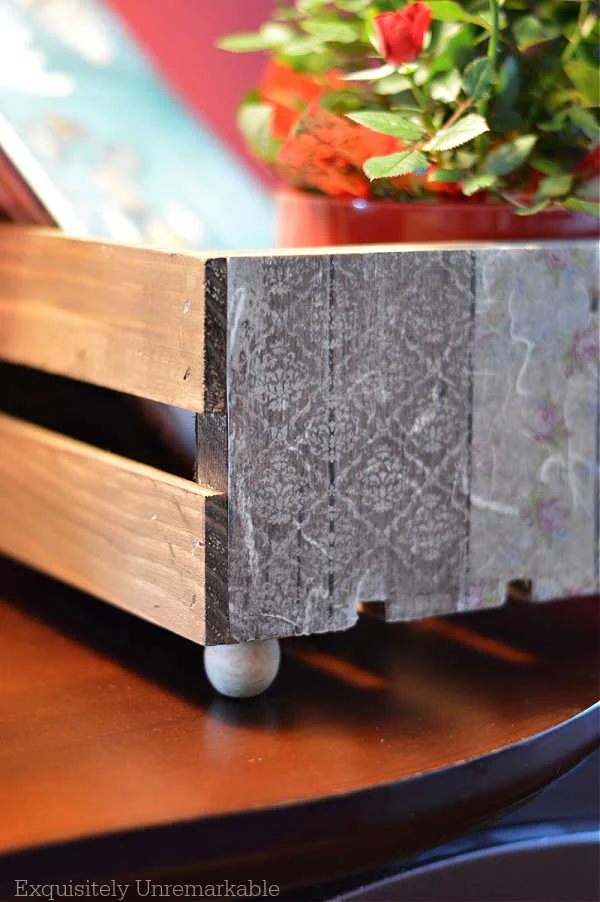
It was a tiny footed charmer decorating my cottage style kitchen.
Holding my mini roses from the grocery store and decorating magazines.

So which crate makeover is your favorite?


Beautiful, as always! Curious, do you use the Clear Coat Satin or Flat?
ReplyDeleteHi there! Thanks so much and I used satin. I just love a teeny bit of sheen.
DeleteLook at you with your crafty self. This is amazing. Love that you added the feet. Very cute. Happy Mother's Day. xoxo Kris
ReplyDeleteThanks Kris! I adore this little one...I hope you had a fabulous Mother's Day!! xo
DeleteThis is my favorite! I love the feet and the rice paper too. Putting things in it, instead of having them just setting out, pulls it all together. Nice job!
ReplyDeleteThank you so much, Mari! I love those little feet. Something about the crate being off the ground make me smile.
DeleteThis is such a precious crate Kim. I knew I had seen those feet before, I had actually used them on a tray I made a while ago. Love all the detailing on your crate.
ReplyDeleteThe are from Michaels, Mary, so I'm sure you've seen them many, many times!!
DeleteIt's too hard to pick a favorite, as they're all uniquely lovely! I really like the rice paper effect on this one, and the feet are sweet!
ReplyDeleteThank you, Amy! I feel that way about most of my crafts...too hard to pick a favorite!
DeleteOh my, so sweet. I love the feet!
ReplyDeleteI hope you enjoyed a lovely Mother's Day my dear friend.
Love, Carla
Thanks Carla! I'm a sucker for little feet!! Happy Mother's Day my friend. I hope it was a good one. xo
DeleteI love this cute crate you made Kim. The crate looks great with the feet you added. There are so many ways to use this decorated crate!
ReplyDeleteThere really are, Julie! I know with a strong coat of poly I could put them outside, too. I may need more crates! Hahaha!
DeleteKim,
ReplyDeleteI need to get me some of those!! I have been seeing all kinds of crates, trays, pots, etc. with these added to the bottoms of them!! So cute and a great idea!! Thanks for sharing!!! I think I am all caught up now!! LOL!!
Hugs,
Deb
I'm a bit fan of little feet, Deb!! They make everything so much cuter. Thanks for taking the time to visit all my posts!! Hugs to you!!
DeleteRice paper and wooden beads for the win :D Too cute, Kim
ReplyDeleteThank you so much! I really do love those teeny beaded feet! 🥰
Delete