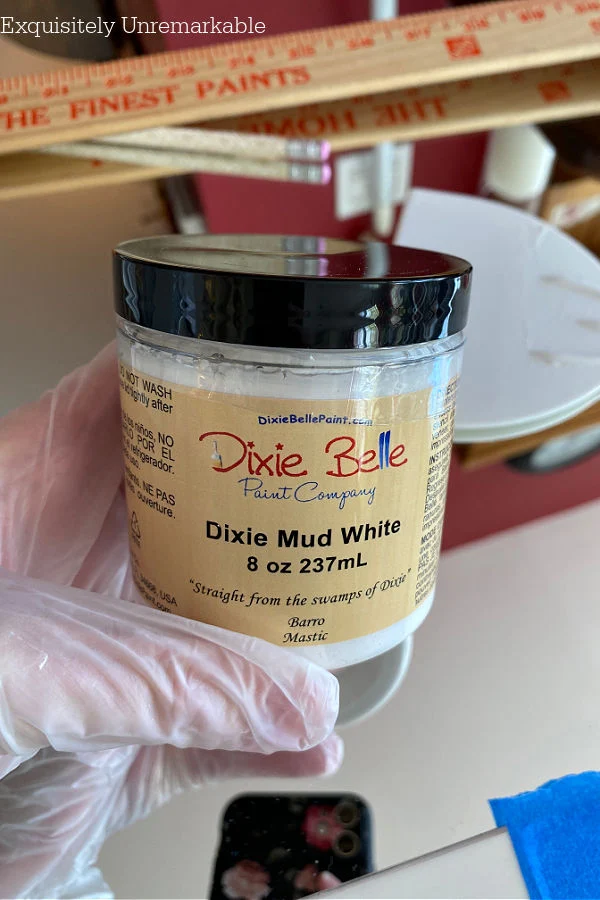
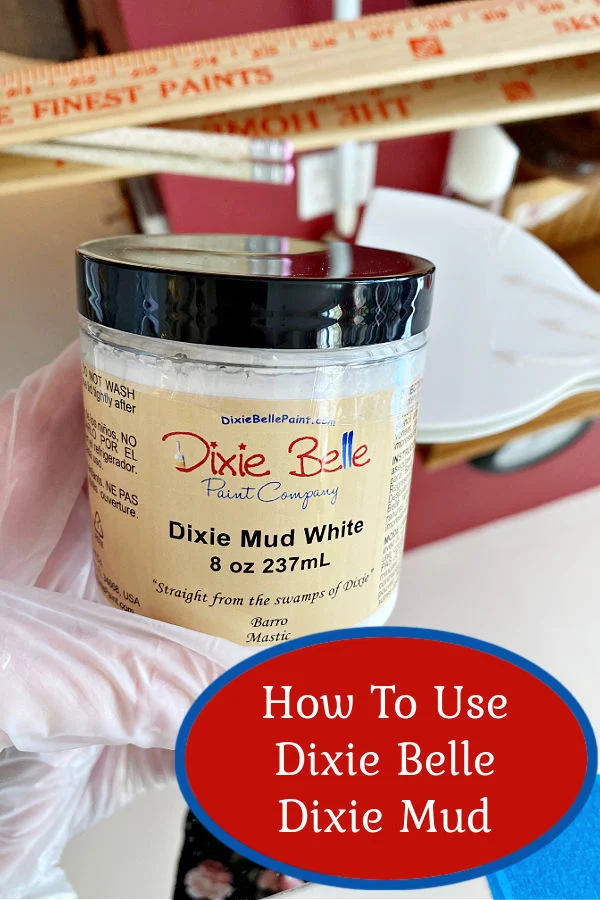
Dixie Belle Dixie Mud is a fun and useful product to fill holes or add unique accents to your furniture makeovers.
Here's how to use it, step by step.
 |
| This post is sponsored by Dixie Belle Paint |
Something simple that took forever to get through?
Yeah.
I'm in the middle of a few of those right now and it's driving me crazy.
The family room situation is understandable, since I'm waiting for that sofa.
But the hallway flip was supposed to be quick.
Apparently, even with a pretty straightforward renovation there's no such thing.
Oh, the construction is all done. It's the details that are holding me up.
At first, I thought I would buy all new accessories for the space.
However, the mirrors were in perfect shape, just the wrong color.
Well, that's always a cheap and easy fix. I often paint mirror frames.
I just dove into my craft cabinet and painted them white.

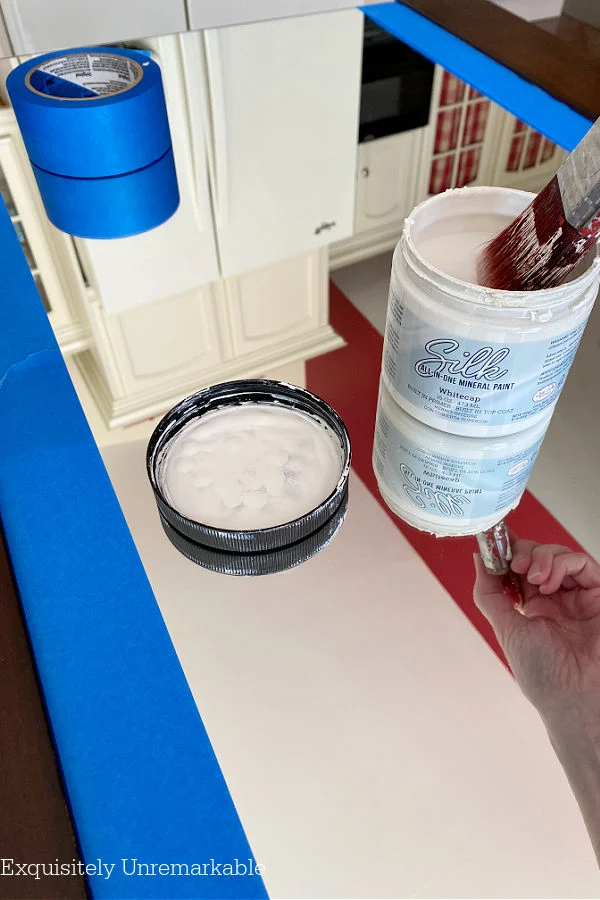
I taped off the mirrors with my blue painters tape and got to work.

Two coats later, my old dark mirrors were light and bright.
There was one though, that even with its painted makeover, still felt way too modern.
And boring.

It needed some kind of cottage style embellishment, so I reached for my Dixie Belle Dixie Mud and took care of that.
Now, I'd never tried the Mud before, so it was kind of an experiment, but I have to say, I'm hooked.
It was easier than stenciling, done in a jiffy and totally transformed a boring mirror. I just know that in the future, I'll be using it on furniture regularly.
Want to try it yourself?
Fabulous.
Here's all you need to know about Dixie Belle Mud.

You can use it to cover holes or imperfections on wood, like you'd use wood putty or wood filler. Or you can use it with a stencil to add a raised pattern on your furniture piece.
It's a great way to create your own moulds or make your own appliques.
You want to apply it with a small spatula or a putty knife. I found plastic easier to work with than metal.
And keep in mind that it takes about 3-5 hours for your Dixie Belle mud to dry completely. Drying time will depend on the thickness of your mud coat.
You can use it on painted or unpainted surfaces and is best stored in the refrigerator.
Lastly, don't rinse it down the drain, it will dry and clog it up. Clean your Mud off stencils and spatulas with the garden hose or in a bucket.
How To Use Dixie Belle Mud
This is how I used Mud to transform a boring mirror.Before I started I made sure I had all my supplies within reach.
Dixie Belle Dixie Mud
Sonoma Art Tile Stencil
Spatula or Putty Knife
Silk Mineral Paint in Whitecap
Clear Coat Sealer in Satin
Step 1: Choose A Stencil
I started with my painted mirror. I'd already used Dixie Belle Silk All In One Mineral Paint in Whitecap to lighten its look.
Once it way dry, I grabbed one of Dixie Belle's newest stencils, Sonoma Art Tile, as I thought it had the right vibe for my piece.

The tiles themselves were too large for my mirror, but the side piece was just right, so I cut it out to make it fit well.
Step 2: Tape The Stencil In Place
Next up, I needed to measure the sides of the mirror and the stencil to center the design properly.

Then I used my blue painters tape, once again, to secure my stencil to the mirror.
I used a very thick tape since I really didn't want my stencil to move and blur the wet Mud.
Step 3: Apply Dixie Mud
This was the fun part.
I dipped my spatula into the mud and then pulled it over the stencil. I allowed it to fill the stencil spaces completely before using the spatula again, to scrape away any excess.

If there were any spaces I felt needed more Mud, I repeated the process.
Step 4: Remove The Stencil and Sand
Once it was filled to my liking, I let it sit for about 4 or 5 minutes to set. Then I grabbed the end of the tape and pulled the stencil straight up and away from the wood.
Then I repeated the process on the other side. I didn't need to wash or wipe the stencil off between applications.
I didn't have any rough edges on my pattern, but if you do, you can use a very light sandpaper to smooth out any you may find.
Step 5: Paint Or Seal The Mud
I was very happy with the white Mud pattern on my mirror, so I only sealed it with a clear satin.

If you wanted the pattern to stand out or if you use the Dixie Mud as a filler to repair spots, you can paint it.
Overall, the process was very fast and uncomplicated.
And when I was done, I had a lovely brand new to me mirror to add to my newly renovated hallway.

In the meantime, let's look at that delicate detail.
I know they say when decorating with mirrors you need consider what they're going to reflect.

What do you think about my mirror makeover?
Would you play with Mud?


That turned out great! Looking forward to the hallway reveal.
ReplyDeleteThanks Penny! SO easy and it made a huge difference.
DeleteWhat a great project, Kim! I’m always learning new things from you. I had never heard of Dixie Mud. Thank you!
ReplyDeleteThanks Kitty! You're very kind. It was new to me, too...but now I'm hooked!
DeleteHi Kim,
ReplyDeleteI have never heard of Dixie Mud. This is cool stuff. Loved how the mirror came out. xoxo Kris
I’d never tried it before, Kris, but it was so much fun to work with and it totally transformed this mirror. Thanks for the sweet words. I
DeleteYou gave that mirror a whole new look. Love it!
ReplyDeleteThanks Ann! I always loved the lines of this mirror before, but now it's so sweet and it fits the updated space better. Have you used Mud or a similar product before?
DeleteI like it. I am always learning new things from you, for my next projects. Thank You! :-)
ReplyDeleteI think you'd like this one, Carla! So simple...and thanks for the visit my sweet friend!
DeleteI've never heard of that before, but how cool is it? It makes a huge difference on that mirror, and it looks so easy. Thanks for sharing another good one!
ReplyDeleteThanks for taking a peek, Mari! I'd actually heard of this before, but I always thought it was more complicated to use. It was literally slather on and scrape it off...so easy!!
DeleteDefinitely my sort of decorating, it looks fabulous.
ReplyDeleteThanks Marilyn! I'm very happy with the outcome.
DeleteI love how this turned out, Kim. I will definitely keep it in mind for a dresser I am thinking of redoing. xo Laura
ReplyDeleteThanks so much, Laura! It was so simple to use and I can’t believe the difference it made.
DeleteWow! I love the way the mirror came out using the Mud product. The mirror looks beautiful with the new detail. I've have never heard of this product and it's great. I'm sure you'll get a lot of use out the Mud.
ReplyDeleteThanks Julie! I think I’ll use it a lot, too. I really like the way it turned out and best of all it was easy.
DeleteOh how lovely, Kim. It's so delicate and subtle. I've been wanting to try Dixie mud for the longest time, but sadly the last time I checked, they don't ship to our neck of the woods. I might have to convince the kids to bring me some when they come visit again.
ReplyDeleteDelicate and subtle...I can't think of a nicer compliment.
DeleteVery cool, Kim! It's rewarding when you can give old things new life (but then, again, you're always doing that)! Seems like a great product that you will get lots of use out of. Can't wait for the hallway reveal!
ReplyDeleteIt was a fun craft...very different than what I usually do. Thank you for your very kind words, Amy. I really do enjoy upcycling trash! Matter of fact, I got a new mirror from the curb tonight. 😉
DeleteKim that is such a great idea and I can't wait to see the whole thing. Just the right amount of detail and I know it looks so pretty..Happy Sunday..xxoJudy
ReplyDeleteThanks Judy! I’d never done anything like this before. It was a fun craft to try!
DeleteAnother great project, Kim, really like how it came out. Look forward to the big reveal.
ReplyDeleteAmalia
xo
Thank you my friend! This one was a gamble since I'd never used the mud before, but it turned out lovely. xo
DeleteThe mirror looks fantastic I have seen others work with this product.
ReplyDeleteI used joint compound in the past for raised stencils.
If I ever fo it again I will use this product
Thanks! I highly recommend it, although, I've never tried joint compound to make a raised stencil. I wonder how it would compare? I have to say this was easy to do and looks good. If you try it, I hope you'll let us know how it compares.
DeletePlaster of Paris would be better than joint compound, I think, if Dixie Mud wasn't available. The PoP would have more stickability and not chip as easily as joint compound. But since this is about the Dixie Mud...
DeleteAnd the really cool reno on the mirror! Definitely made it less modern.
Thanks so much for the tip!! I like the Mud for sure, but it's the only thing I've ever tried. I remember working with Plaster of Paris in high school and it did feel sturdier. The mud felt more like joint compound, I can see where it could get flakey and chip. I might have to give the PoP a try sometimes. I do options!!
DeleteKim,
ReplyDeleteLooks great!! Love it!! Thanks so much for all your visits and kind words...Playing catch up as i have been really busy....Hope you had a great Mother's Day!!
Hugs,
Deb
Thanks Deb and thanks for coming around to say hello! xo
Delete