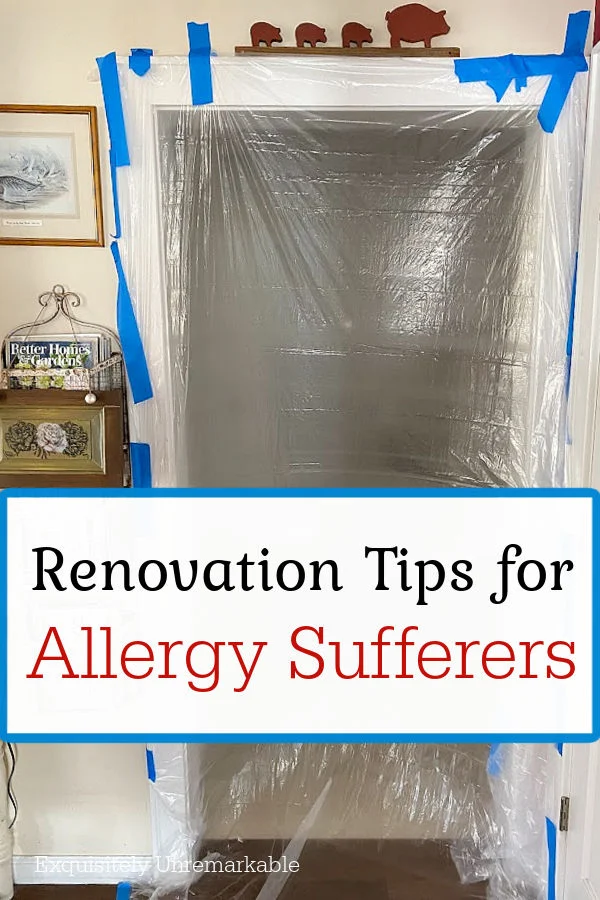
Allergies can make any kind of home renovation very difficult to accomplish. However, I have a few tried and true tips that help me get the job done without triggering my symptoms.
It's been a while since I've sat down to compose a post and honestly, I've missed it.
So where have I been hiding?
Well, I've been home, busy planning, surrounded by plastic tarps, stepping over buckets of paint and trying to find a little bit of zen among all the renovation in our family room and hallway.
And let me tell you, it's not been easy.
First of all, this cottage is tiny. So the family room furniture that needed to vacate the room is now squatting in various spots around the house.
And while having a sofa in the kitchen looks very cozy, it's really not as charming as you may imagine.
The realities of renovation are often disguised by pretty pictures.
I can't tell you how many times we've stubbed our toes on the legs or been caught in a traffic jam trying to squeezing through that space at once.
But. The bigger issue keeping me from my keyboard has been trying to complete this home renovation without triggering my allergies.
Not fun.
We haven't done any major interior construction since we completed our bathroom renovation. The reason being, all that dust and debris is not good for my lungs.
Everything makes them twitch.
However, after 20 years, I couldn't put it off any longer.
There were water stains on the ceiling, wall to wall carpeting that needed to go, scuffs on the walls and floors that needed to be leveled.
I had no choice but to dive in.
Luckily, I've been through major home renovations before and I know how to handle it.
I have a go to method that keeps my allergies at bay and the renovation on track.
How do I do it?
How To Renovate When You Have Allergies
Here's my whole process and helpful tips.1. PLAN AHEAD
This is the most important step of all, trust me.
Along with planning your renovation details, you need to consider what needs to be done to protect your health.
If you know your triggers and plan out your mitigation tactics you can usually head off any problems. The key is to eliminate as many potential risk factors as possible.
And I'm great at this, but my husband is not. He'll wake up on a Saturday morning and decide that he's going to rip up a carpet before breakfast.
Now, that's awesome initiative, but it doesn't work if you have allergies.
No. I need time to decide what items can remain in the area we're renovating and what must go.
Are there rooms that need to taped off? Is this a job that will require me to leave the house while it's in process? Is it a task I can help out with, too?
And probably most importantly, do I have the supplies I need to keep myself safe before we can get started or do I need to go purchase them?
2. GATHER SUPPLIES
What are those supplies you may ask? Here's what I've found most helpful.
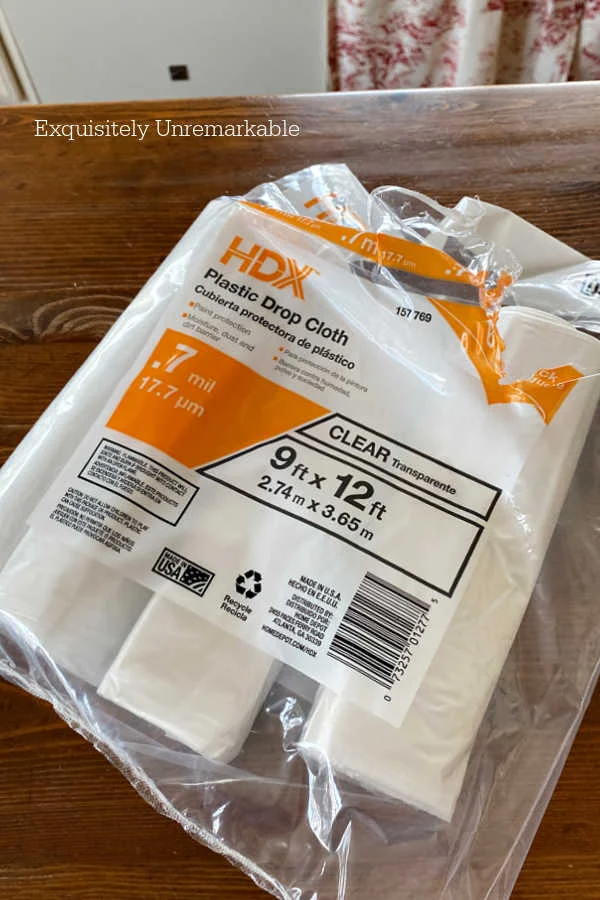
Plastic Sheeting
Old Sheets and Towels
Masks
A Hepa Filter Air Purifier
A Vacuum with a Hepa Filter
Mop
It's ideal for construction, but any unit with a good filter on it works, too.
If you're using a shop vac, I would make sure it also has a Hepa filter.
3. TAPE OFF THE ROOM
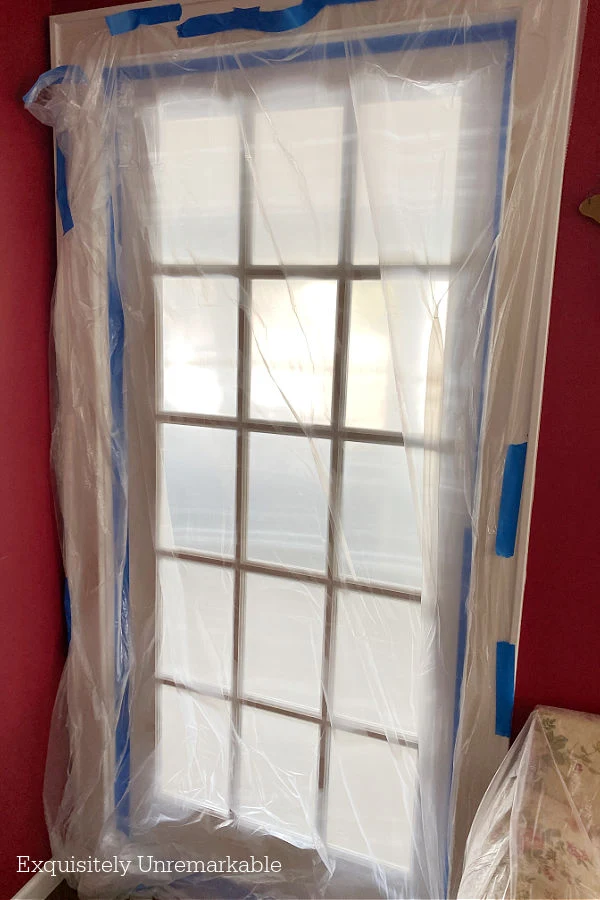
I always tape off the room that's being worked on, that is non-negotiable.And when I say tape off, I actually mean seal it up as much as possible.
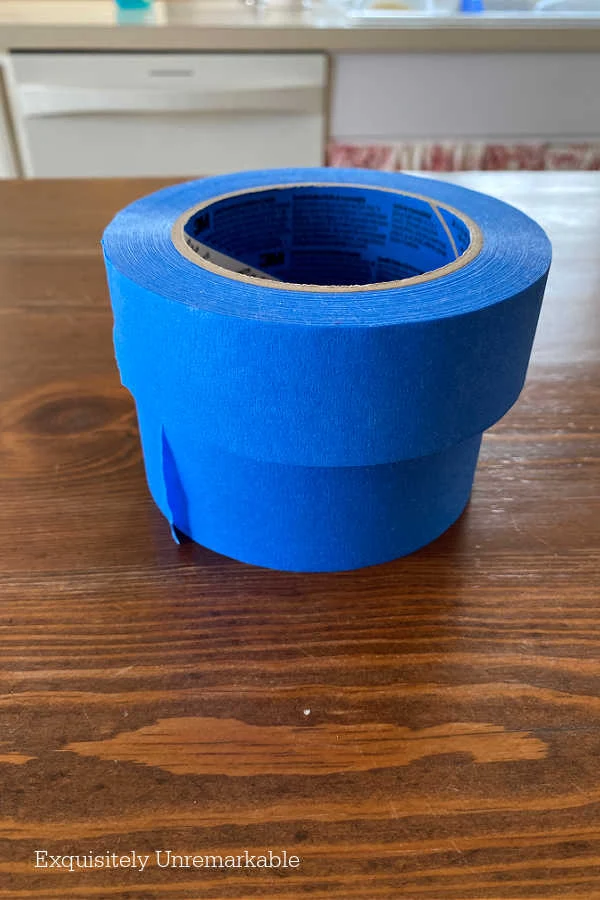
I literally take thick painter's tape and place it over the spaces where the door meets the frame and the floor.
Then I cover the door again with more tape and a plastic tarp. Then I cover any other door in the house that leads to a room I want to keep super clean and construction free.

If you've never had a bad allergy attack, I'm sure some of this seems extreme, but for those of us who have, it's worth the extra effort because it works.
It prevents any of the paint fumes, sheetrock or spackle dust from getting into the non-renovated areas and provides a safe space to escape from all the triggers.
Plus, it prevents me from having to do tons of dusty laundry. That alone is a win.
Speaking of laundry...
4. PAY ATTENTION TO YOUR LAUNDRY ROOM
One of the worst attacks I ever had was one that occured after most of the construction had been done.
We'd ripped up walls and floors in our first cottage to make a basement den. We replaced the sheetrock, spackled and sanded all in an area near the washer and dryer.
The room was mostly vacuumed out, but not 100% and it wasn't yet painted or carpeted when I decided to do laundry.
It was a huge mistake, because that night I put on my fresh pjs and hopped into my newly cleaned sheets and started wheezing almost immediately.
Besides being terrified, I was perplexed. I was a full floor away from the sealed off construction area. It just didn't make any sense.
What was the trigger?
Well, apparently, the doctor told me it was a common occurrence. The dryer sucks air in from the room and then swirls it around as it removes moisture from your clothes, before it's vented outside. Unfortunately, any construction stuff that's hanging out nearby, gets sucked in and sticks to your clothes.
Potentially causing an allergy attack.
So...before construction I always tape off the laundry room, refrain from doing laundry during the dustiest jobs and I make sure to not only vacuum the whole room and all around the dryer after, but to mop the room out, as well.
5. WET SAND
Of course, mitigating the dust is the best way to prevent any issues and wet sanding is an efficient way to do that.
Spackle dust is teeny tiny and gets everywhere. It can make its way passed plastic sheeting and travel through hvac ducts to infect the entire house if allowed.
And there's no reason to create a cloud sanding that spackle, when you can get the same result with a damp sponge. It's a trick that's saved us from a ton of sneezing, extra dusting and dangerous laundry over the last 20+ years.
I highly recommend it.
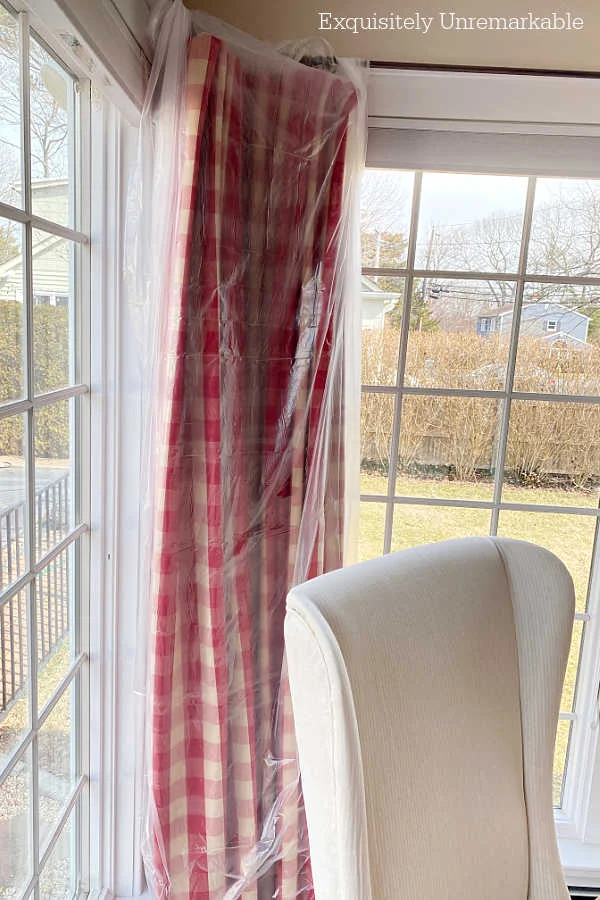
6. COVER UP FABRIC AND UPHOLSTERED PIECES
This next step is an absolute must for me.
If I don't cover the couches, I'd never be able to put my face down on them again.
.jpg)
I even cover the couches that are far away from the actual construction. Just in case.
The arched doors in the living room are no longer taped off, like they were during the ripping and tearing stages.
However, since there's still work being done in the house, like the hallway renovation that connects to the living room, I decided to keep the soft surfaces covered with old sheets.
It hides them from messy hands and errant dust. Necessary?

What was necessary was covering up anything made of fabric or upholstery before construction began.
Including my beloved floral {kitchen} sofa.
And my new checked kitchen panels.
I didn't want to wash upholstery fabric or risk that they'd make my nose run every time I walked by.
7. OPEN THE WINDOWS
Paint, primer, cut wood, construction adhesives, new carpets, flooring and all the other fun stuff that goes into ditching the old and adding new can smell.
And for some of us, those odors can cause big problems, including migraines. That's where proper ventilation comes in.
Whenever possible, we open windows, turn on the fans and the air filters to help those scents dissipate quickly.
Of course, two caveats here, one if it's allergy season outside and the pollen count is high, open windows are a problem, so keep 'em shut.
And two, if the rooms with the dust aren't sealed off and open windows will just blow it around, go with the air filter instead.
8. OPT FOR ALLERGY FRIENDLY PRODUCTS
This should go without saying, but not all products are created equal. Sometimes there's some trial and error involved to find brands that work for you.
And sometimes they cost more, but I've found that it's worth it.
For example, I will only use Benjamin Moore paint.
For interior projects I use Aura. It's a low-VOC paint and while just about every paint on the market claims that now, it's the best.
I grab a few custom paint samples, so I don't waste money on a gallon of the wrong color. And then we {he} paints.
It smells for about one hour and then it's gone.
I honestly haven't found that with any other brand and while it's pricey, for me, the fact that I can walk into a freshly painted room in short order is so worth it.

One time I let my husband talk me into another paint, because it was half the price and even with its no VOC claim, it was two weeks and I still had to cover my mouth and nose when I walked through the room.
Definitely not worth it.
It's the same for other products we need to use, as well. For example, we won't be putting down wall to wall carpet again.
And when we use a primer or stain it's always water based and contains low VOCs.
Yes, it takes longer to pick products and we have to do a bit more planning and investigation, but an ounce of prevention...well, you know the rest.
9. GO SLOW
Lastly, I'd just like to share some random tips that basically all boil down to take it slow.Quick, smash and grab tactics will get the job done fast, but will make a tornado of a mess.
For example, when my husband ripped up the carpet, he vacuumed it well first.
Then he cut it into small pieces as he went, to prevent too much dust from blowing up, and bagged it in sections.
Then he vacuumed the padding before cutting it up in small pieces to remove it, as well.
When he put in a new window in the family room, he cut all the moulding wood outside. Would it have been easier {and quicker} to bring the saw in the house?
Definitely.
But not easier for me.
Luckily my DIY contractor is very accomodating.
However, you can still contain most of the mess if you're not DIYing your reno. Just communicate your concerns to your contractor and prep.
I guess the main message is be mindful of your own individual allergy triggers and keep them front and center as you plan your renovation.
To be honest, I'm not the construction girl and when I know there are going to be things done that could give me trouble, I tape, cover and then I leave.
I have someone else vacuum up the debris and wear a mask if I need to do anything that I think will give me an issue.
I'm sure as time goes on, I'll think of more things I should add to my list and when I do, I'll come back and update.
In the meantime, I can't wait to show you what we've done so far and what we have planned in the next few months.
The new Benjamin Moore green paint is very light, very bright and very fresh.
I hope you'll stay tuned! 😊
Are you an allergic renovator? Share your tips with us!



These are all great tips Kim. I did not know about the dryer pulling in all the construction dust and passing that along. It has to be so hard for someone with allergies to do any kind of renovation. I hope all these ideas will help those that suffer from allergies and the rest of us that do not have allergies but just do not want to inhale all that dust. Happy renovating. xoxo
ReplyDeleteThanks Kris! Yes, I learned that dryer one the hard way. Having allergies definitely makes the process a little more difficult, but it is what it is. All the prep has become rote at this point, so it doesn’t seem like that much work. When we added kitchens on both houses, our contractor built me a plywood wall to keep the construction isolated. It didn’t come down until the room was mainly complete. It was awesome.
DeleteSounds like you have it all in control when it comes to containment! Looking forward to seeing the end result.
ReplyDeleteThanks Penny! I'll be so happy when it's all over!
DeleteHey Kim, these are all great tips for allergy sufferers when doing renovations in your house. I've taken all of these precautions too when doing renovations in our house except the one for the laundry room. I had no idea about that one and I'll remember that in the future. I have seasonal allergies that are worse for me in the winter than in the spring. Good luck with all the work going on in your house.
ReplyDeleteI bet you’re so happy that your renovation is done. It’s a big job and a big disruption. The results are worth it though! We’re starting to see the light at the end of our renovation tunnel. Just a few more weeks…I hope!! Happy Wednesday!
DeleteExcellent tips, Kim, and smart to do even if allergies aren't an issue. Had no idea about the dryer - sheesh, that's scary! Can't wait to see your reno!
ReplyDeleteThanks Amy! I'm excited to share and yes, that dryer one was a shocker to me, too.
DeleteHi there,
ReplyDeleteIt's good to see you!!! Iam am only allergic to work,:-) but thank you for the great info, I will pass it along to other family members who are not as lucky as I am! I can't wait to see what you have been up to!! Is it red???? :-)
Blessings, J
Hi J!! I have to say that they allergies don’t make it easy, but it’s doable. It just takes a bit longer. We’re getting there…and unbelievably I didn’t go with red! There is some red, of course!! It’s just not the main color. Can’t wait to share!
Deletexxoo
Hi,
ReplyDeleteA great post Kim, and several tips I did not know. The Dryer!!!
Thanks Carla...and that one was news to me, too. I wish I knew about it sooner! Happy Spring!
DeleteI have allergies but not nearly as severe as yours. We do a lot of covering and taping though. It's good to contain the mess, regardless!
ReplyDeleteHope your renovation is done soon!
Thanks Mari! We’re getting there…my weekend warrior is working as fast as he can. ☺️
DeleteOh! You poor girl...especially after the clean jammies and fresh sheets. I have lived in construction many times but ,thank the good Lord, I do not have allergies to deal with. I know you must just feel miserable. Anyway, it will soon be done and you can enjoy your "new" home space! xo Diana
ReplyDeleteIt was not fun, Diana, but I learned my lesson well. It's still no picnic...but I guess renovation never is. Luckily I have a willing accomplice to help me mitigate as much of it as possible. I hope you have a great night! xxoo
DeleteOh my goodness, Kim, as someone who doesn't suffer from allergies I had no idea how bad it could be. I'll be pinning because I bet there's a whole bunch of people who are going to find your tips very valuable. Hopefully the reno is almost done so you can get back to enjoying your lovely home.
ReplyDeleteAllergies stink, Michelle, there is no doubt about it, but knowing how to mitigate the mess has helped. That an a relentless desire to update...haha!!
DeleteI did not know about the dryer vent sucking in the construction dust onto our clothing. Might explain the hives I got when we did our bathroom reno. I was diagnosed with asthma in 2020 and struggle with wheezing so these tips are VERY helpful. I will be referring back to your list when we start our basement reno in the fall. Thank You!!!!
ReplyDeleteOh Marie, I'm sorry to hear that. It's not a fun ride. The dryer one was a shocker for me, too. Now I'm so careful when we renovate and I wash things. It has helped and I hope these tips really do help you, too my friend.
Delete