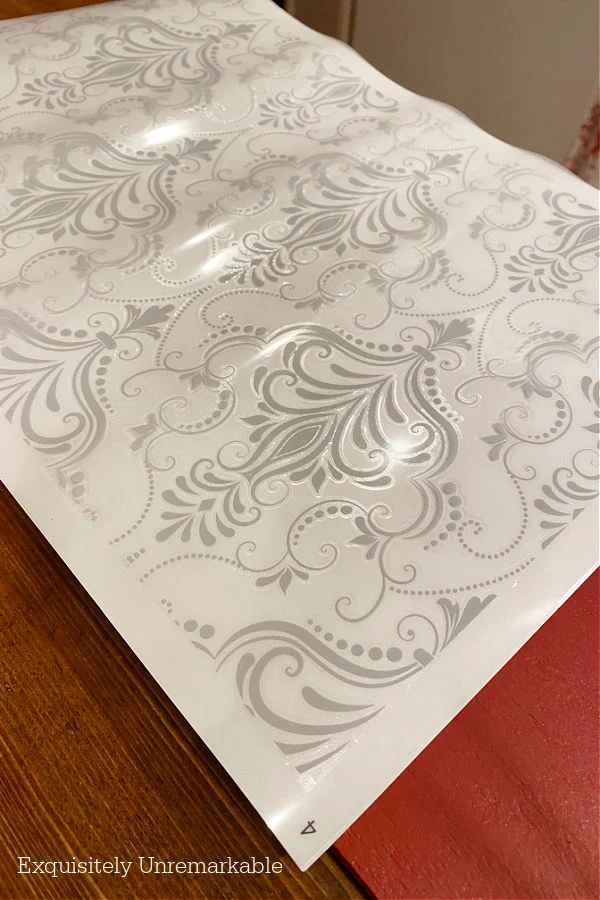
I used Dixie Belle lace furniture transfers for wood to whip up a decorative DIY sign for my home.
It's a great way to get a custom home decor accent without a fancy machine or stenciling and it's another creative way to use your leftover transfers.
Ok, wait, that's not entirely true.
The truth is once I commit to a certain look, I'm in for the long haul.
For example, my kitchen has been red and white forever.
And I still love it, with no plans for a change.
However, I do like to swap out the accessories often, for a fresher view.
Sometimes more than once a season.
The result is double win, since I get new scenery and, usually, a brand new craft, which is, obviously, the best part.
This week, in my quest for something fresh, I made a new sign for above the kitchen sink.
You may recall that Christmas I made a white sign to go with my white Christmas theme.

However, this year, I dove back into my roots, and decided to embrace red with two hands.
That meant I needed a red sign.
And while I adore my wallpaper rooster sign, after almost two decades, I thought it was time for something different.
Now, stenciling isn't really my favorite. Which is why those roosters hung around for so long.
While it may be one of the easier ways to make a sign, I'm much happier when I can take a different route.
In addition to wallpaper decals, in the past, I've made sticker signs signs. Or use precut wooden letters to get my desired effect.
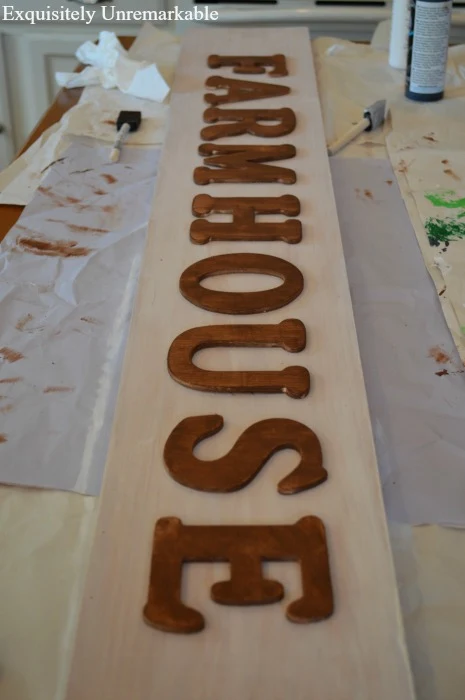
Most recently, I ordered a custom transfer to make a stunning sign. Another super simple sign idea, that was literally peel and stick.
This time, however, I decided to try a furniture transfer and I have to say, I'm hooked. It was simple project with a dramatic outcome.
And not a stencil in sight.
Of course, before I could decide on a transfer design, and there are a lot of them to choose from, I had to work out my vision.
There's a lot of pattern in this room and adding more was something I wasn't sure would work.
I thought about words, another saying, but been there, done that.
Then I considered a gift bag Christmas sign, but again, I've done that, too.
Besides, I really wanted something that I could keep up there for a while.
Elegant. Cottagey.
Nondescript.
But striking.
Traditional.
But with a fresh feel.
It was a tall order, but one I was able to fill with lace. Always a classic.
If you follow me on Instagram, you caught sneak peek of the finished sign last night. Here's the DIY as promised.
You can see a quick video of the process on Instagram, too.
Using Furniture Transfers To Make A Wooden Sign
This was a quick and easy process with just a few steps. You don't need any special tools or skills. I promise!Supplies I used:
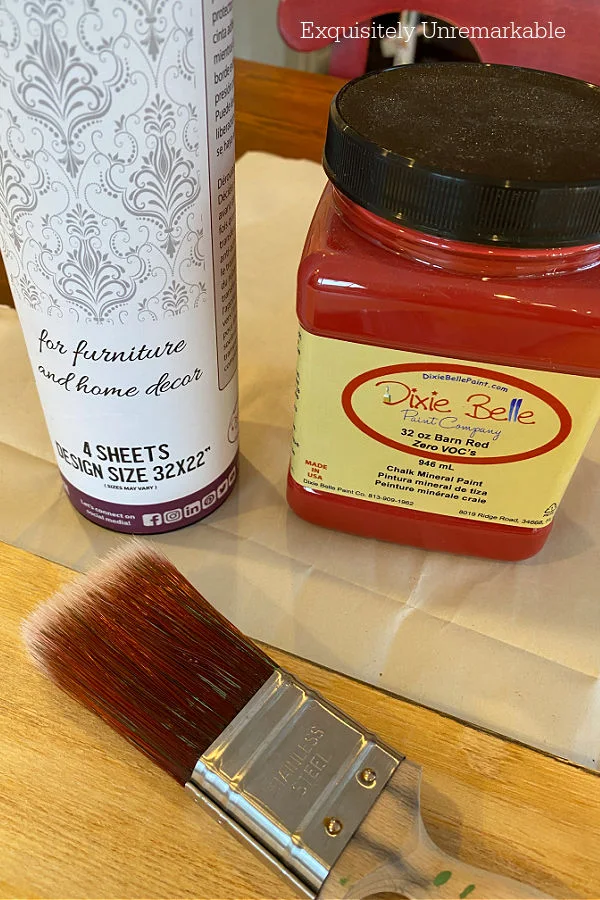
Dixie Belle Lace Transfer
Dixie Belle Chalk Paint in Barn Red
Dixie Belle Chalk Paint in Rustic Red
Paint Brush
Dixie Belle Clear Coat Satin
Scrap Wood
Saw
1. Cut Your Wood
My husband had the saw and scrap wood out, so I asked him to cut me a piece that would fit over the sink.
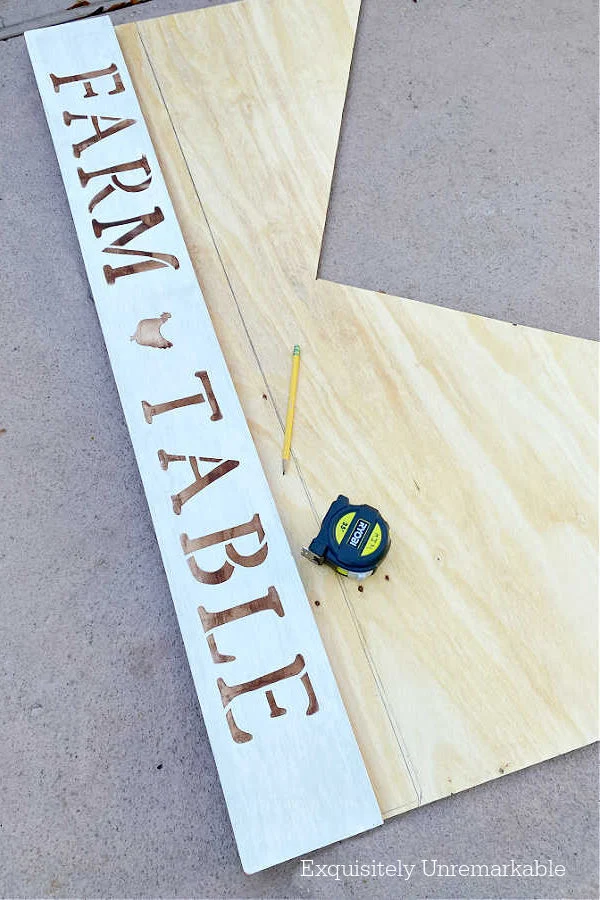
Easy enough. I used my old sign as a template.
2. Paint The Board
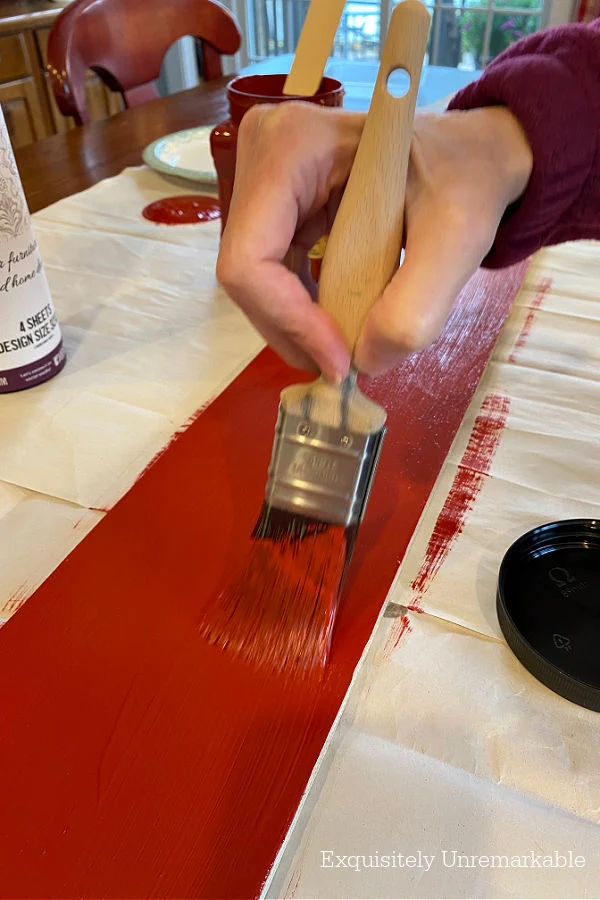
Once inside I gave it a few coats of red chalk paint.
I didn't need to sand or prime it. The paint went on easily and covered perfectly.
3. Seal The Board
When the paint was dry I gave the board a quick coat of the satin clear coat and set it aside to dry again.
4. Measure and Plan Transfer Placement
Then I took my transfers out of the tube, read the directions and planned my pattern.
I measured for even spacing and marked my wood with a pencil when I was sure of the placement.

5. Peel and Apply Transfer To Wood
To start, I simply peeled the adhesive backing away from the sticky side of the pattern, laid it on the wood and started rubbing the backside with the enclosed tool.
To be honest, nothing happened.
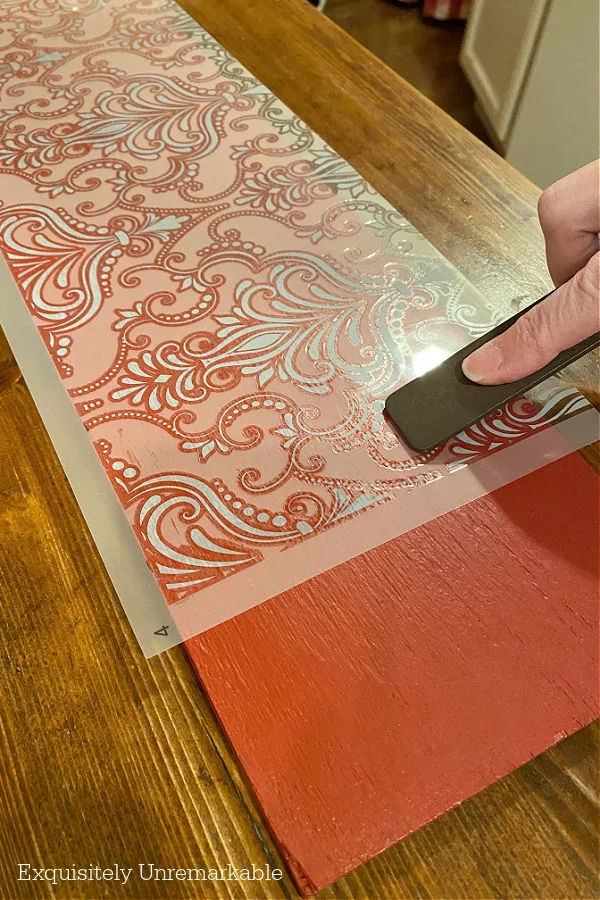
In a perfect world, the transfer would've released easily, but it didn't.
After a few minutes, I gave up and walked away, thinking that maybe the surface was still too wet.
Turns out, I was right. Time was the cure.
That was helpful to know when I updated my magazine rack with transfers and added more transfers to this sign for summer.
But let's finish this one first.
When I returned to my sign an hour later, to try again, the transfer released immediately and with ease.
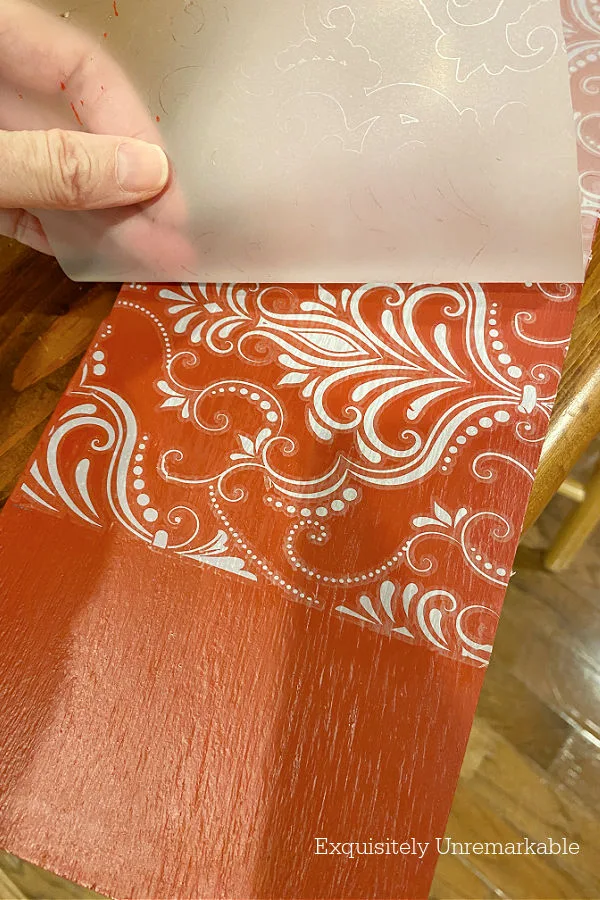
6. Remove Backing Paper
I was able to remove the backing paper to reveal the delicate pattern on my board.
I just repeated the same process on the other side of the board and I was done.
Very simple design, but it packed the punch I was looking for, without being overwhelming, sitting between a toile sink skirt and checked curtain panels.

It was exactly what I was looking for to punctuate the space.
Upgrade my view.
And all without a stencil.
Fabulous.
Are you a frequent updater?
More Furniture Transfer Ideas:

Furniture Transfers On Wood To Create A Sign
Use furniture transfers to make a DIY wooden sign for your home. It's an easy way to get a custom sign without using a machine or stencils.
materials:
- Furniture transfers
- Paint
- Clear coat
- Wood
tools:
- Saw
- Paint brush
- Transfer rubbing tool
steps:
- Cut wooden board to designed sign size
- Paint board
- Seal the paint
- Peel backing off transfer
- Place transfer on board
- Rub it to release pattern
- Peel top paper away to reveal pattern
- Seal if desired
NOTES:
If transfer doesn't release from backing paper, place paper back down and apply more pressure
Copyright © Exquisitely Unremarkable 2023. All rights reserved.
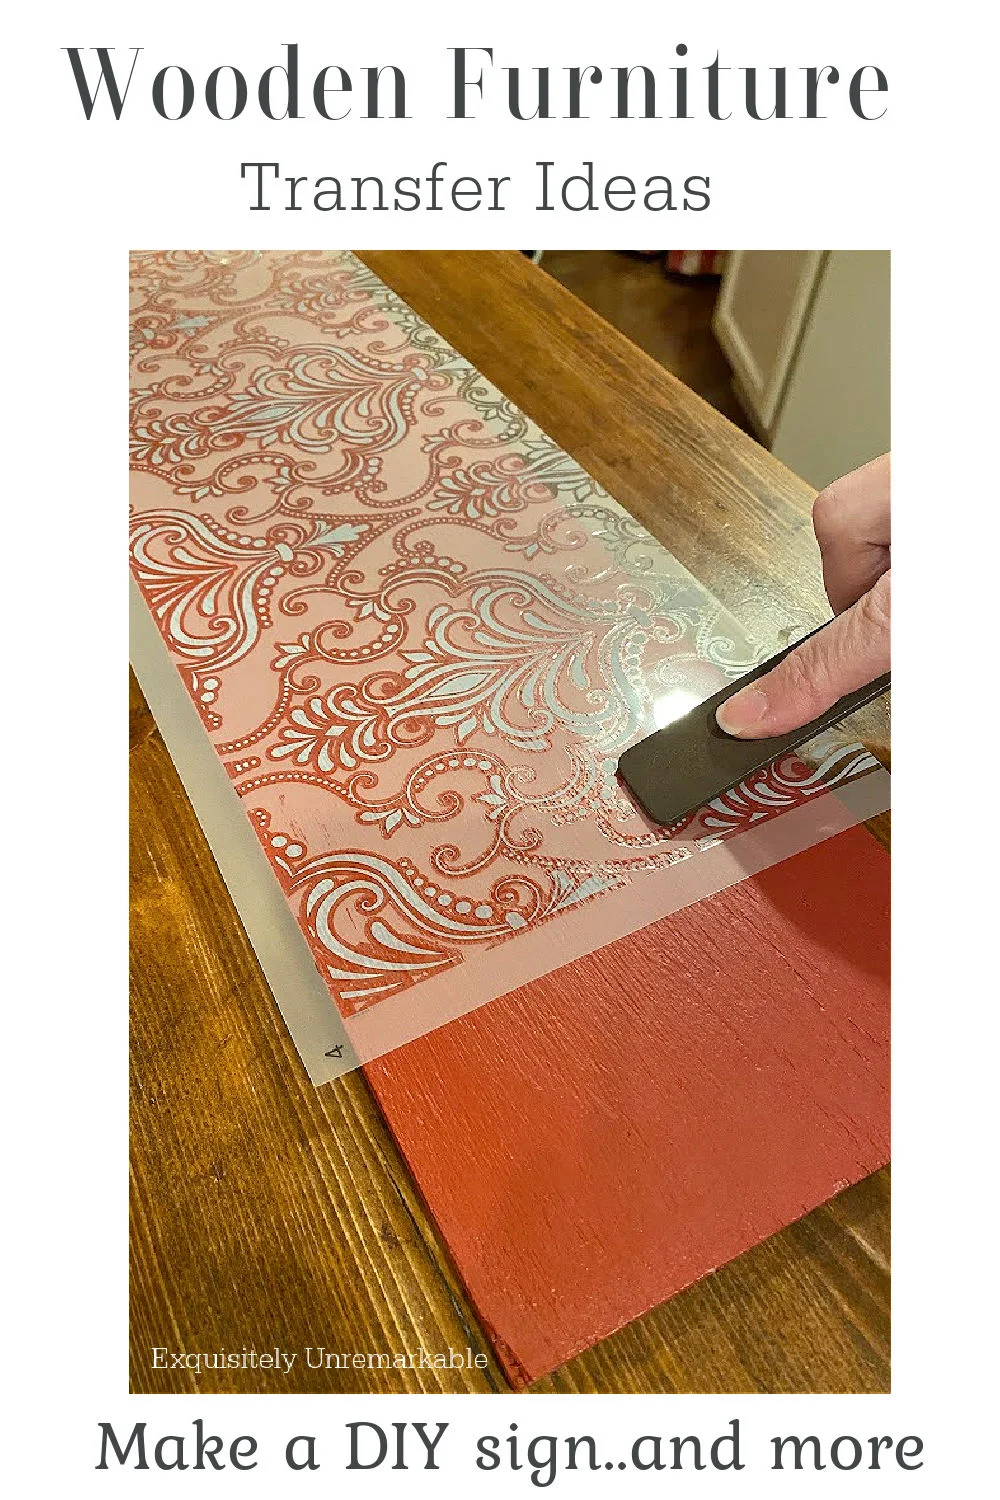


That's it, I'm hooked on the lace transfer.
ReplyDeleteLove the combination!
I'm going to add it to my wish list.
Thanks Cindy! I'm hooked on the transfers in general. So easy to work with...I love that.
DeleteThis is really nice Kim. Plus I like that it is different than hanging a sign. They are cute but I like this stencil idea a lot. Looks great over your window. Happy New Week. xoxo
ReplyDeleteThanks Kris! It's very simple, but it definitely adds a lot to the room...and like I said, super easy! Happy New Week! xxoo
DeleteI love it. It’s a perfect finish for that area. Good job, kiddo🎄❤️🎄
ReplyDeleteThanks Diana! Your comments always make me smile. ♥️
DeleteI love this so much. It's elegant and classy. It's a fabulous idea because sometimes there are to many word signs. Just love it!
ReplyDeleteThank you, Dena! I love the idea that it's not words, too. I already have a bunch in this room and that's why I always loved the roosters. This is a nice compromise.
DeleteLove the new sign Kim; it's very pretty!
ReplyDeleteThanks so much, Sara! I really like this one.
DeleteHi, this looks so lovely. I had a similar issue with the print not releasing but the paint had plenty of time to dry before rubbing on the transfer. Any suggestions?
ReplyDeleteHi Claire, I've asked in the Dixie Belle forum and my reps and everyone is asking what you are adding the transfer to? Raw wood, painted, stained, sealed? They said that more information would help. Just let me know and I can ask again!
DeleteOoooh! I really like this one! The color and the pattern are just perfect!
ReplyDeleteThanks so much, Mari! I love the color and pattern, too.
DeleteI think it is stunning! So simple to do & it looks just lovely.
ReplyDeleteThanks Jenny! I was really hoping for something very simple, yet striking and I think this combo did just that.
DeletePerfect.. in every way!
ReplyDeleteThanks Carla! I have to say, I think this one has just earned a year round spot above the sink!
DeleteThe new sign looks great!
ReplyDeleteThanks so much, Penny!!
DeleteLooks really great, Kim, and this looks easy enough that even I could do it. You just might turn me into a crafter yet!
ReplyDeleteSo easy, Amy! Trust me, if I can do it anyone can.
DeleteYou had me at 'lace'! And I always love a good 'easy & quick' project - perfect for your kitchen, Kim.
ReplyDeleteThanks Ann!! This one was truly super quick and easy.
DeleteI love this pretty sign you made up for the kitchen Kim. The colors look beautiful with your red theme.
ReplyDeleteThank you, Julie! I love the way it looks over the sink. It's bold and delicate all at once.
DeleteVery pretty, Kim. This looks so good in your kitchen. I've seen other pretty transfer projects lately, and it's definitely on my list of crafts to try. Well done. Hugs.
ReplyDeleteIt's a fun one, Nancy. Super easy and the results are foolproof and so professional looking with very little effort. I highly recommend!! And thanks, I like the way it looks up there, too! Hugs!!
DeleteYou know I'm totally digging the red. The lace transfer is so pretty and looks perfect in your kitchen. A sign without words, what a concept! LOL
ReplyDeleteThanks Marie! There are so many words in this kitchen already, it just felt like it needed a different kind of "sign". I'm glad you like it!
DeleteThat is such a pretty stencil! Love it!
ReplyDeleteThanks so much! It was so easy to do and no paint. Love that.
DeleteI love it, Kim. Even I might be able to use a transfer. xo Laura
ReplyDeleteYou totally can, Laura! Just peel, stick, press and lift! It's that simple!! xo
DeleteI love this project because I love lace and red. You nailed this one, My Friend! It looks great in your kitchen!
ReplyDeleteThanks so much, Ricki! It's my new favorite and definitely one that's going to stay up long after the holiday season!
DeleteMerry Christmas! It looks festive, even if it is for year round!
ReplyDeleteThanks so much, Su! I think it will be there year round. I'm smitten. Merry Christmas to you and Happy New Year!!
DeleteGreat survey, I'm sure you're getting a great response. ارخص شركة نقل عفش بجازان
ReplyDelete